Creating a Virtual Account
Create a Virtual Account using the Rapyd Client Portal. Use your virtual account to collect, hold, and disburse funds. You can add a virtual account and edit requested currencies. A virtual account functions similar to a bank account but it can be created more easily and has less limitations. Merchants can use virtual accounts when they need to collect or disburse different currencies. Virtual accounts are a perfect solution to manage those funds.
You must have Owner or Administrator privileges to create a Virtual Account.
Activate Your Virtual Account
To successfully create your first Virtual Account, Contact Support for your request.
To view a virtual account:
Sign in to Client Portal as described in Signing In to the Client Portal and navigate to My Account > Account management.
The Account management page appears.

To add your virtual account, tap + Create virtual account in the Virtual Accounts section.
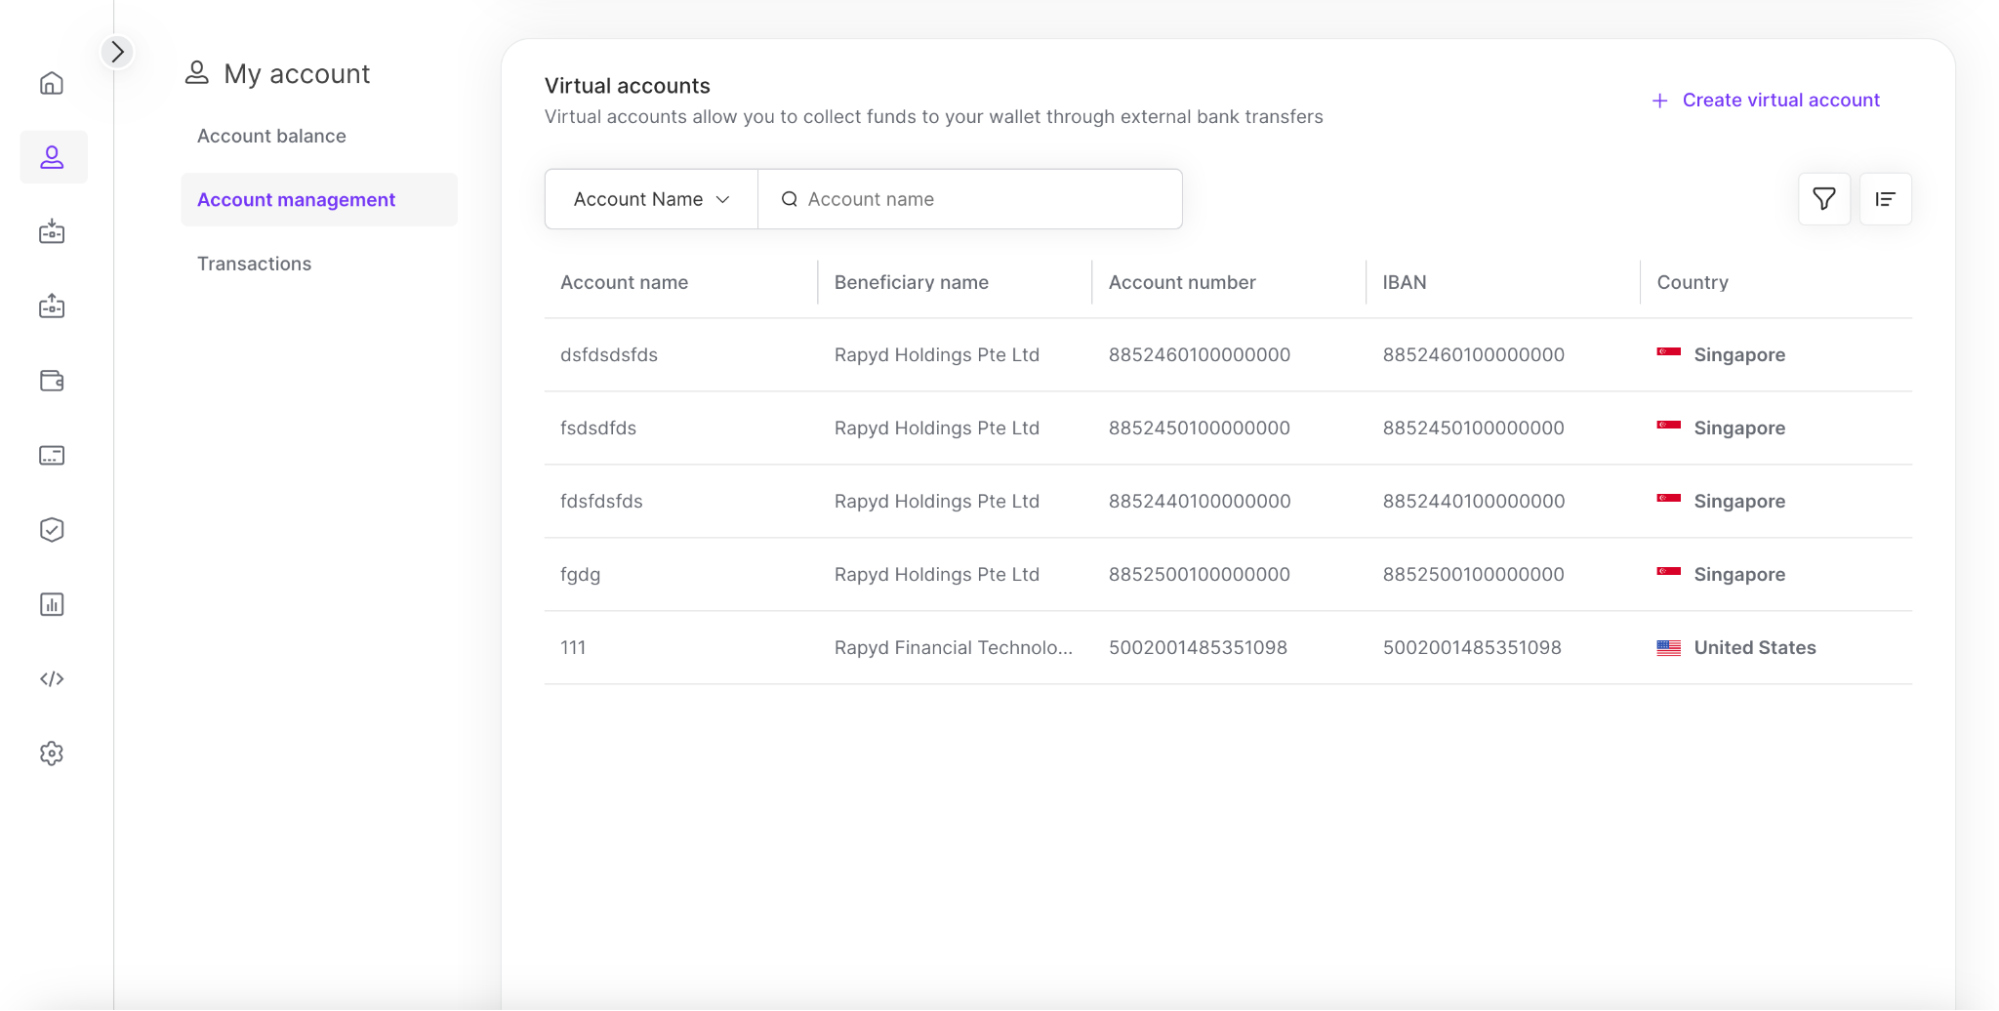
The Add virtual account window appears.
Enter the account name.
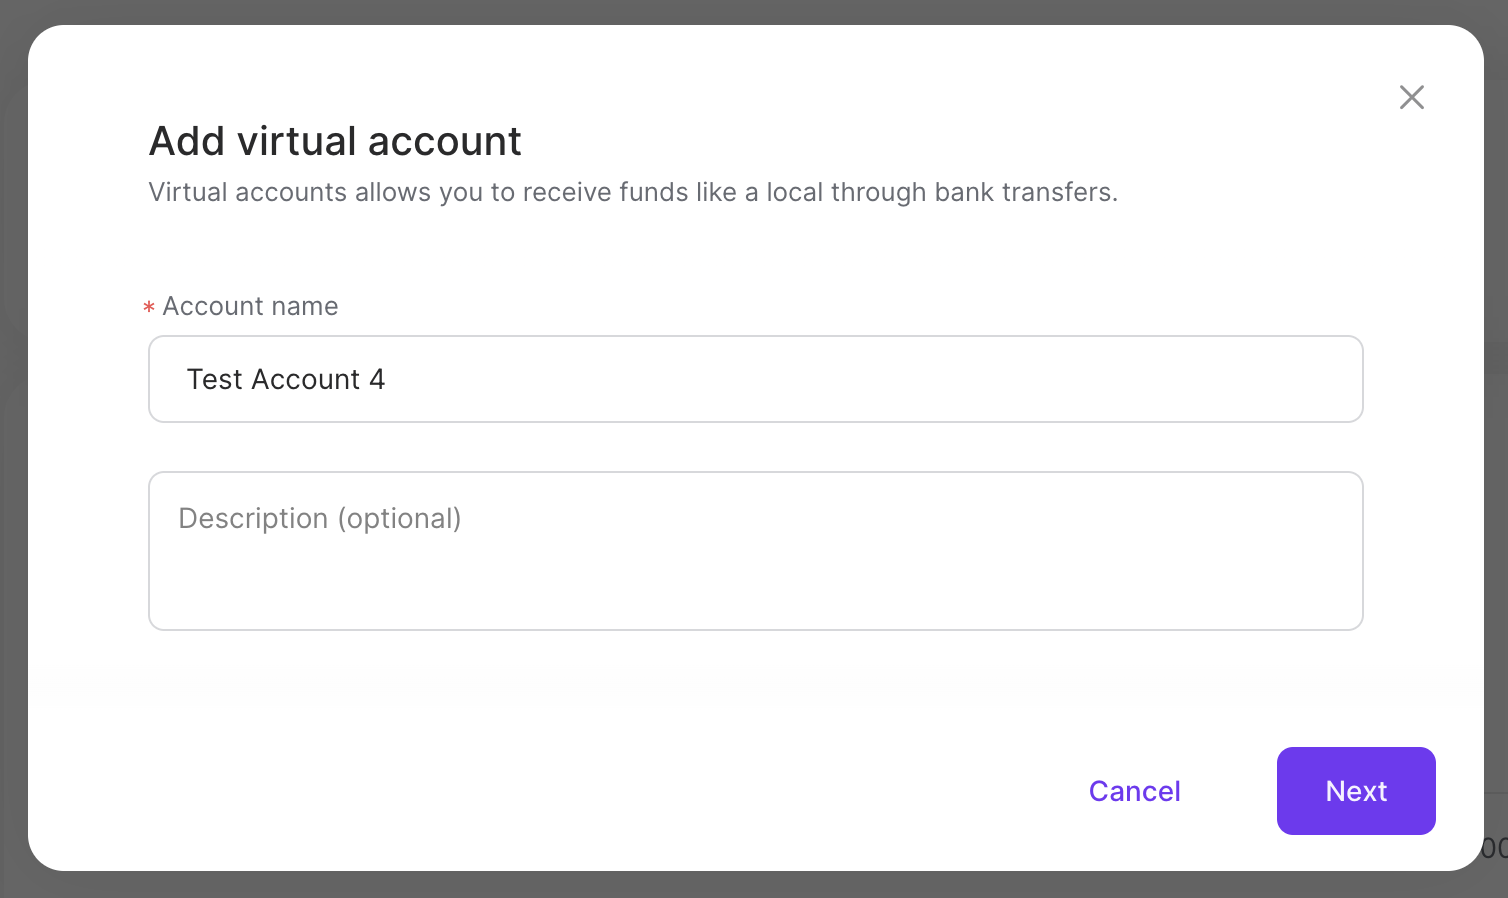
Note: Your account will need to be activated to successfully create a Virtual Account.
Click Next.
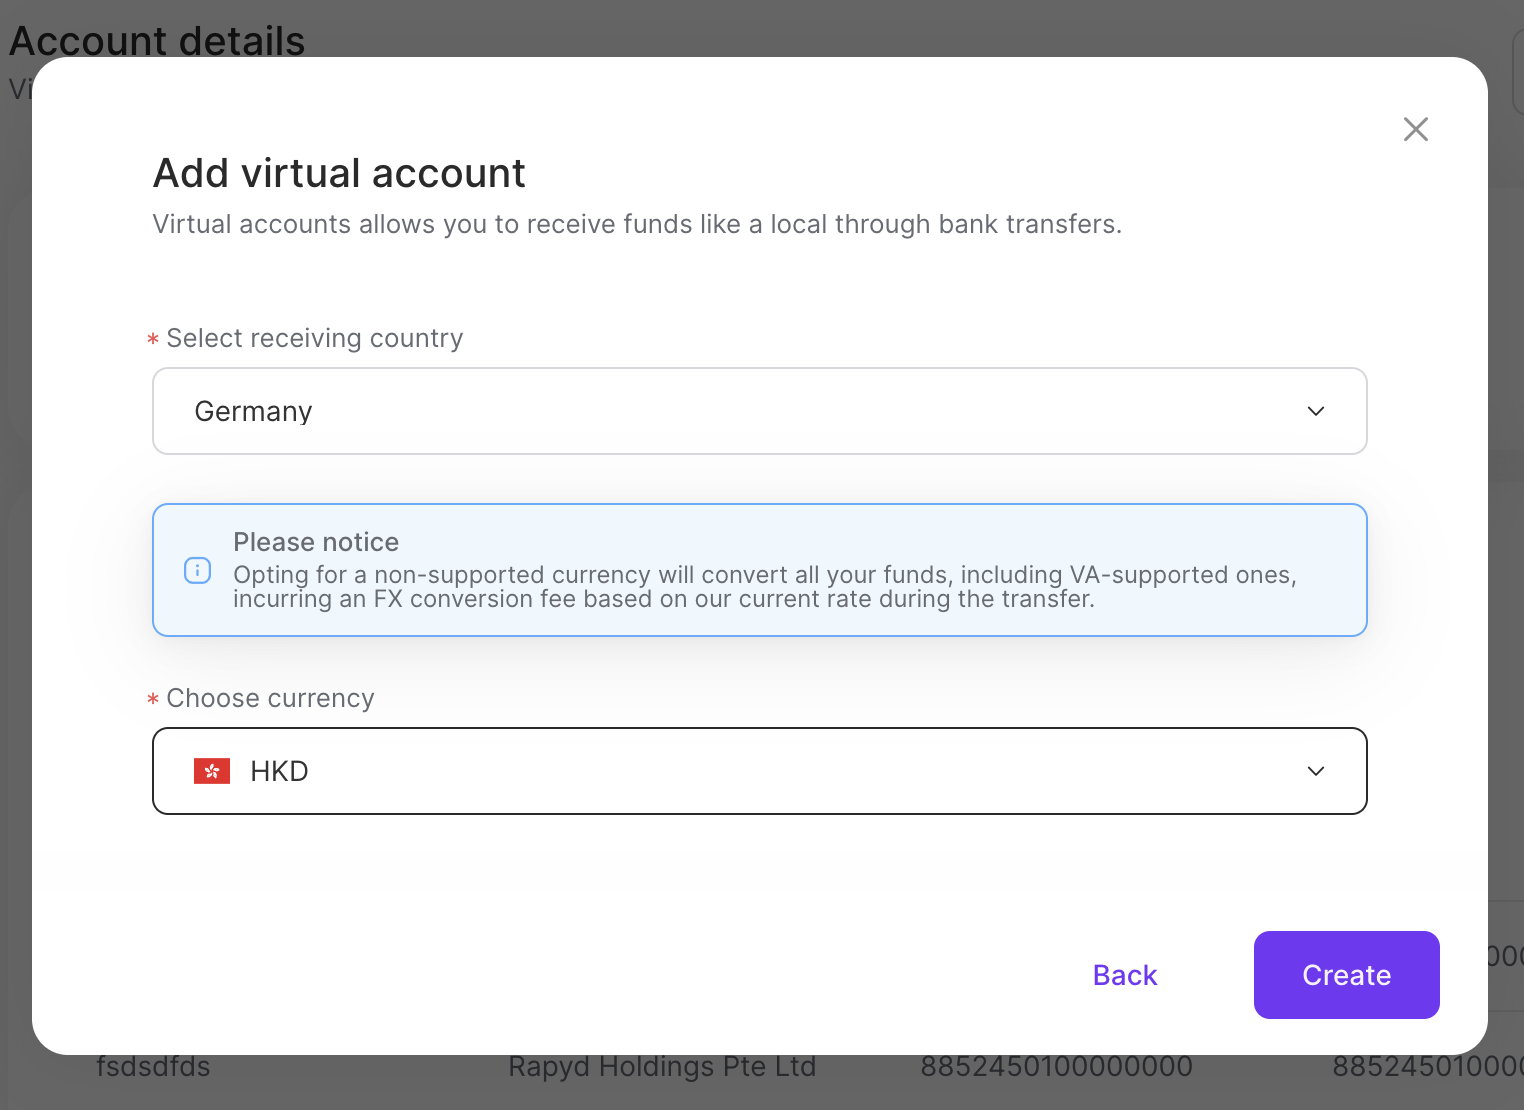
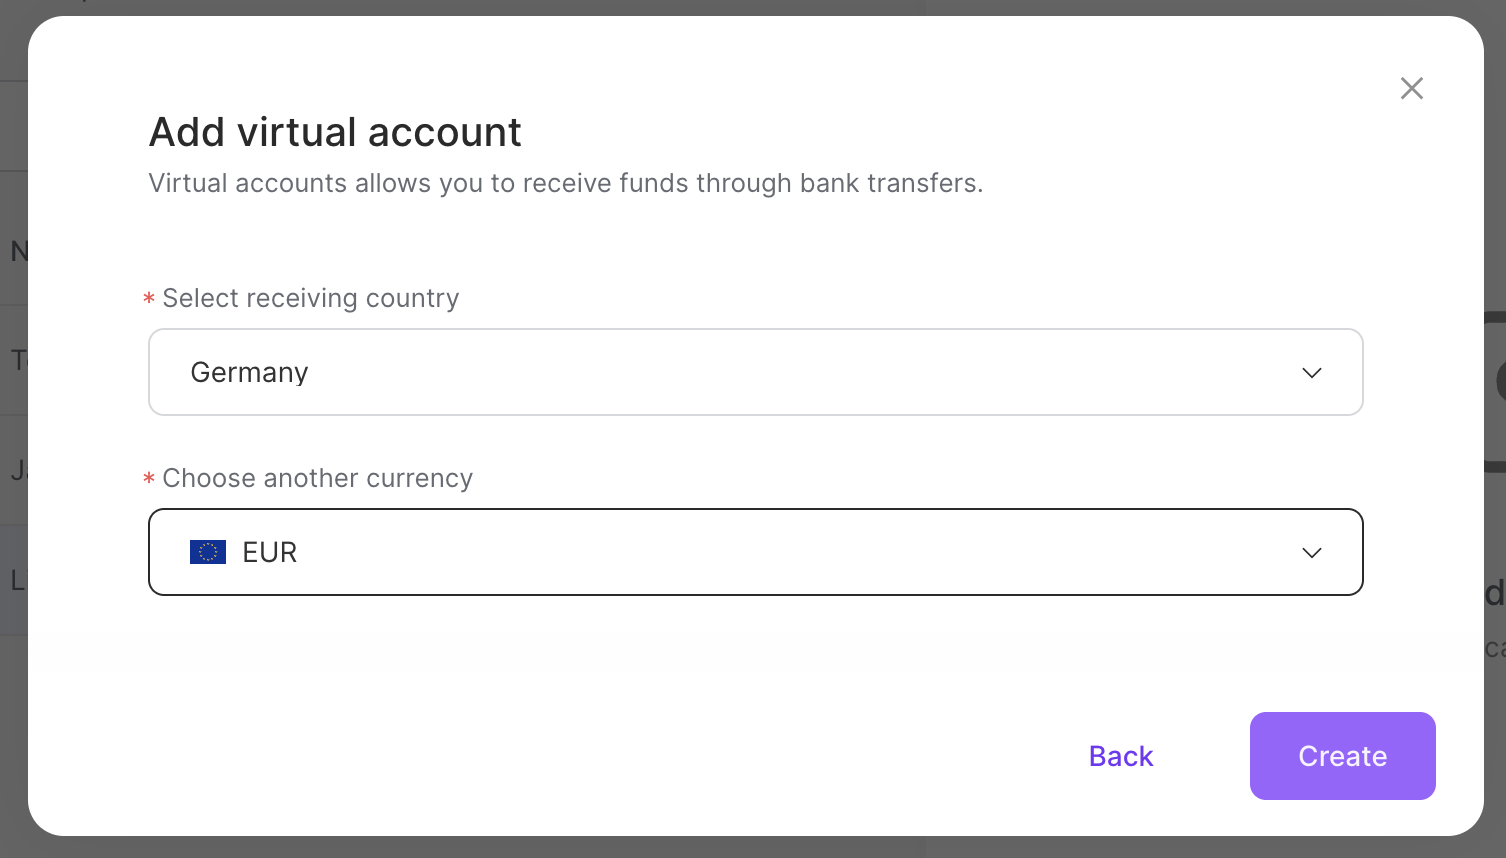
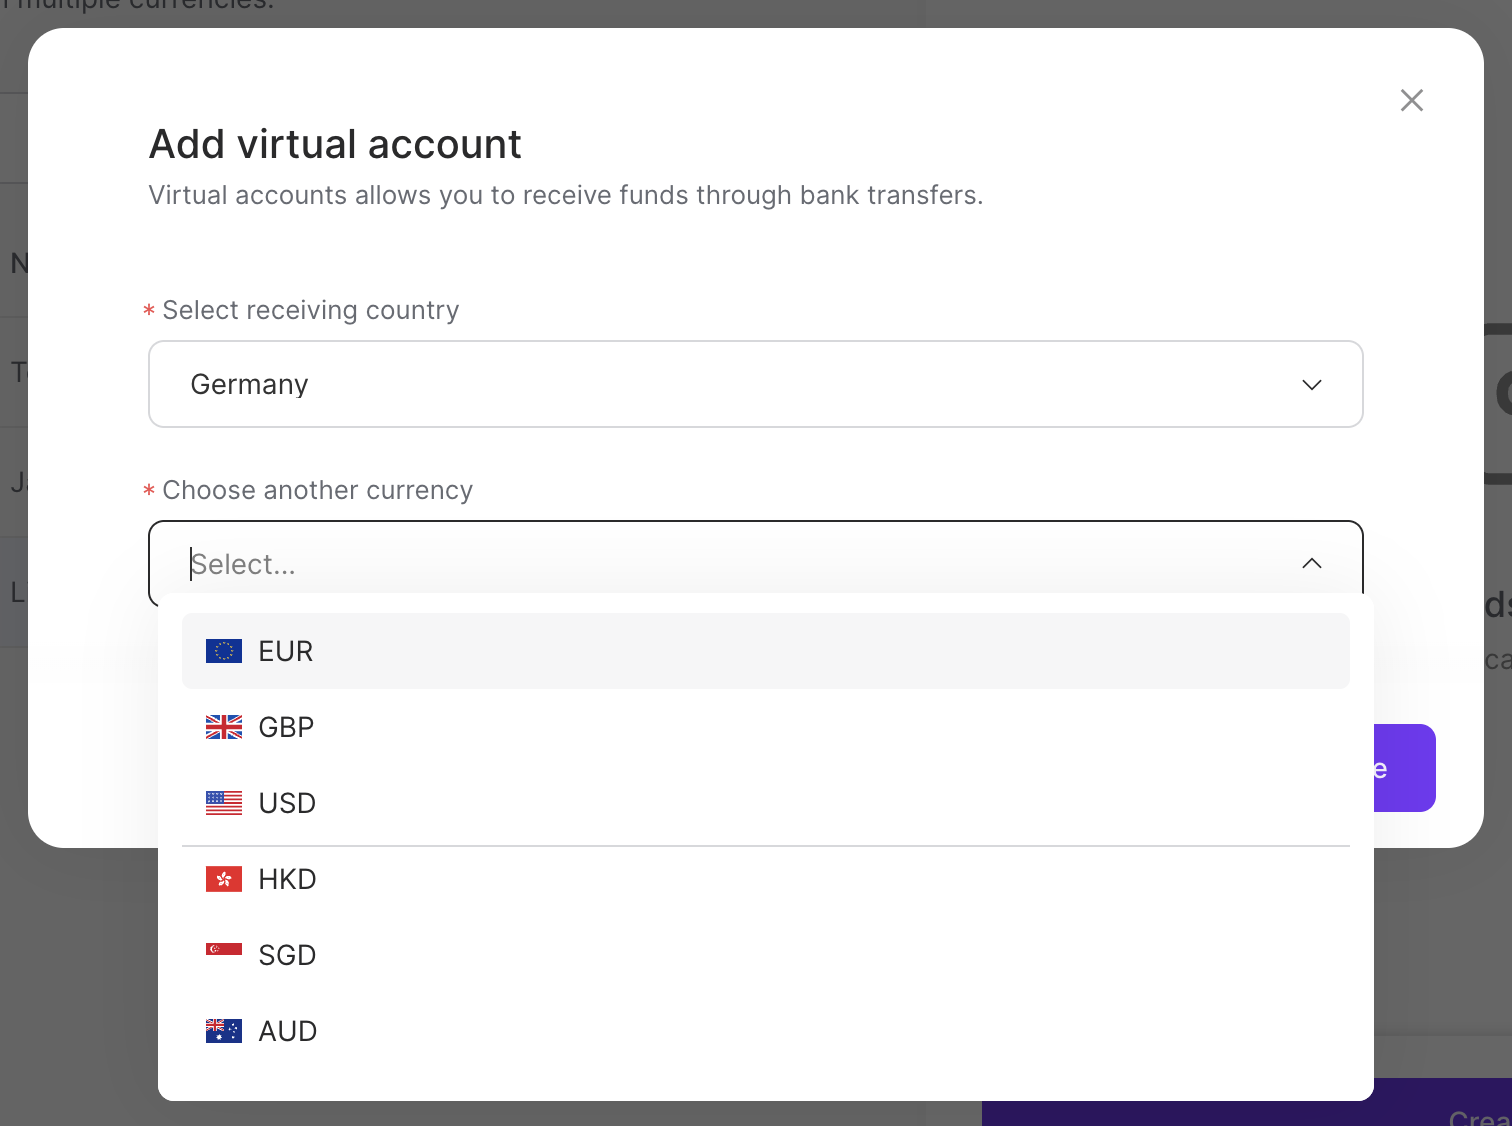
Select the country for your virtual account in the drop-down menu.
Select the requested currency from the drop-down menu.
Click Create.
Requested Currencies for Virtual Accounts
The funds transferred to Virtual Accounts can now be automatically converted using FX (Foreign Exchange) into a different currency. All supported currencies can be converted with FX.
An FX conversion fee will be applied during the transfer.
Selecting a requested currency has no impact on the currencies the Virtual Account can receive.
The funds transferred to a Virtual Account can be converted using FX through the requested currency. The requested currency is what the funds will be converted into during the transfer. The requested currency can be edited for existing Virtual Accounts.
To edit the requested currency:
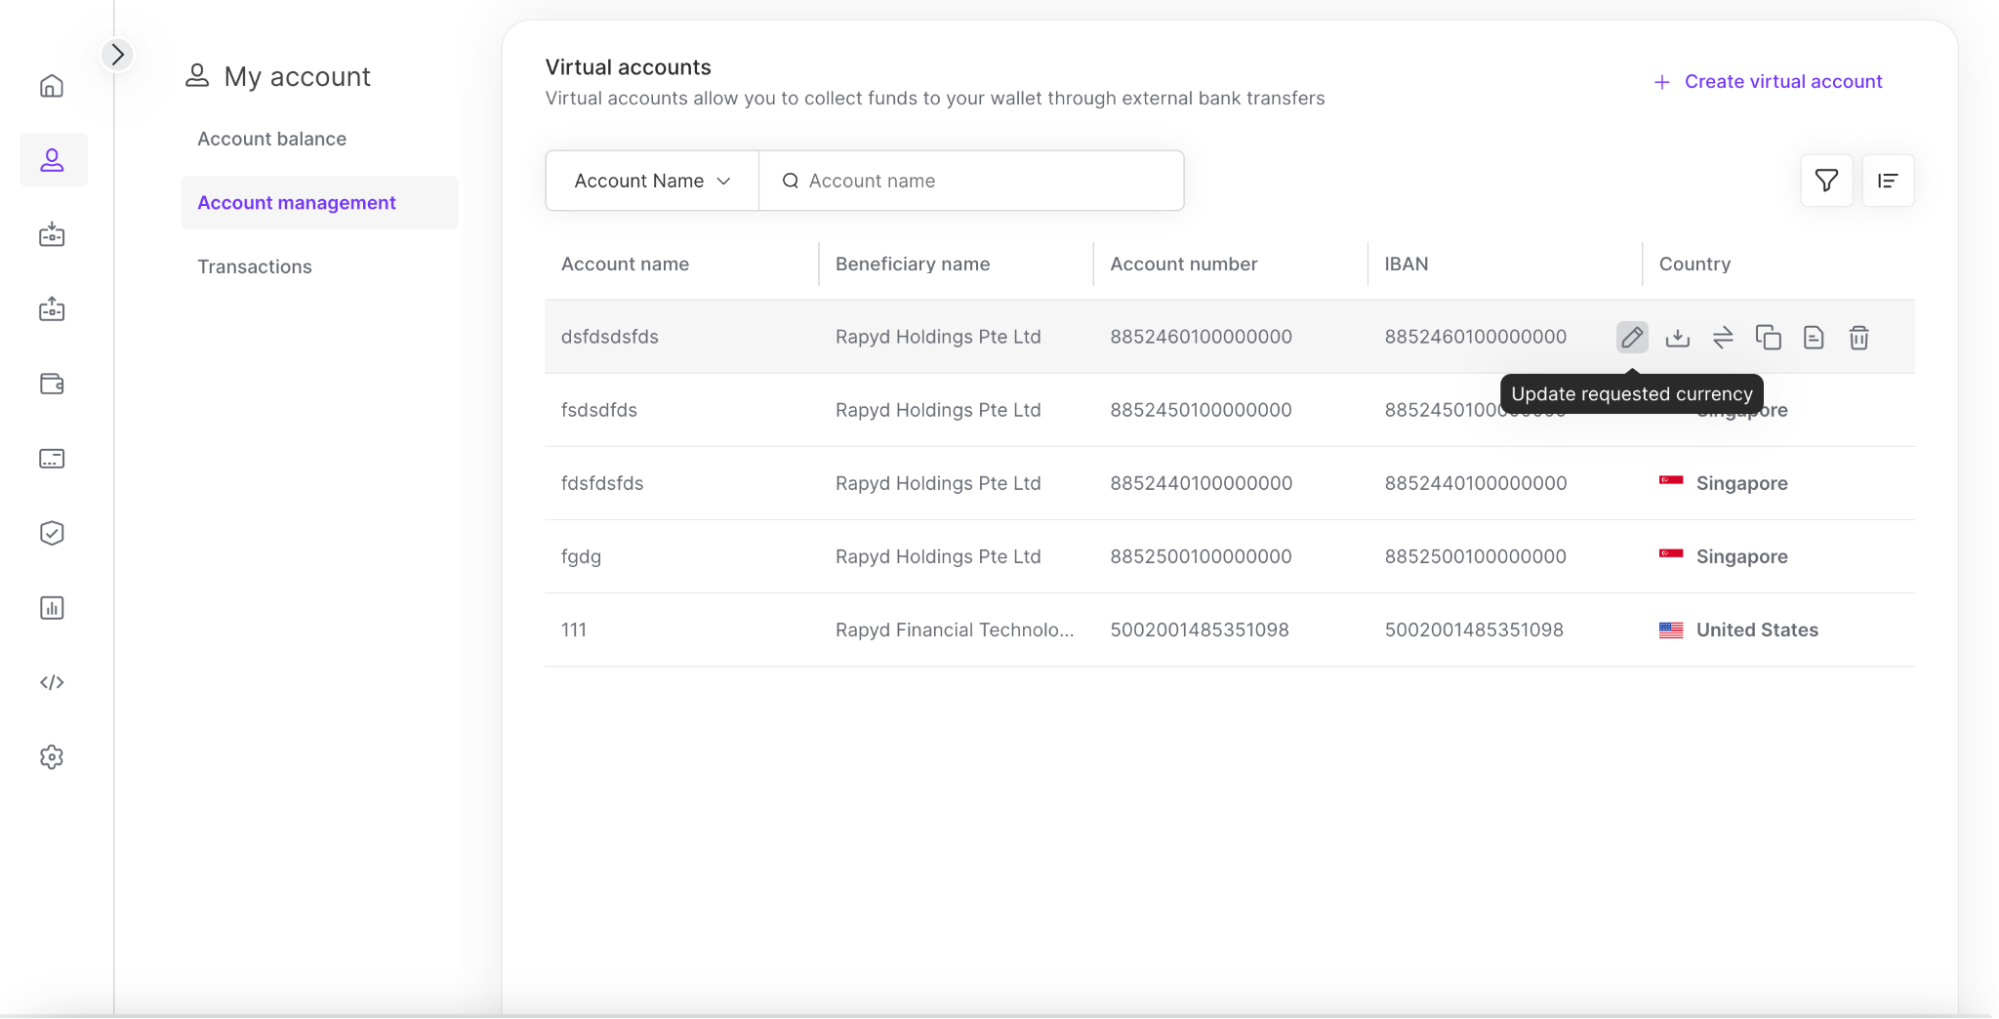
Sign in as described in Signing In to the Client Portal and navigate to My Account > Account management.
The Account management page appears.
Hover over a Virtual IBAN row in the Virtual Accounts section.
(Optional): Click on the View details icon.
The Virtual Account details panel appears.
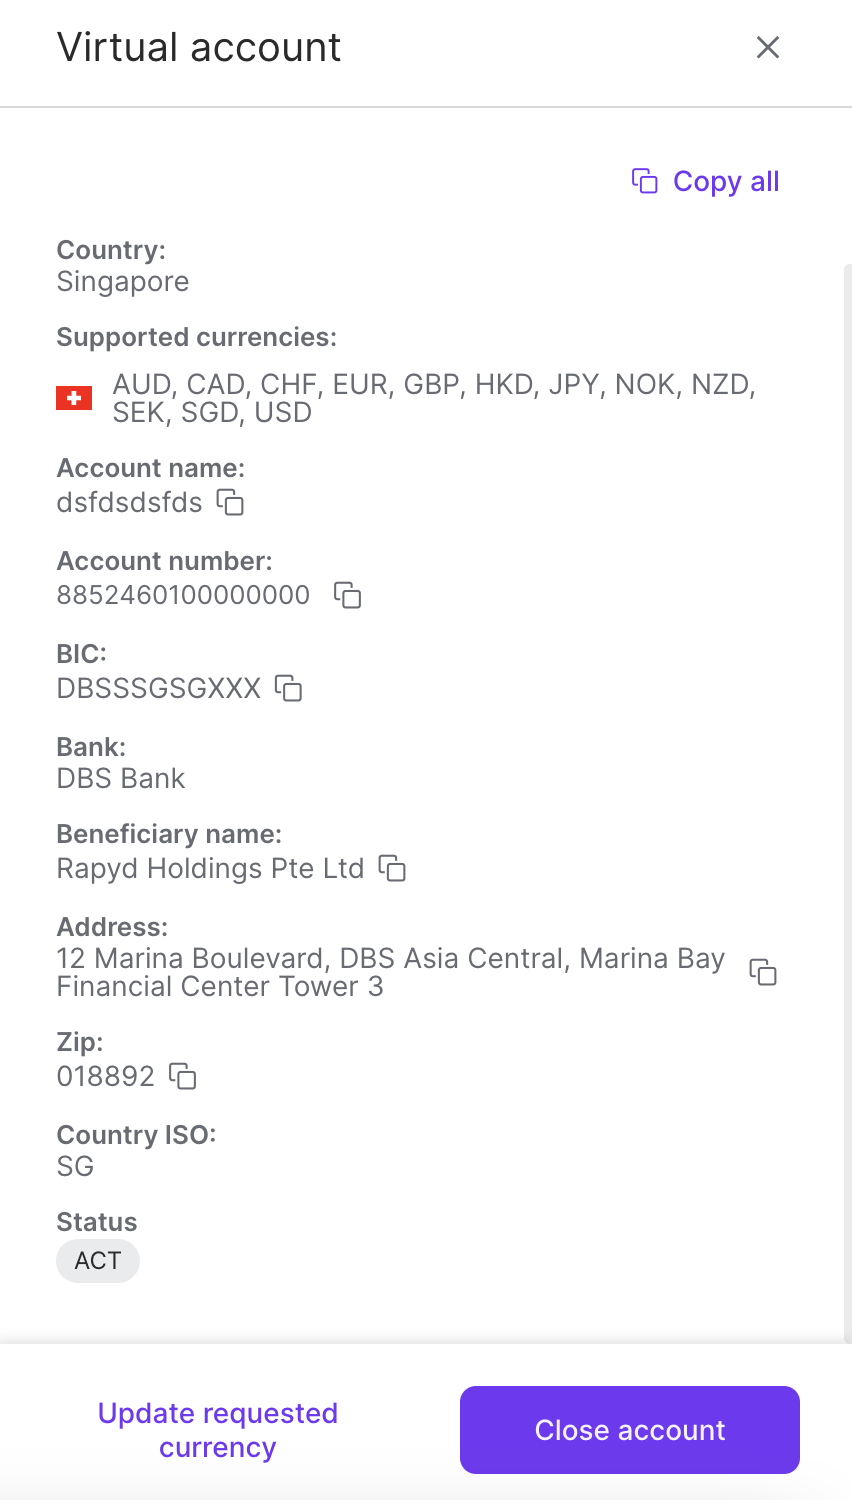
(Optional): Click the Update requested currency link.
Click the Update requested currency icon.
The Update requested currency window appears.
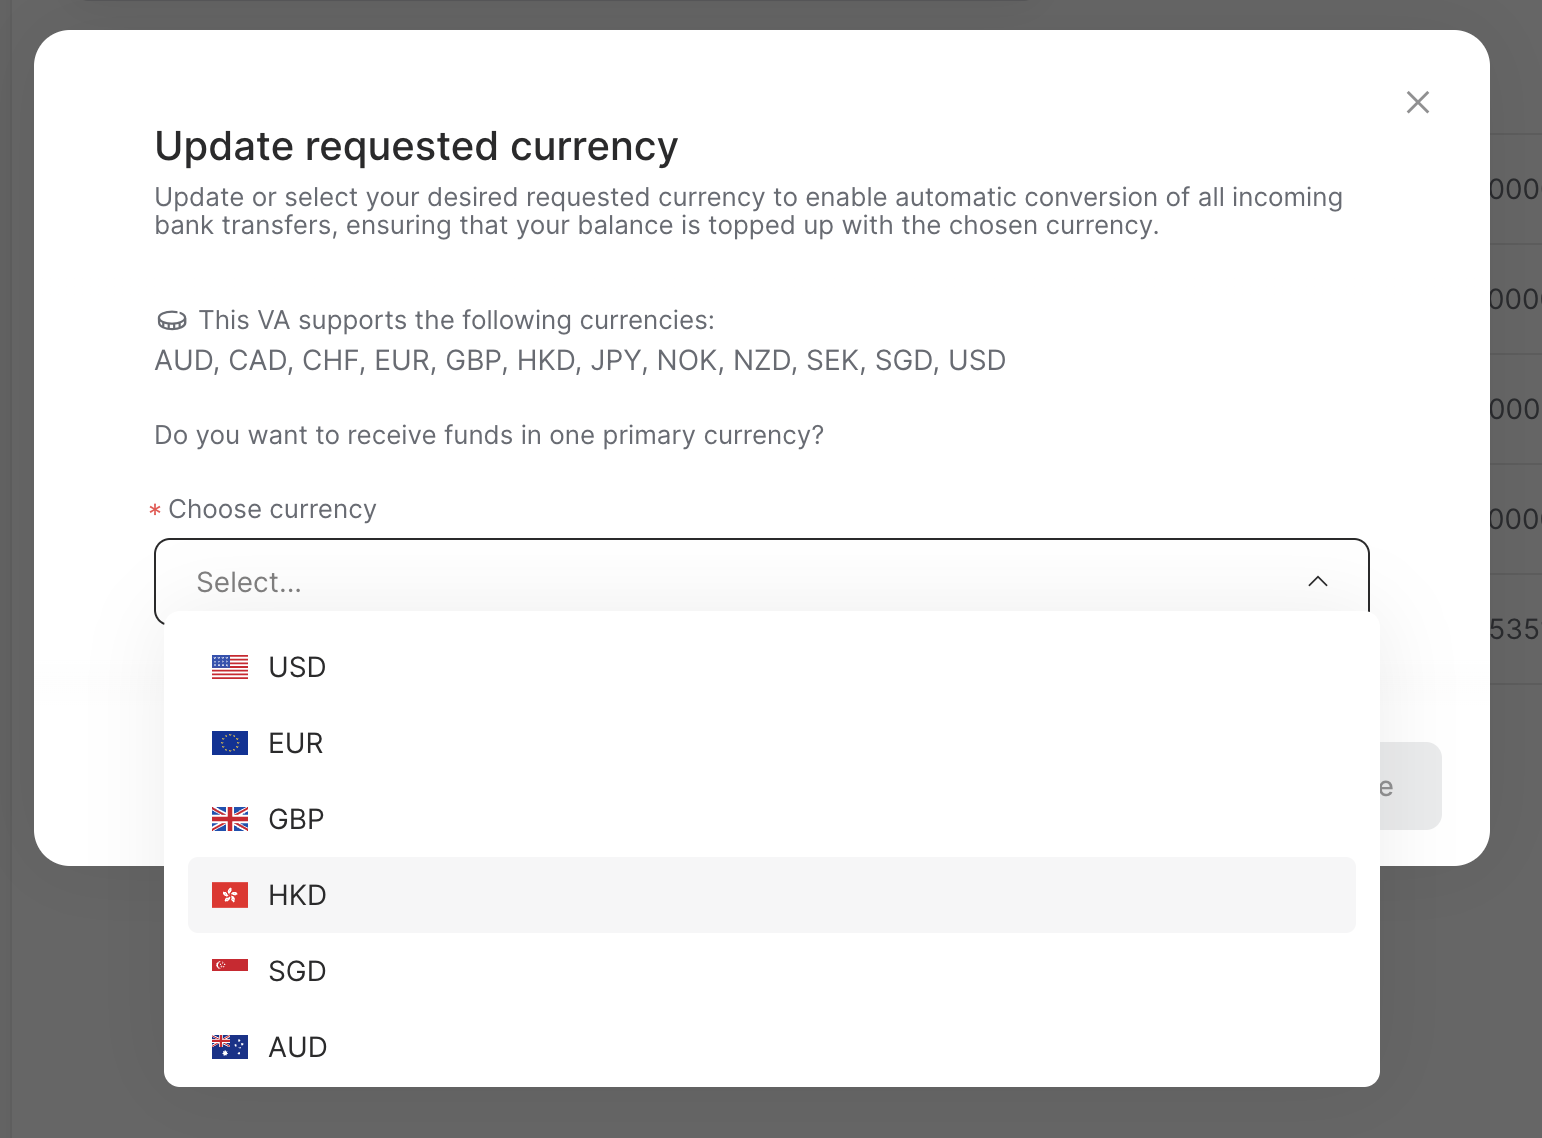
Select the currency from the drop-down menu.
Click Update.
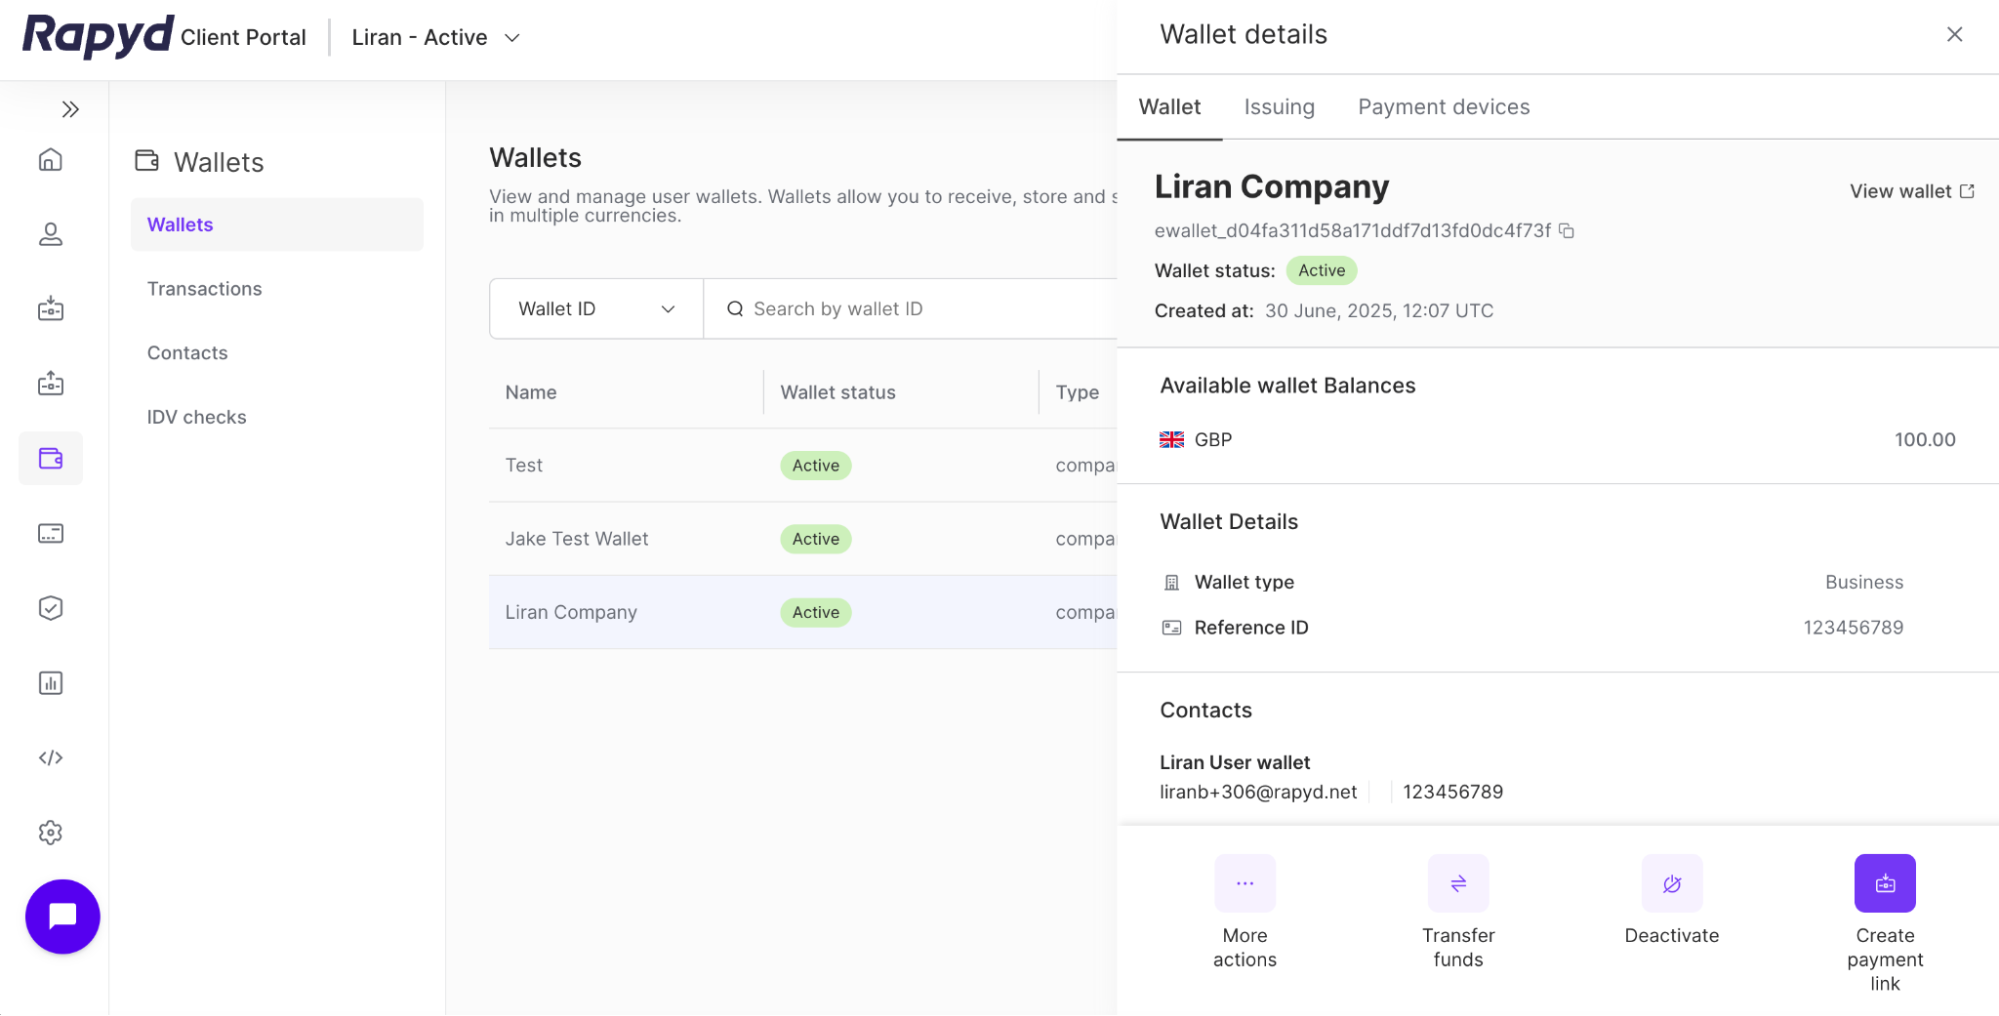
You can create a virtual account for an individual user wallet.
Sign in as described in Signing In to the Client Portal and navigate to the Wallets tab.
The Wallets page appears.
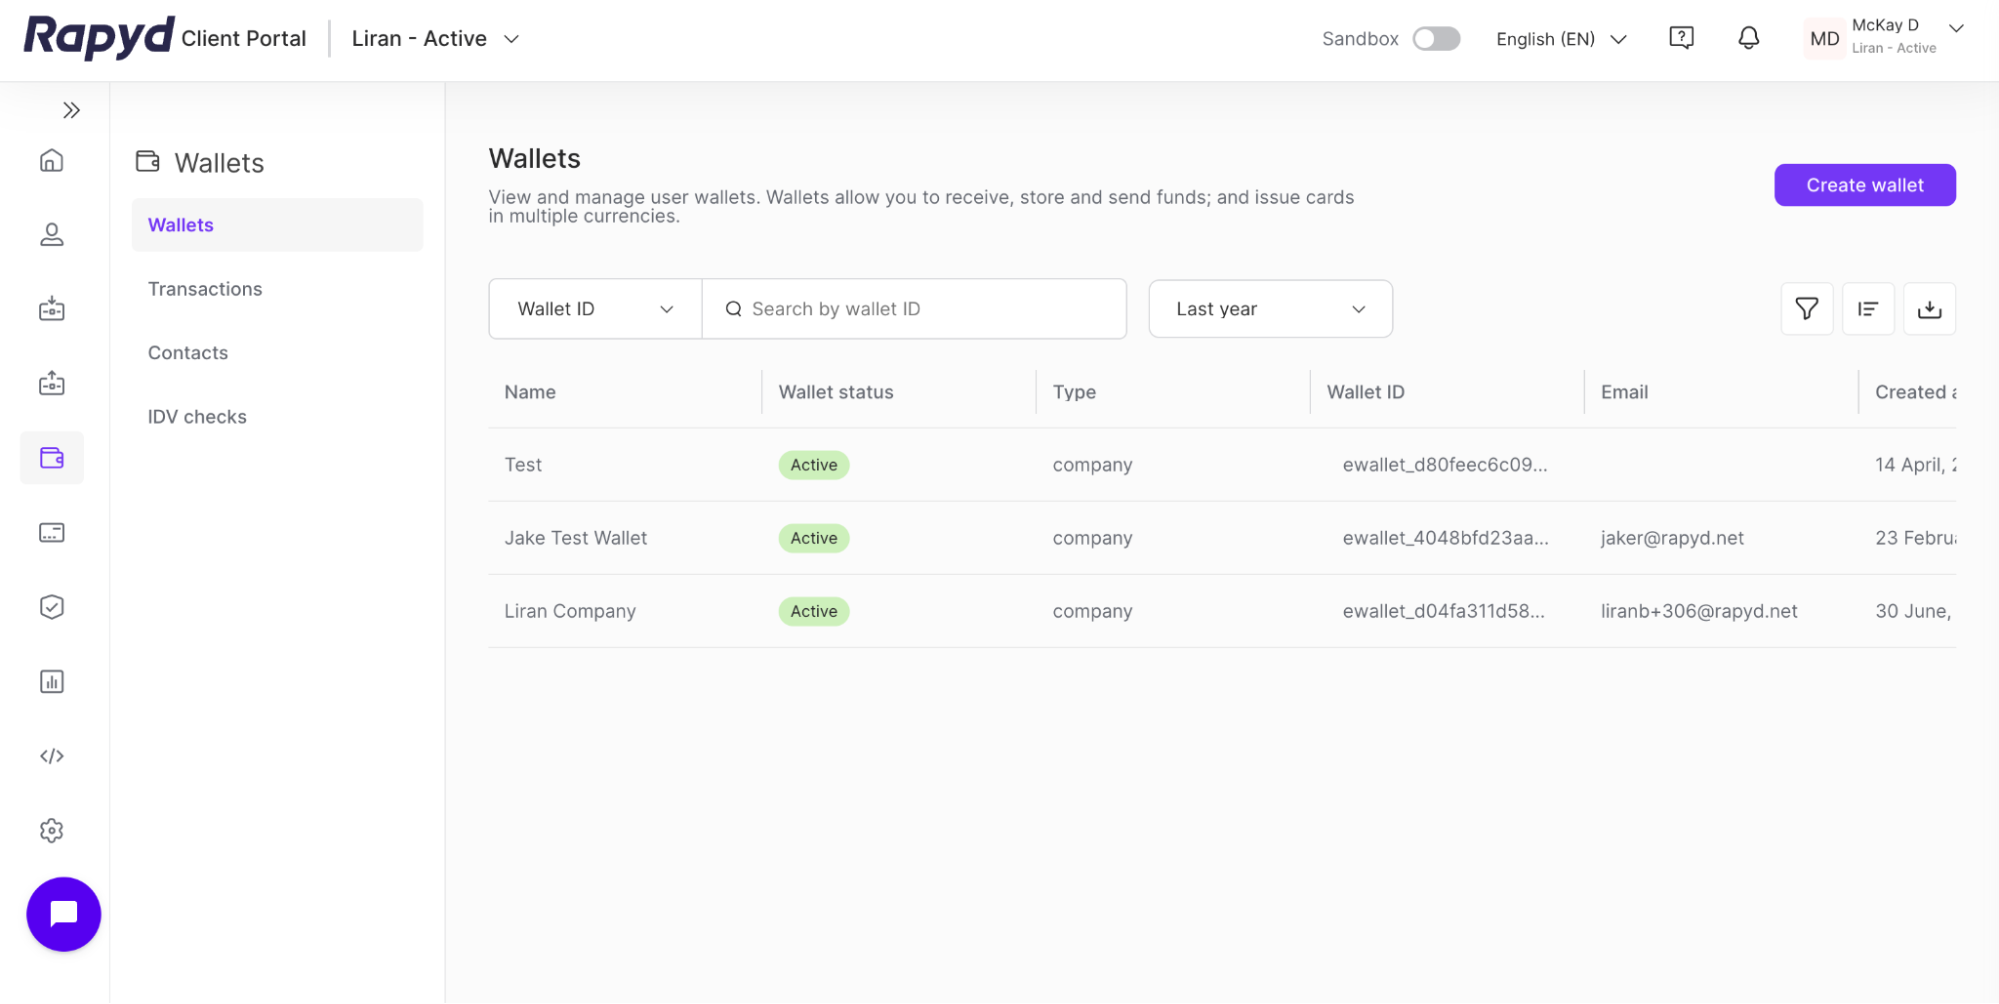
Select the row of the individual user wallet.
The Wallet details panel appears.
Click the Issuing tab on the Wallet details panel.
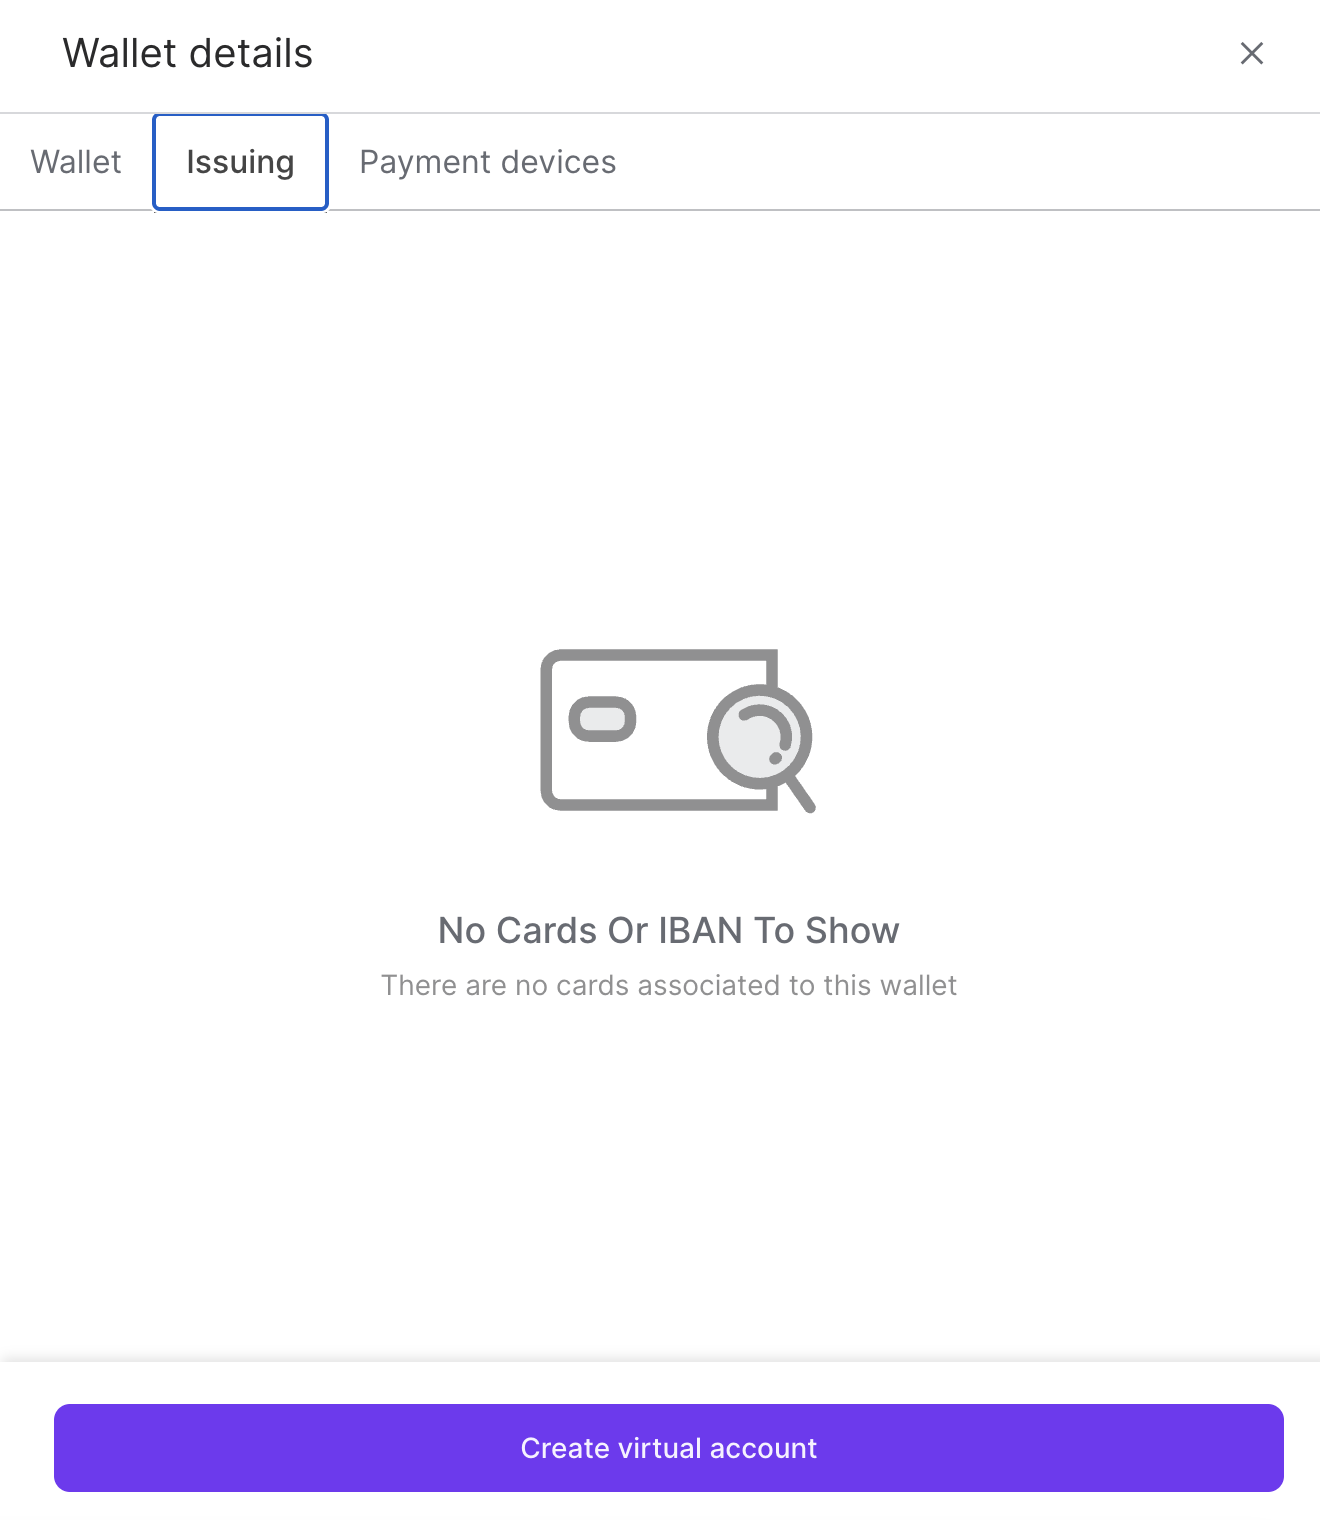
Click the Create virtual account button.
The Add virtual account window appears.
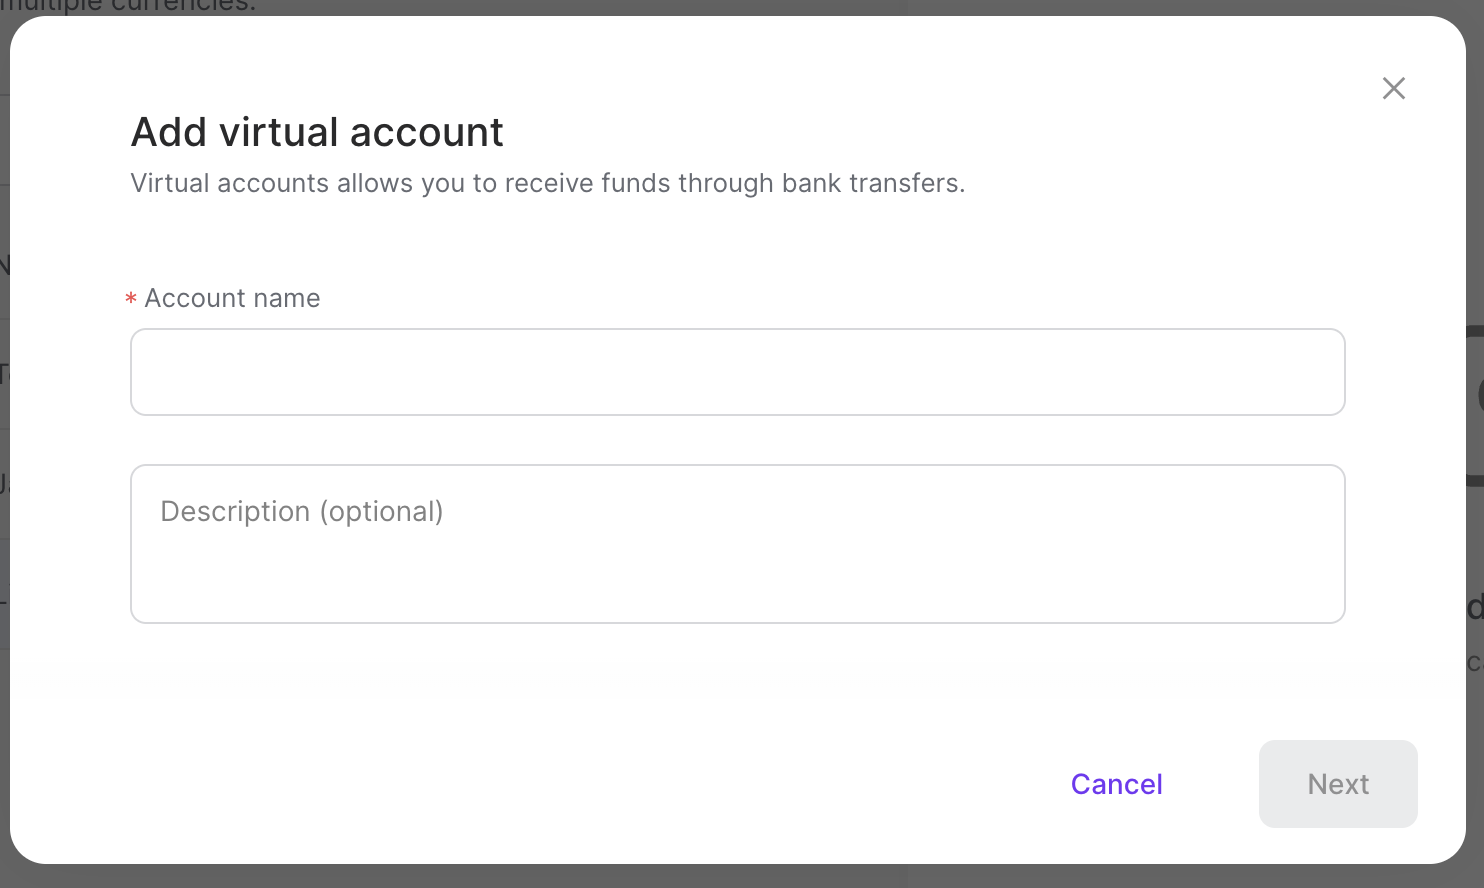
Enter the account name.
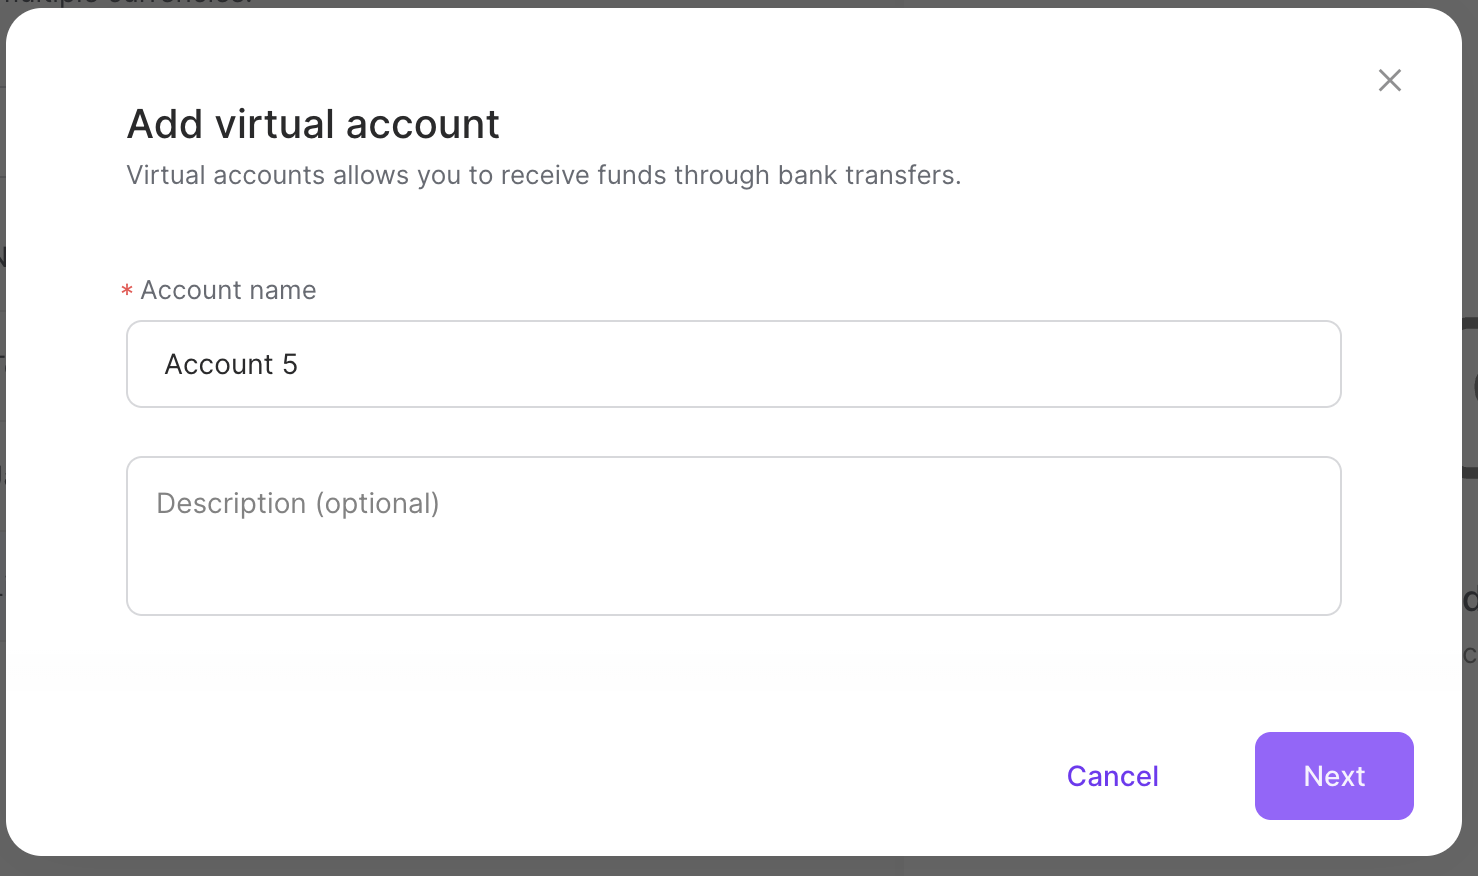
Click Next.
Select the receiving country from the drop-down.

Select the requested currency from the drop-down.
Click Create.