Customizing Your Hosted Page
Set the look and feel of your page to match your brand.
You can customize your hosted page, and set the look and feel that will apply to all applicable Rapyd platform Hosted pages.
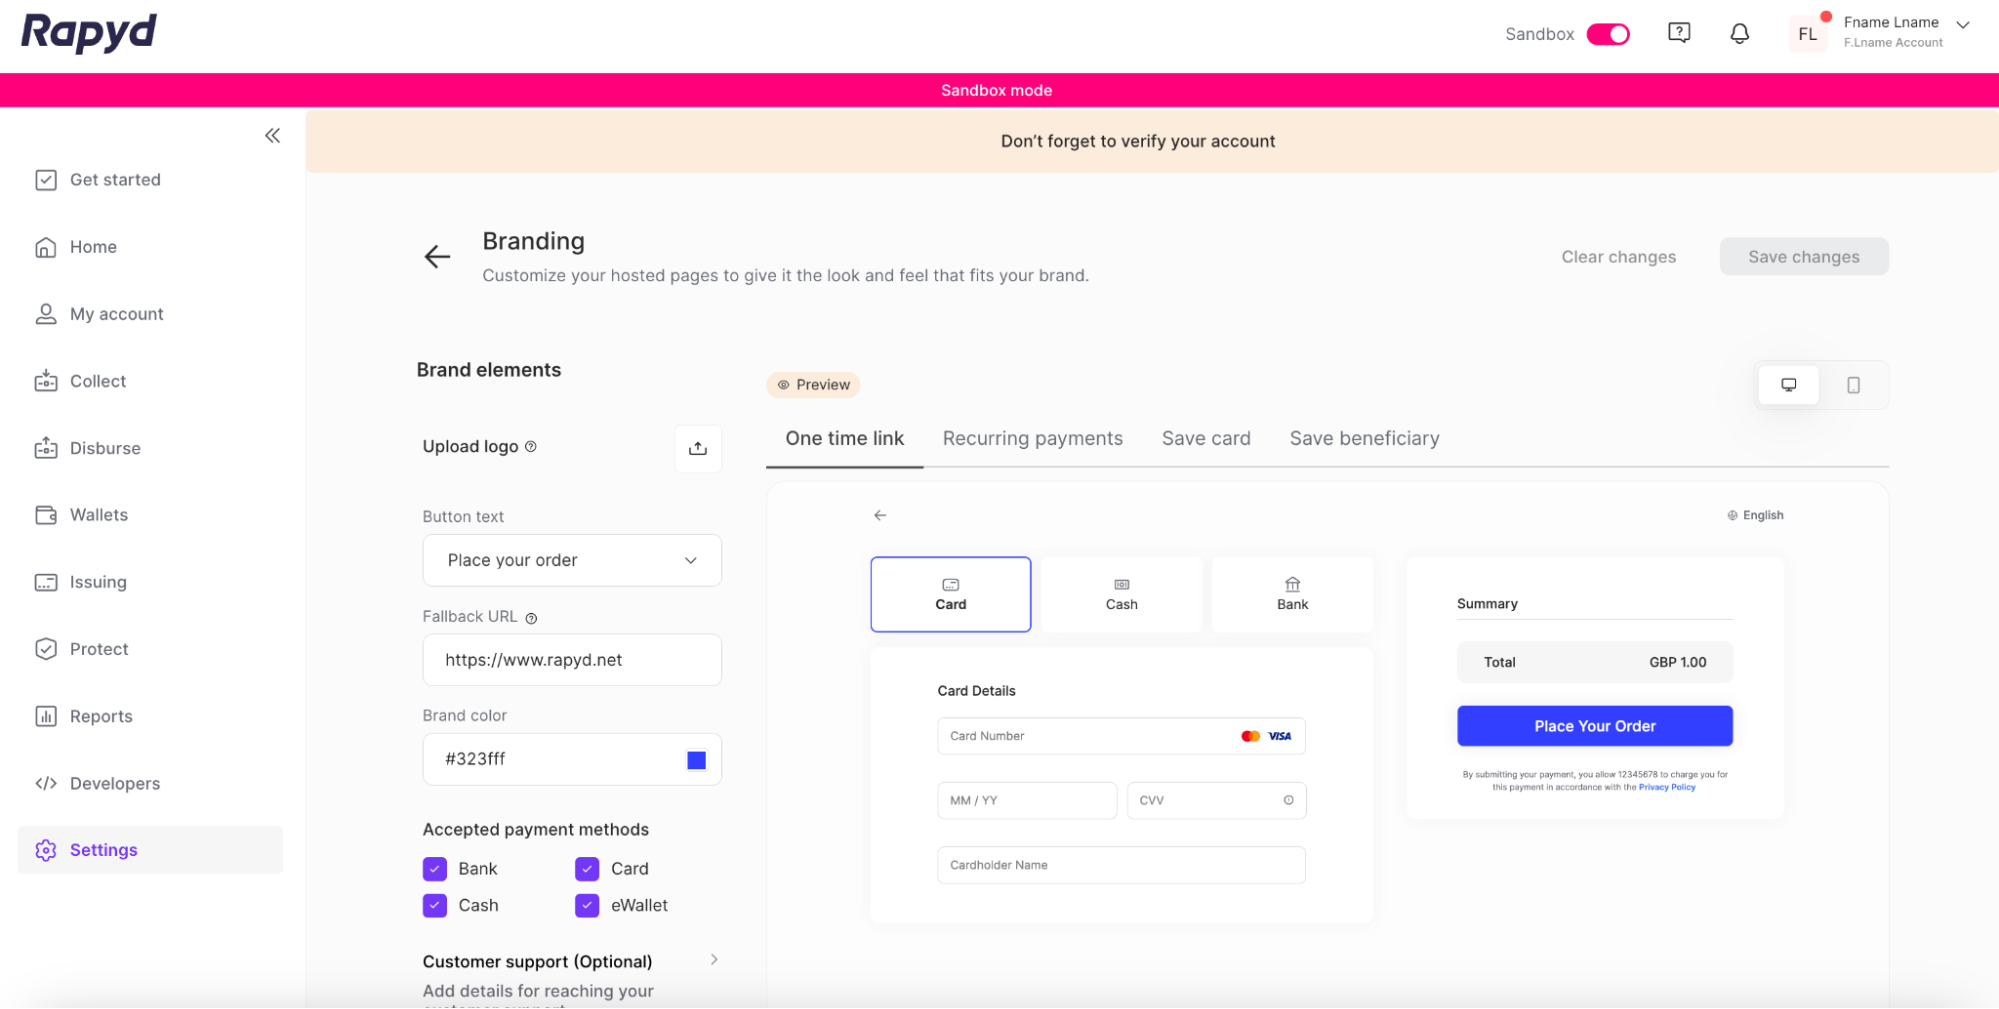
Sign into Client Portal and navigate to Settings > Branding.
Select Your Hosted Page to View
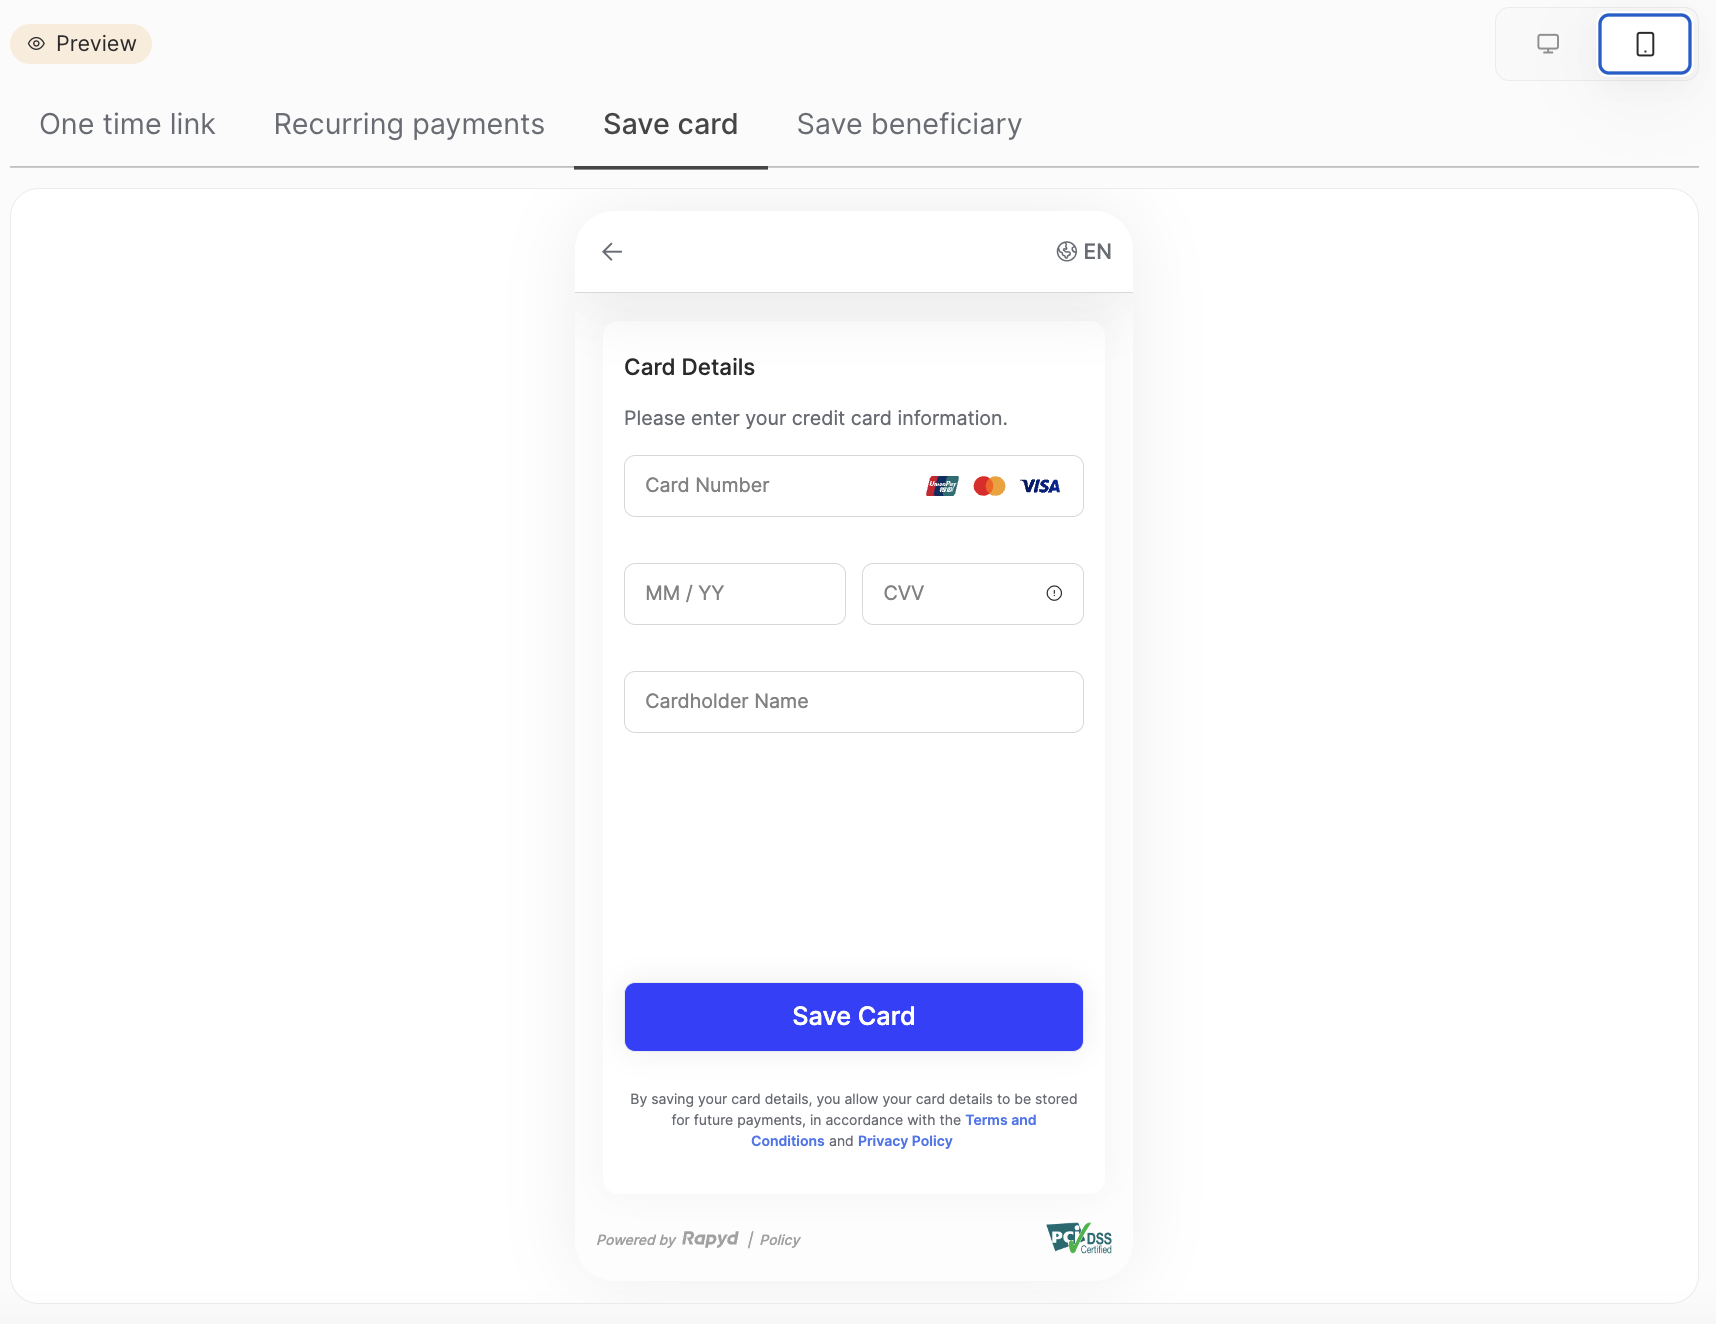
The Preview bar, located above the preview window, will display a preview of your Hosted Checkout page branding. You can toggle between the Hosted Checkout Page, Hosted Subscription Checkout Page, Save Card Details Page, and Beneficiary Account Details Page. Branding settings affect all Hosted pages including Rapyd Collect, Disburse, and Issuing.
On the Brand elements pane on the left side of the page, tap the Upload logo icon and upload an image file (png, jpg, jpeg, gif) containing your company logo.
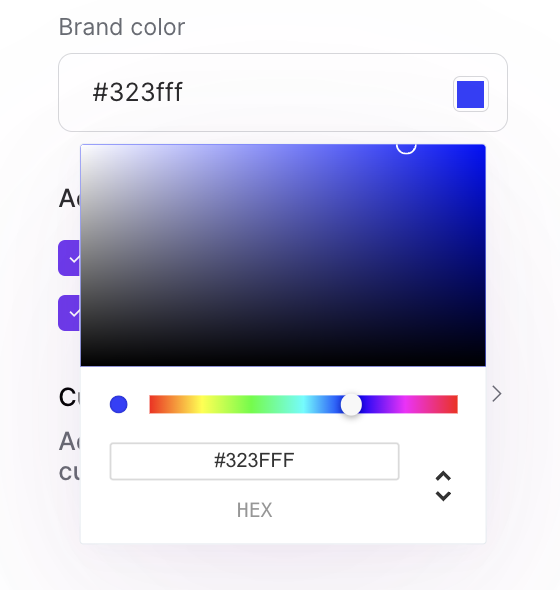
Tap the Brand color field to select the color of the buttons on the display.
In the Fallback URL field, enter the URL of the page that appears when the process is completed or canceled when
complete_checkout_urlorcancel_checkout_urlis not specified.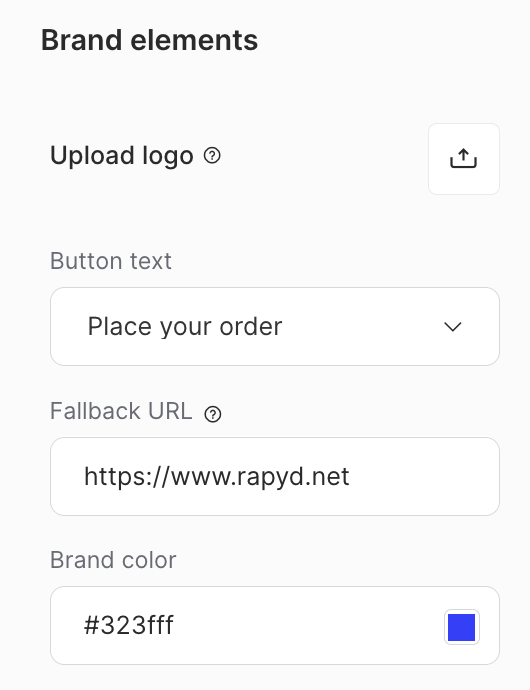
Complete and Cancel URLs
Other Hosted pages may have different fields such as
complete_urlandcancel_urlBeneficiary Tokenization Page
Rapyd Verify Hosted Page
Hosted IDV Page
Hosted Page Card Token Object
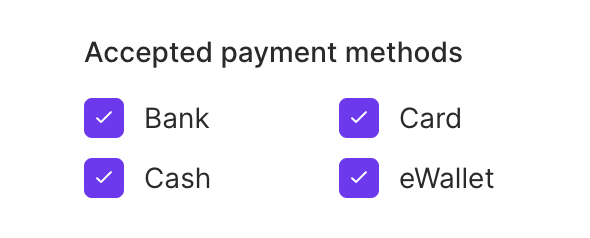
Remove any Payment Methods you will not accept (Hosted Checkout only).
Bank - Includes Bank Redirect and Bank Transfer
Card
Cash
eWallet
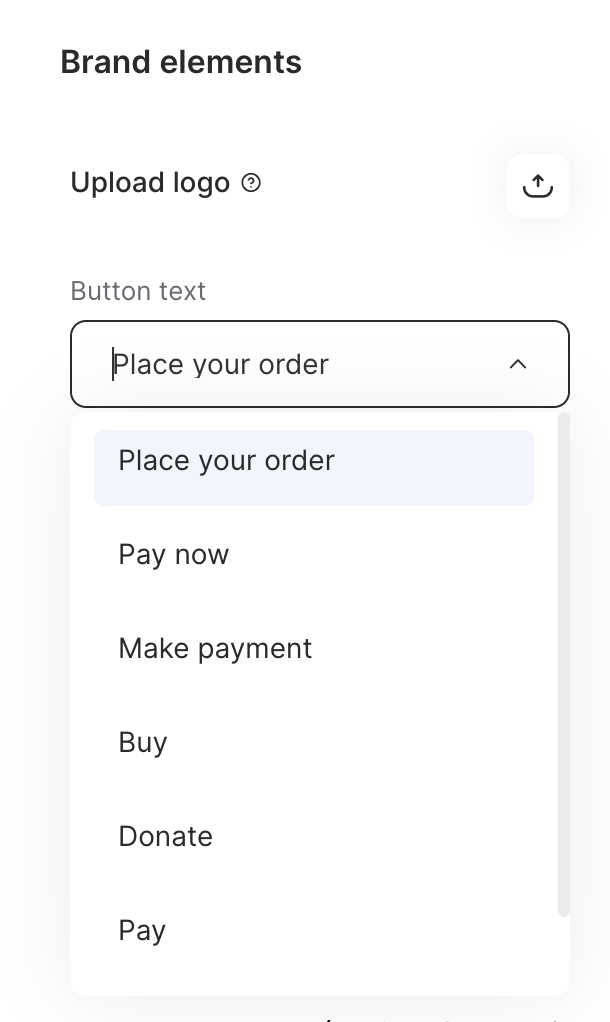
Choose your button text from the drop down (Hosted Checkout only).
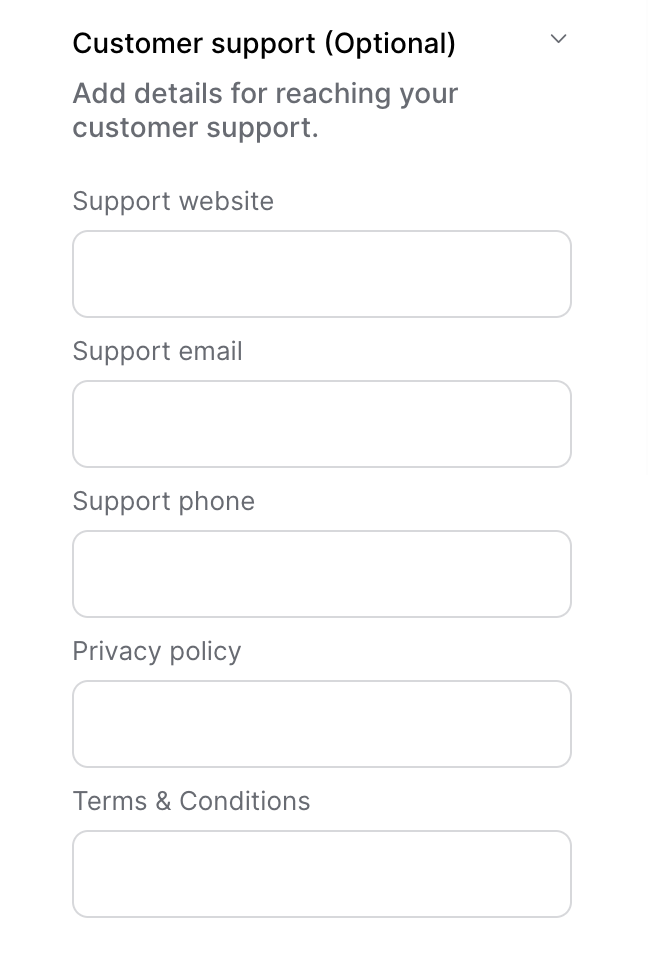
(Optional) Customer Support Details - You can add your customer support contact information to be displayed on your hosted pages.
Tap the Save changes button at the upper right corner of the screen.
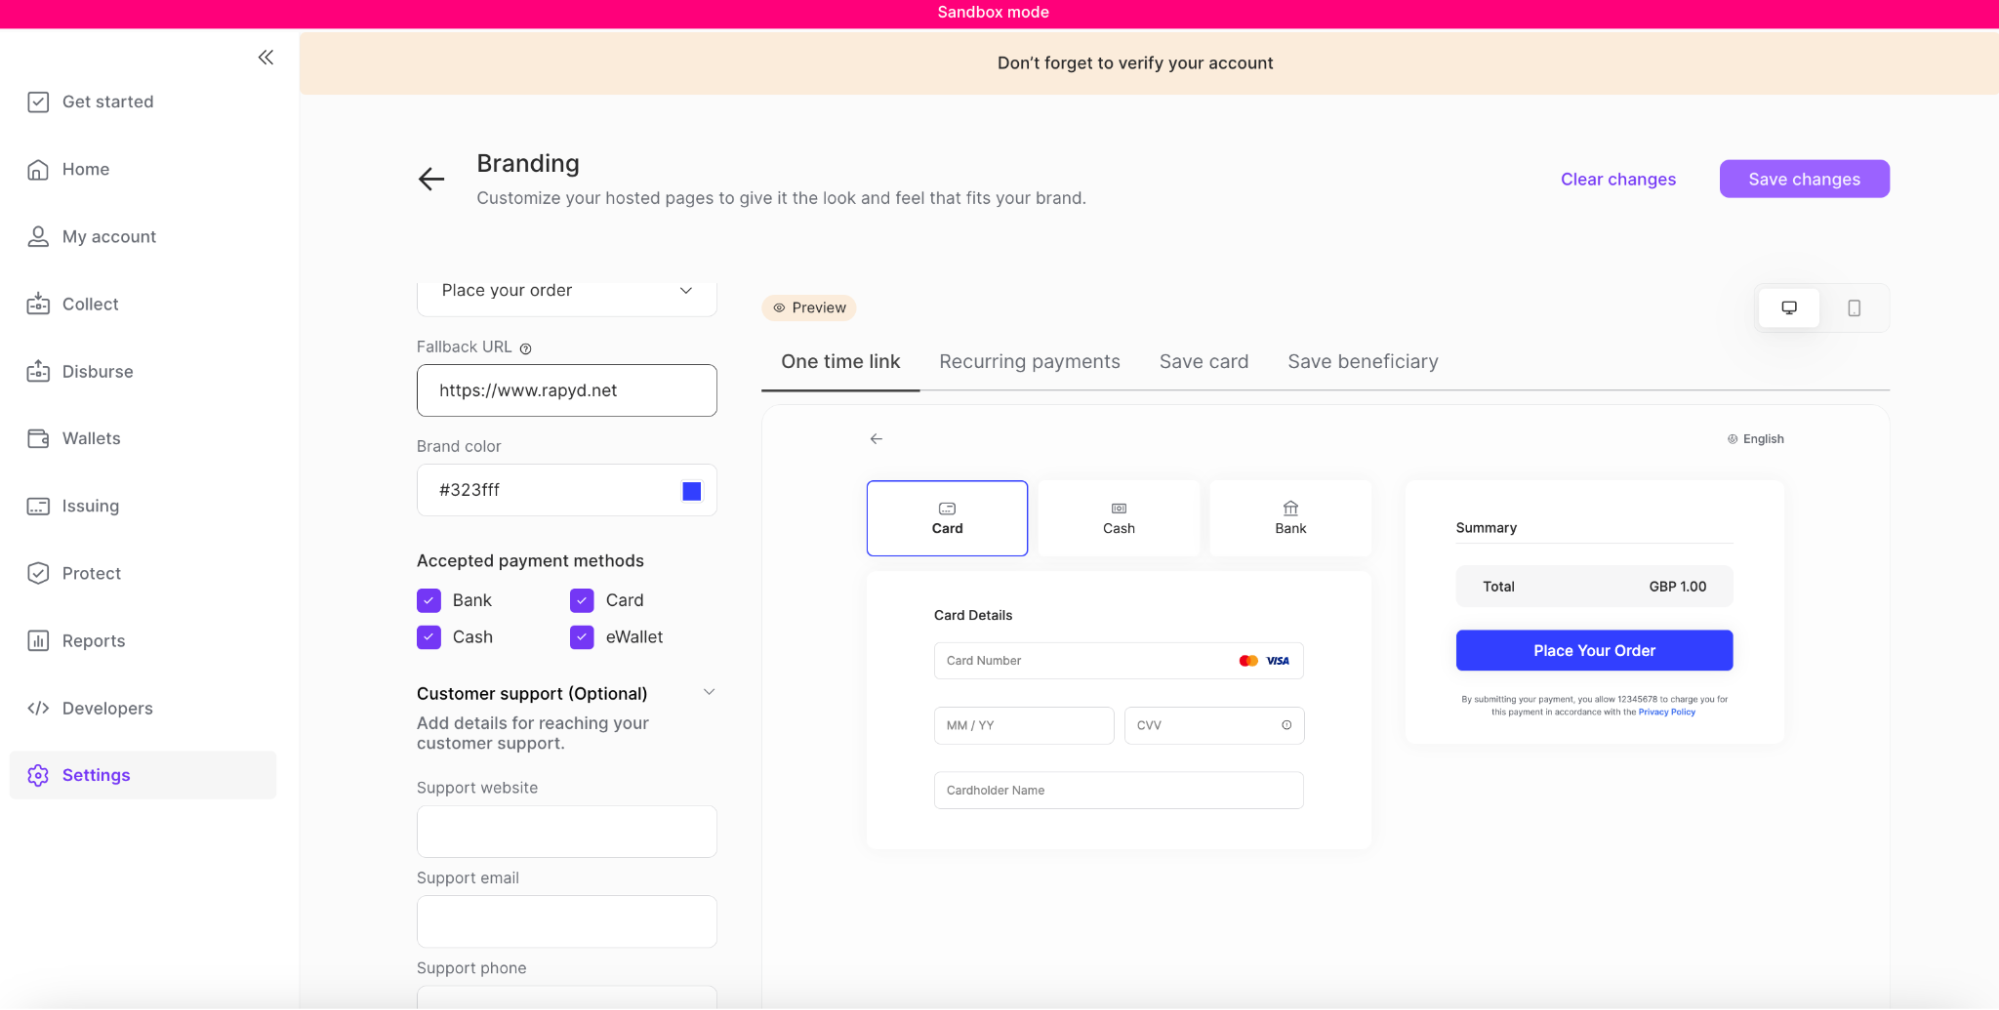
On the Branding page, switch between the mobile icon or desktop icon to view the preview of your hosted page.
