Listing Wallets
You can view a list of all wallets that your company manages.
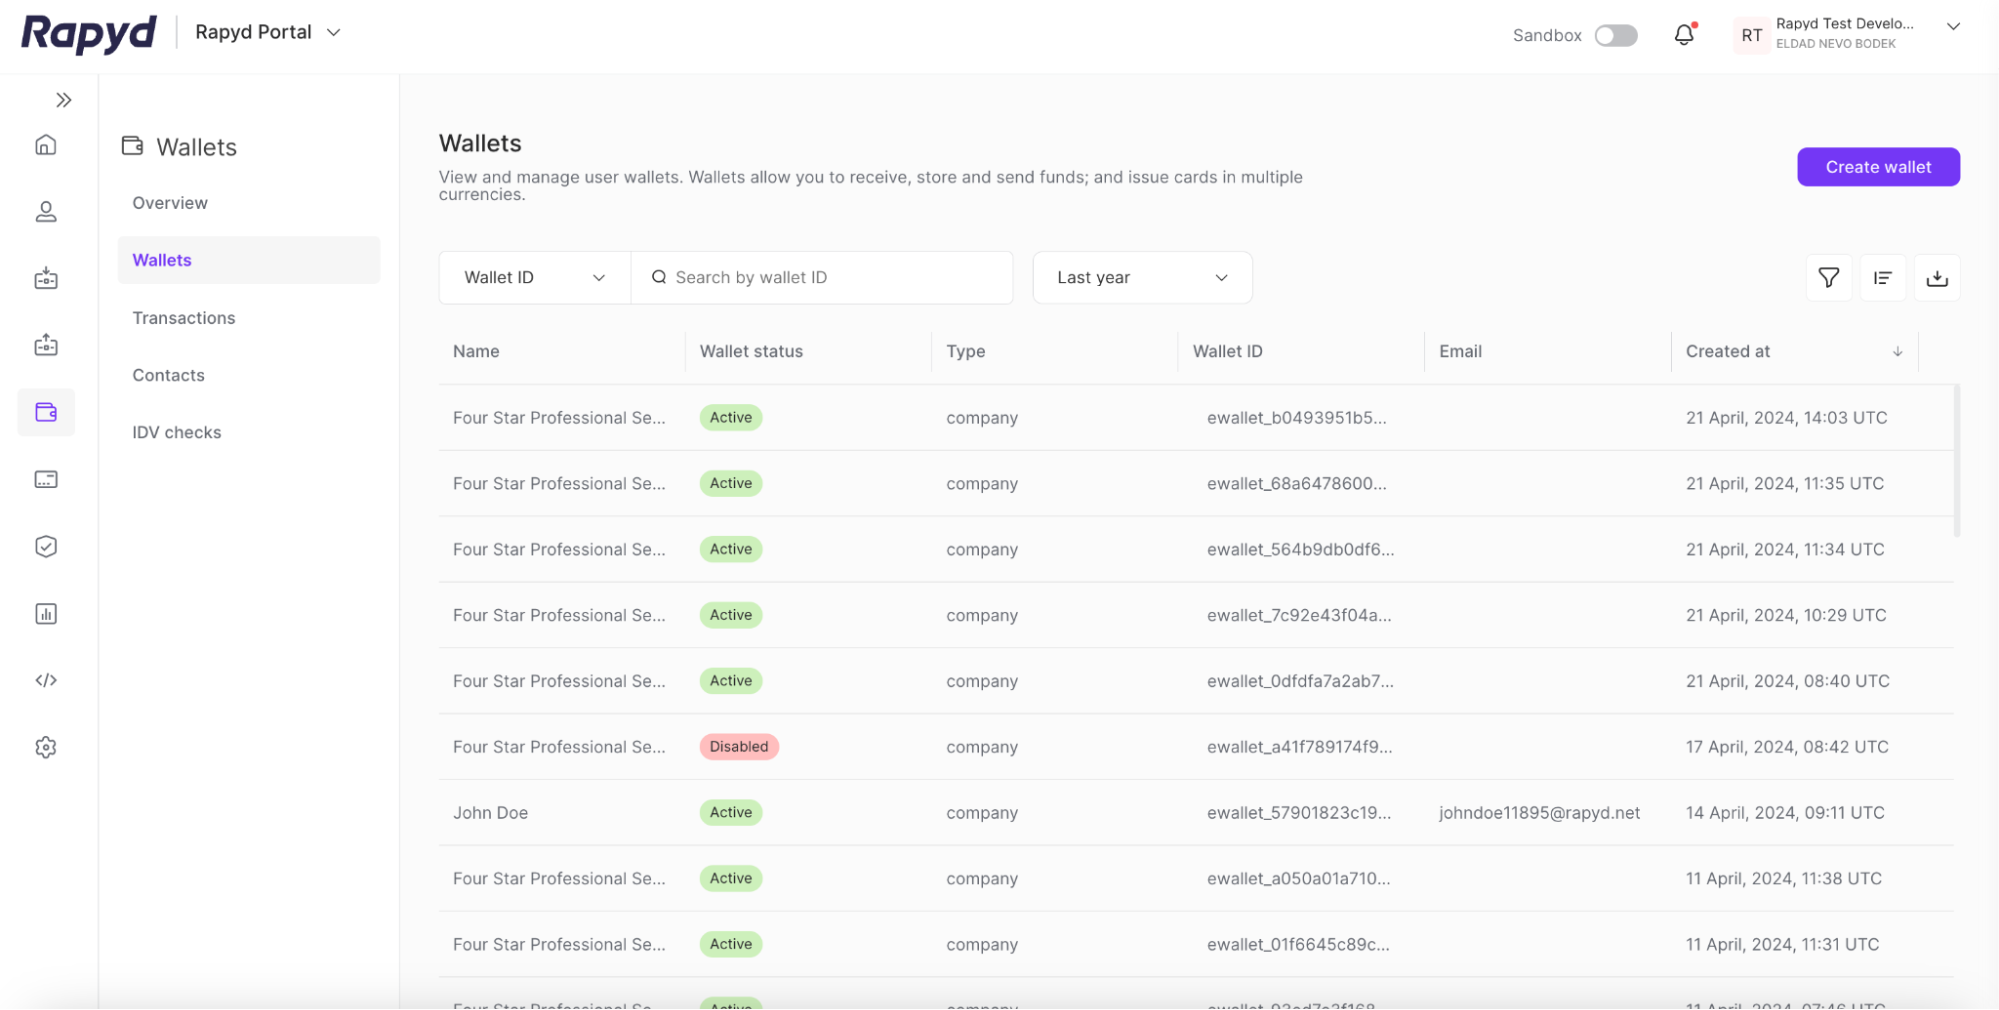
Sign in as described in Accessing the Client Portal and navigate to Wallets > Wallets.
The Wallets page appears.
Modify the display by doing the following:
To add or remove columns, click the Choose Columns icon at the top right. The icon has three vertical bars. On the Choose Columns panel, select the columns you want to appear on screen.
To change the column order, click on a column header and drag it to a new place.
Other things you can do:
To filter the list, click the Search field at the top. Suggested filters appear. Select a filter and type a value, or type a free text string. Then click the magnifying glass icon.
To clear a filter, delete the text in the Search field and click the magnifying glass icon.
To apply an advanced filter, click the Filter icon at the top right. In the Filter window, select a field and a condition, and enter a value. To define an additional filter, click + Add Filter and fill in the field, condition, and value. Then click Apply.
To clear an advanced filter, close the filter description.
To clear all advanced filters, click Clear All.
To view additional columns, move the horizontal scroll bar at the bottom of the page.
To scroll through the lines of the table, move the vertical scroll bar at the right side of the page.
Tap the Export icon in the upper right to download a report of wallet accounts.
The following table describes the fields in the Wallets page:
Column | Description |
|---|---|
Name | The Reference ID or Company name. |
Wallet Status | The status of the wallet: active or disabled. |
Type | The wallet type: personal or company. |
Wallet ID | The ID for the wallet starting with ewallet_. |
The email of the wallet owner. | |
Created At | The date and time the wallet was created. |
The finite state diagram below summarizes the statuses for wallets.

Description of Statuses
Status | Description |
|---|---|
ACT | Active - The wallet is active. |
CLO | Closed - The wallet was closed. |
DIS | Disabled - The wallet has been disabled. |