Verifying Identity
You can submit an identity verification check for a contact within Client Portal.
Sign in as described in Accessing the Client Portal and navigate to Wallets > Contacts.
The Contacts page appears.
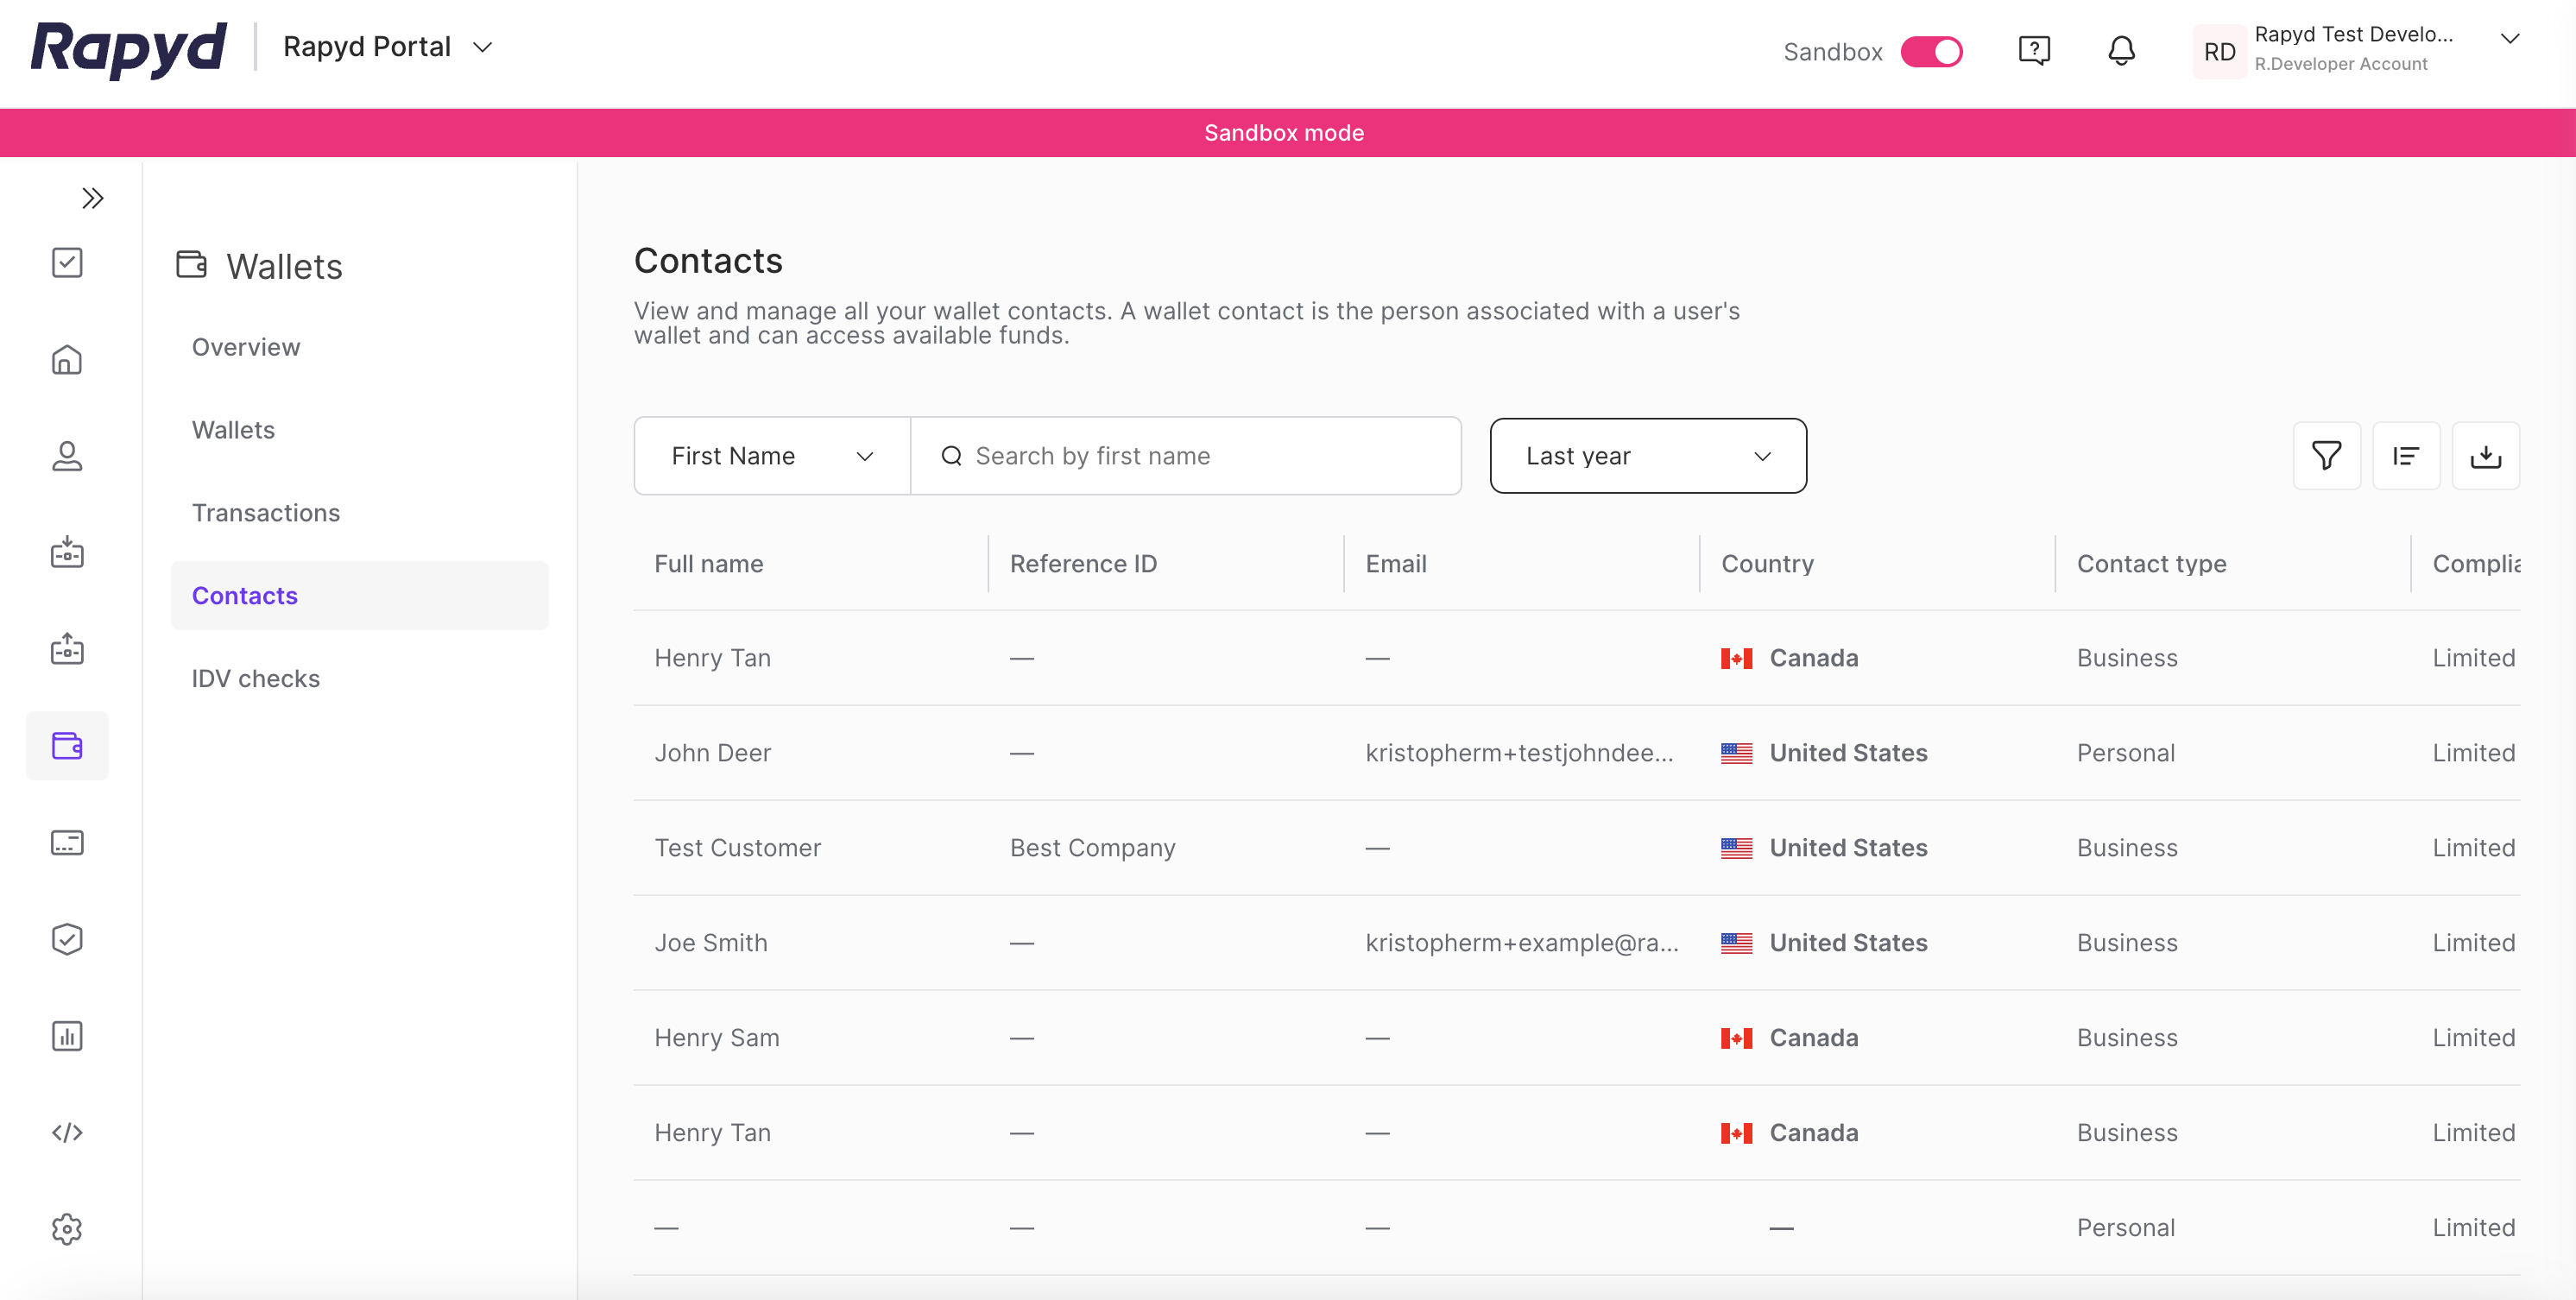
Scroll to the desired row.
Select the Verify Identity icon.
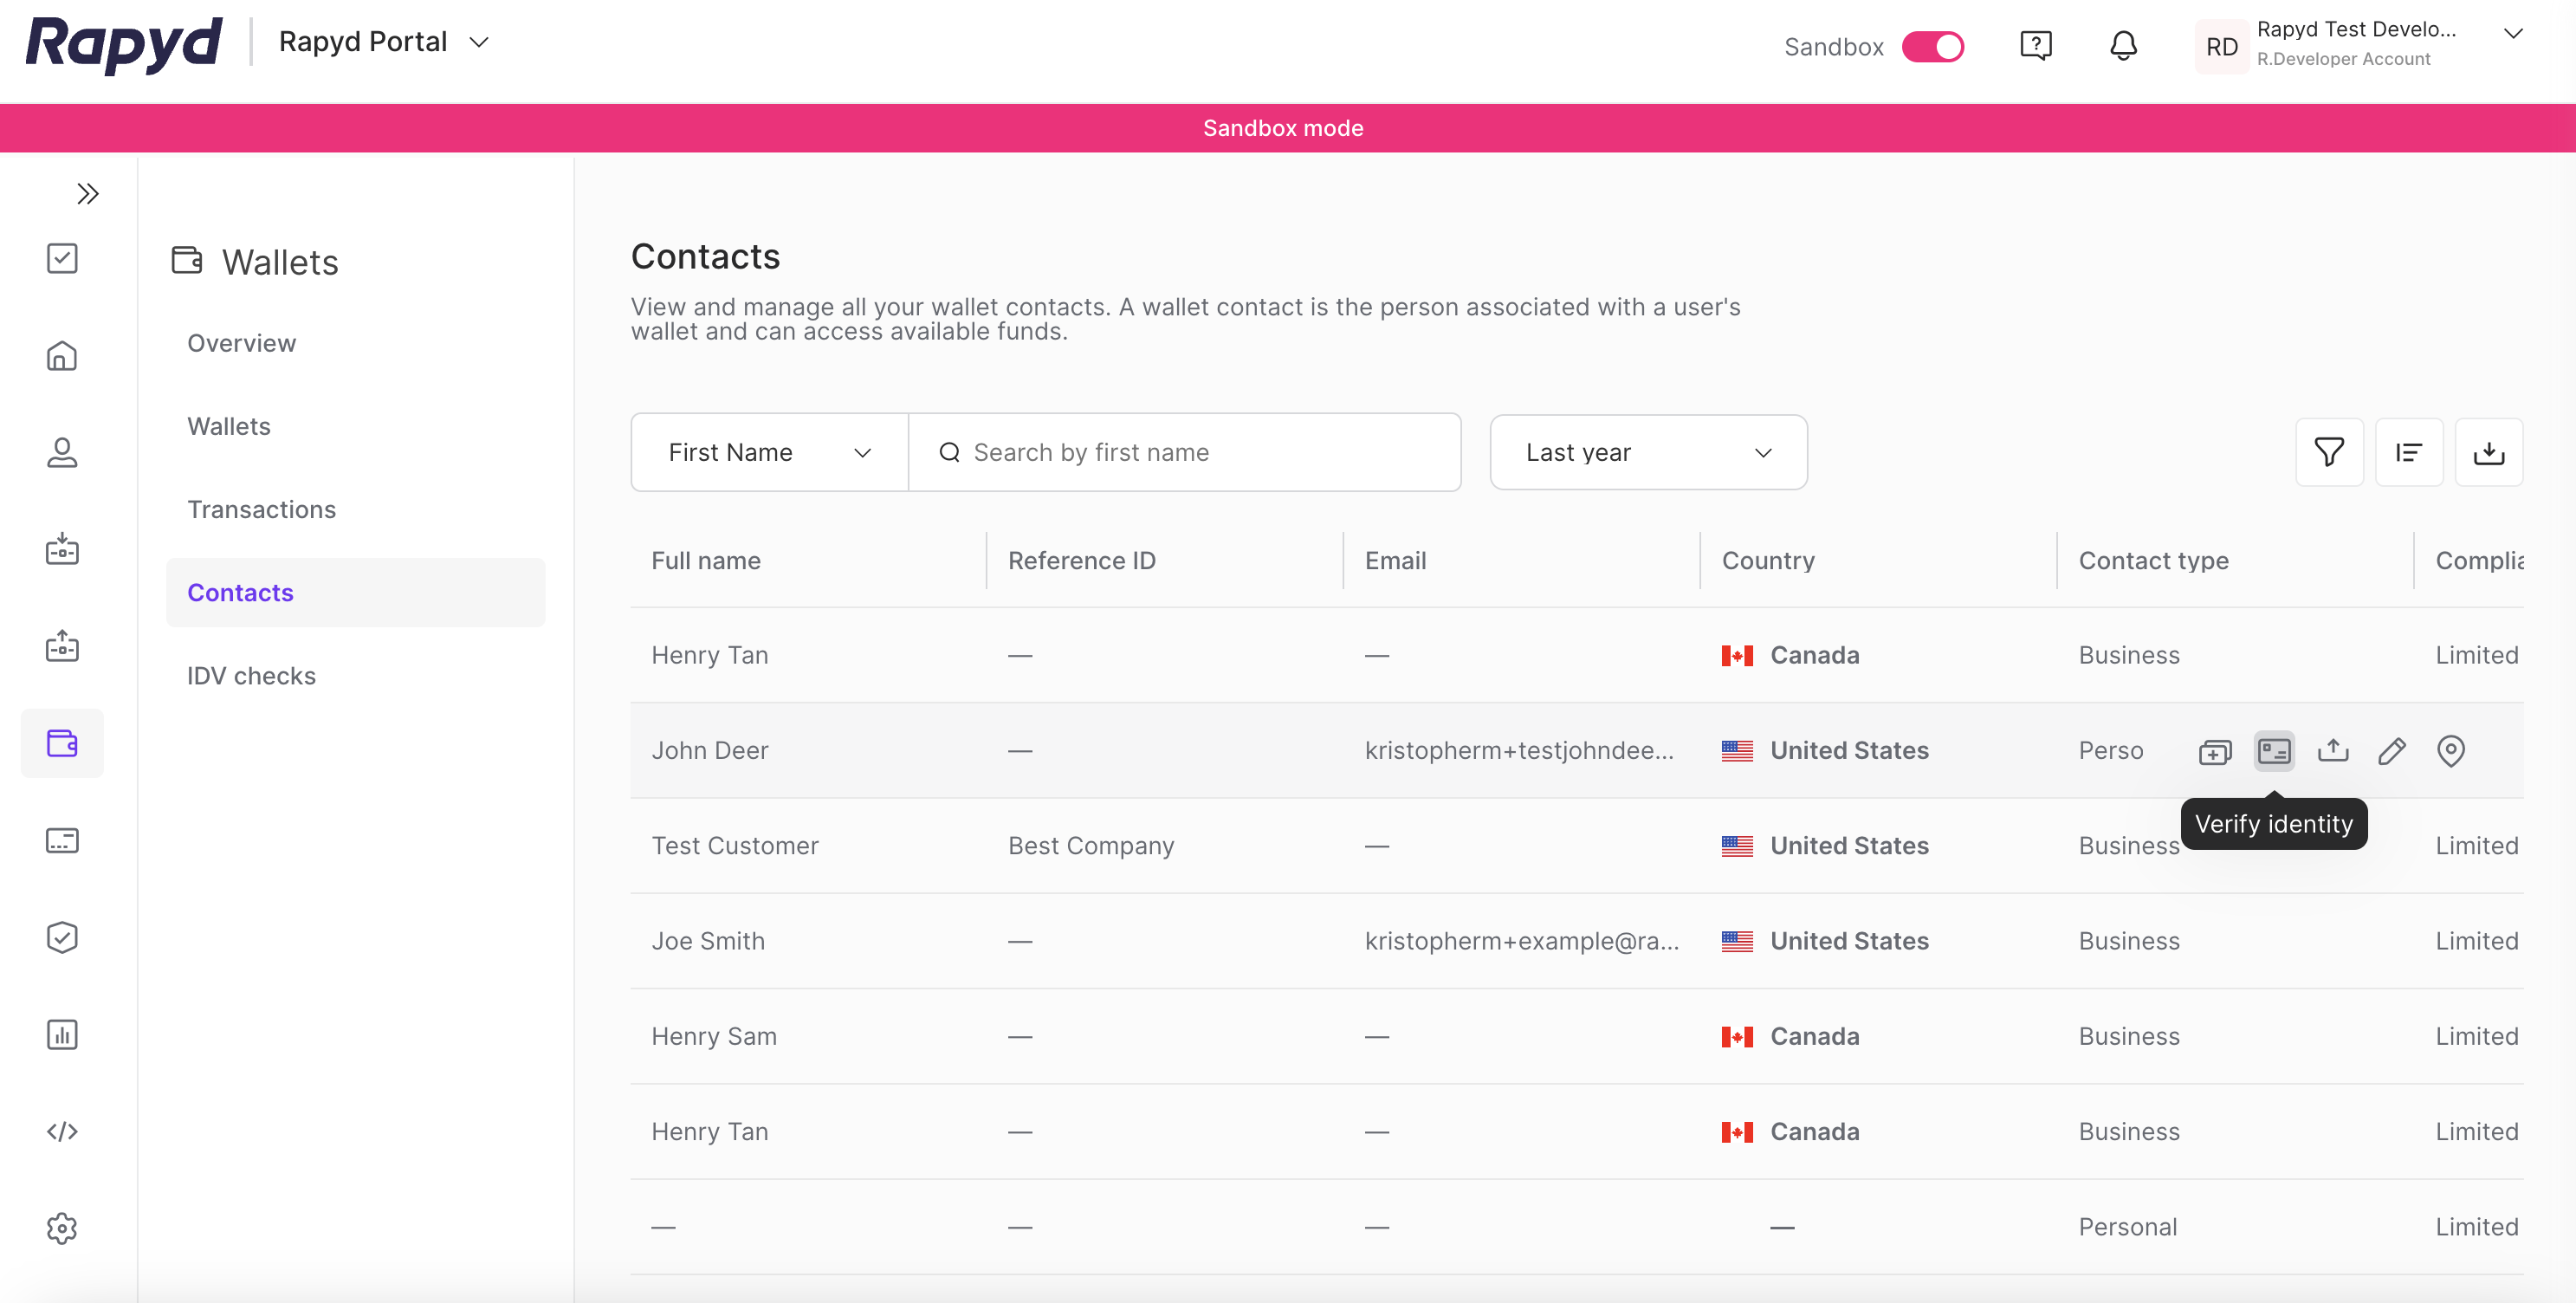
The Verify Identity dialog box appears.
Complete each field and upload each asset.
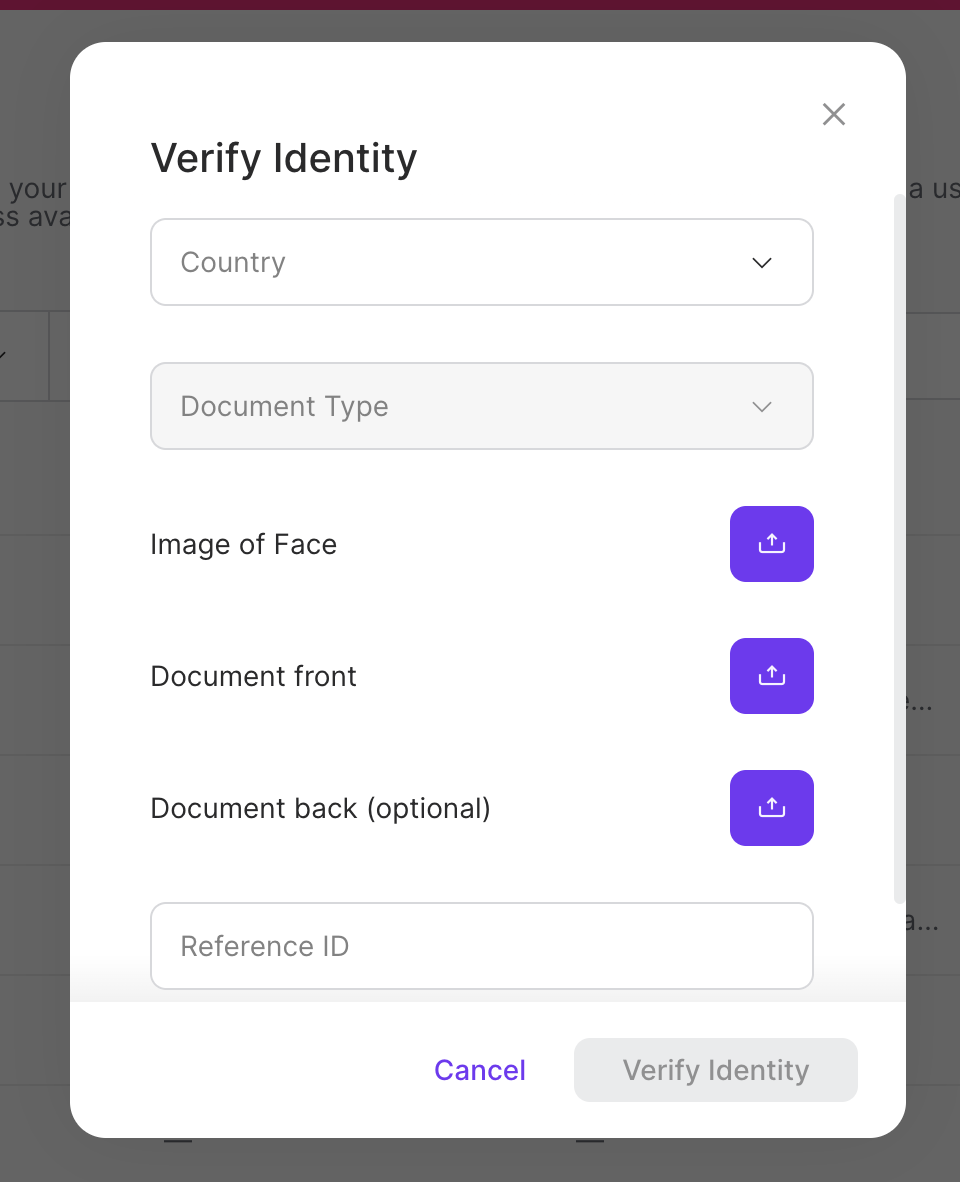
Click Verify Identity.
The Action successful window appears.
The following table describes the fields in the IDV Checks page.
Column | Description |
|---|---|
Country | Country that issued the identification document. |
Document Type | Document types that are valid in the country, as described in List Official Identification Documents. |
Image of Face | Image of the face. Maximum size: 8,000 pixels height or width, 5 MB. One of the following:image/jpeg - JPEG image. This is the default. image/png - PNG image. |
Document front | Image of the front of the identification document. Maximum size: 8,000 pixels height or width, 5 MB. One of the following: image/jpeg - JPEG image. This is the default. image/png - PNG image. |
Document back (optional) | Image of the back of the identification document. Maximum size: 8,000 pixels height or width, 5 MB. One of the following: image/jpeg - JPEG image. This is the default. image/png - PNG image. |
Reference ID | ID of the identity verification request. Must be unique for each request. Defined by the client. Maximum length: 36 characters. In sandbox, to simulate success or failure, the string must contain one of the following values: success - verification_status = APPROVED in the webhook, failure - verification_status = NOT_APPROVED in the webhook. For example: 12345678success. |