Adding a Bank Account
You can add a single bank account to your Rapyd Wallet. The bank account is used for settlements. When adding the bank account, the currency you select will be the settlement currency.
You must have Owner or Administrator privileges to add a bank account.
To define a bank account:
Sign in to the Client Portal as described in Signing in to the Client Portal and navigate to My Account > Account management.
The Account management page appears.
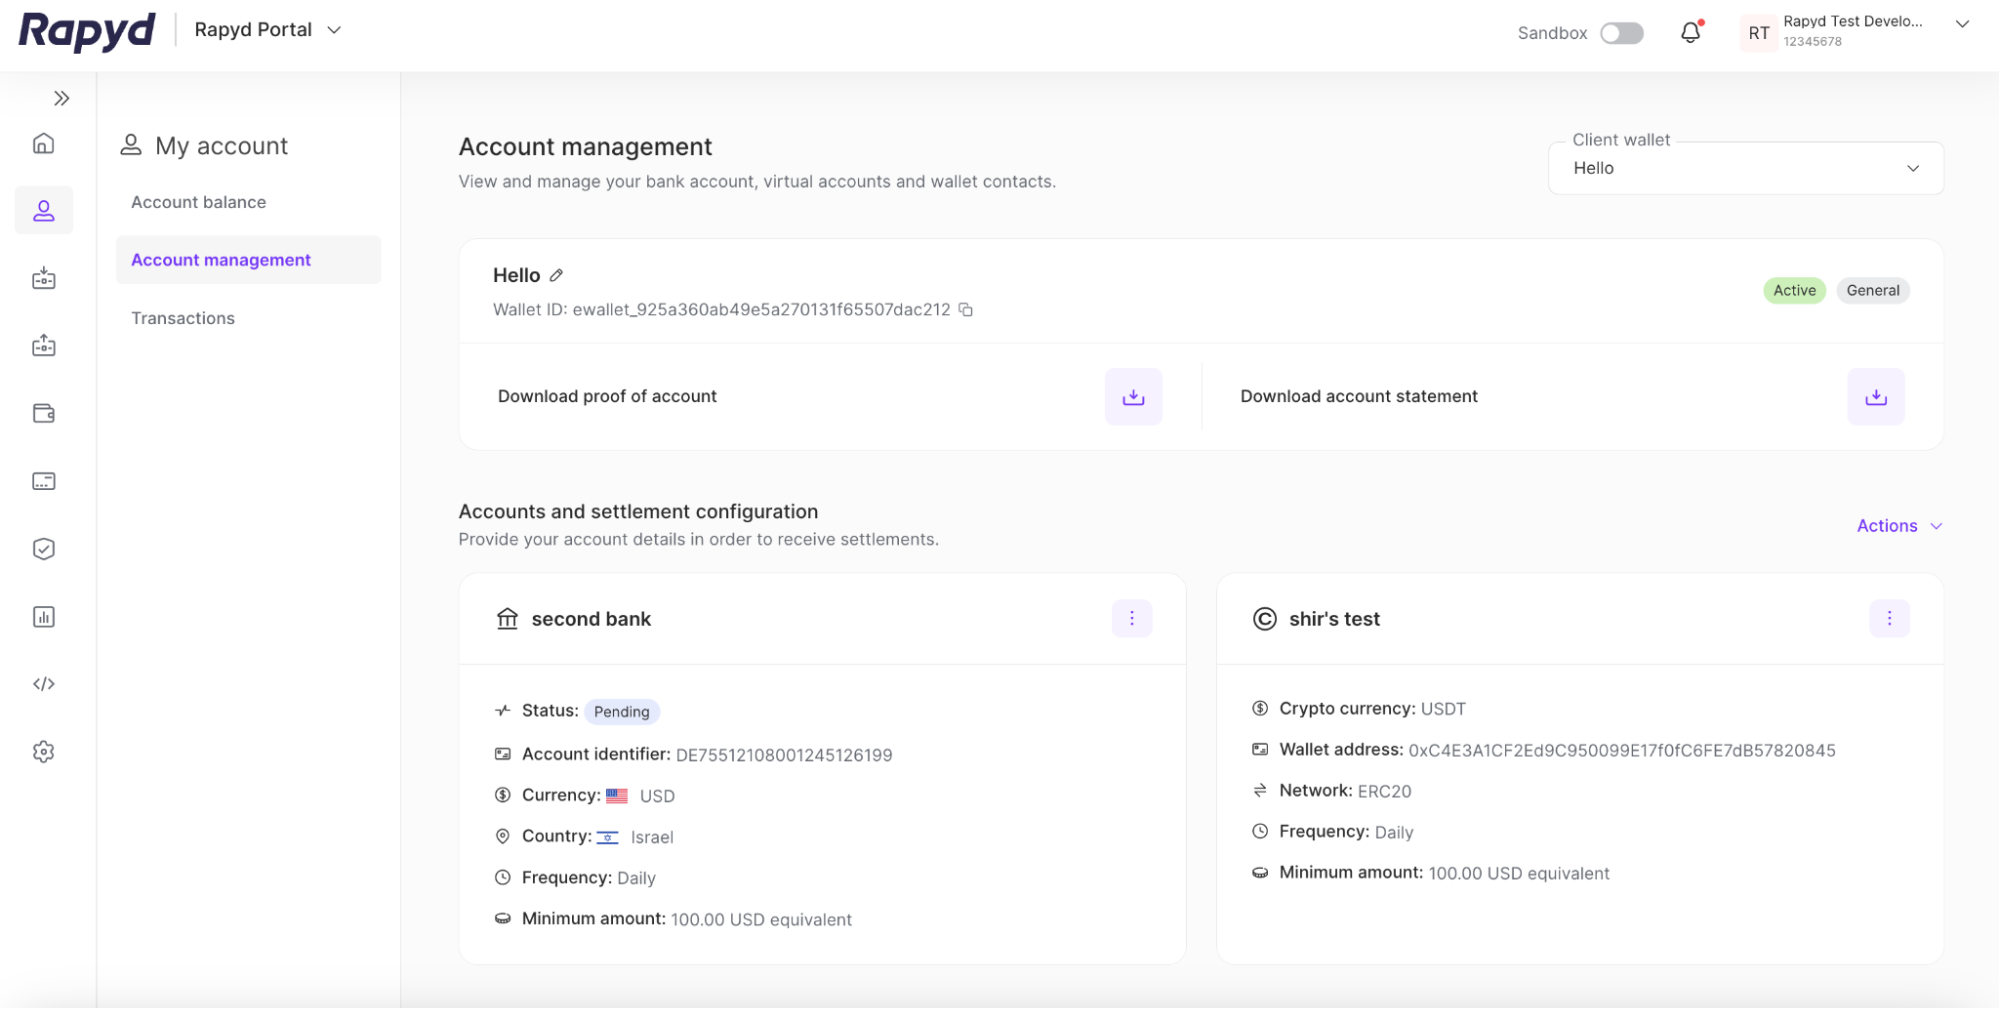
To add your bank account, tap the Actions drop-down in the Accounts and settlement configuration section.
Select + Add bank account.
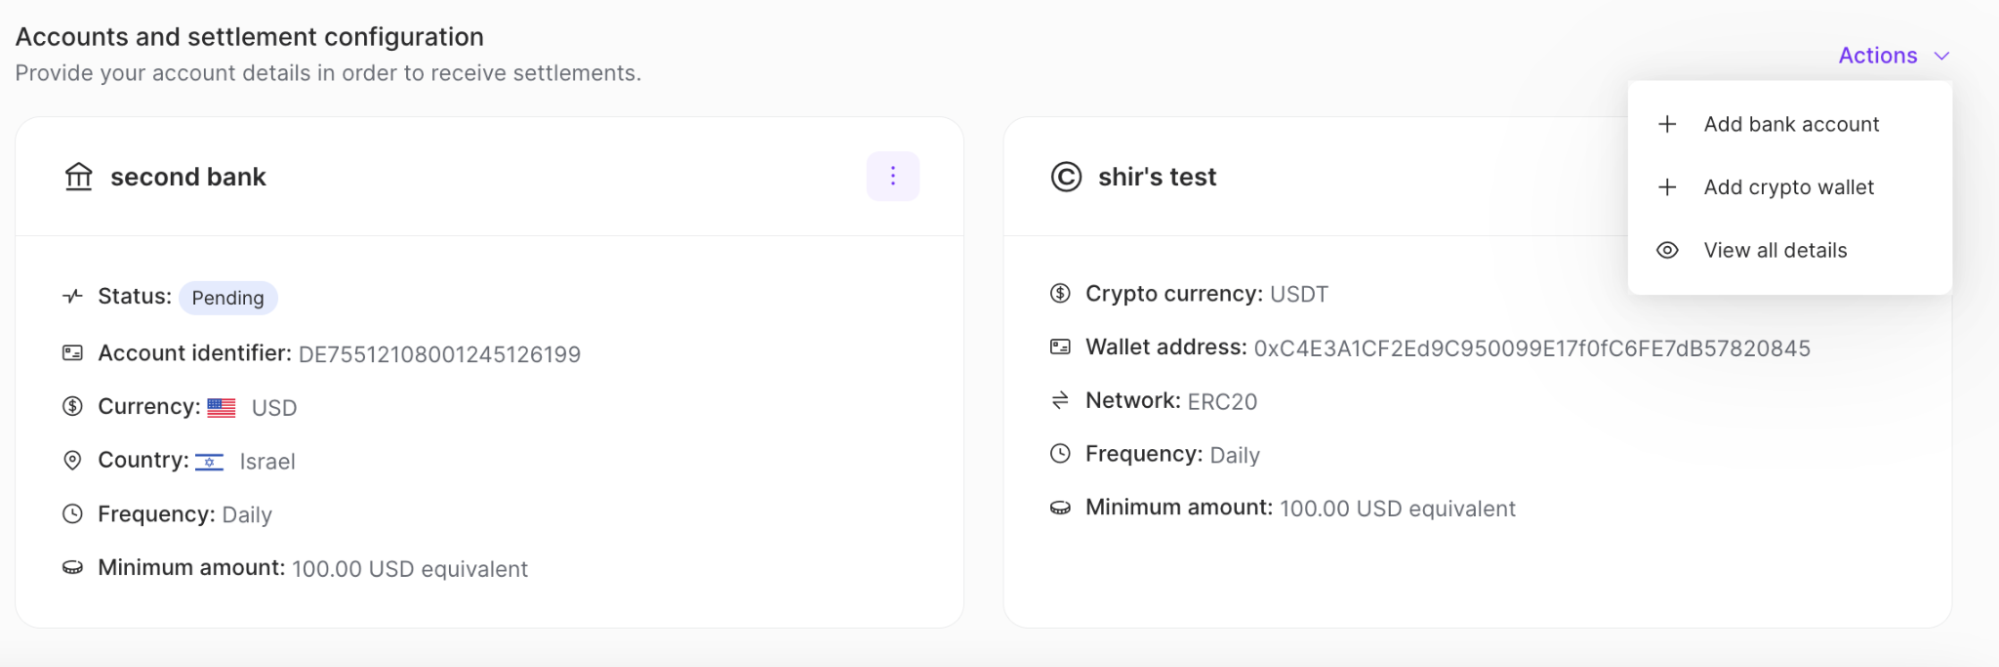
The Add bank account dialog box appears.
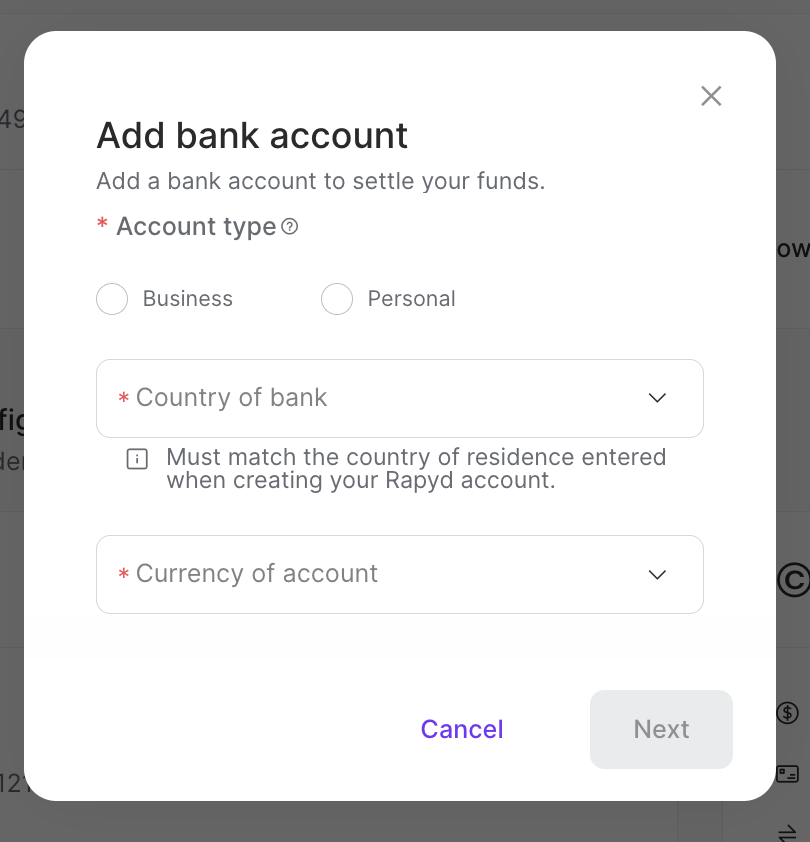
Provide the following information:
Under Account Type, select Personal or Business.
When more than one client wallet is available, select the ewallet linked to your account in the drop-down menu.
In the Country of Bank drop-down list, select the country in which the bank is located.
In the Currency of Account drop-down list, select the settlement currency.
Note: The currency may already be preselected.
Tap Next. The following panel appears:
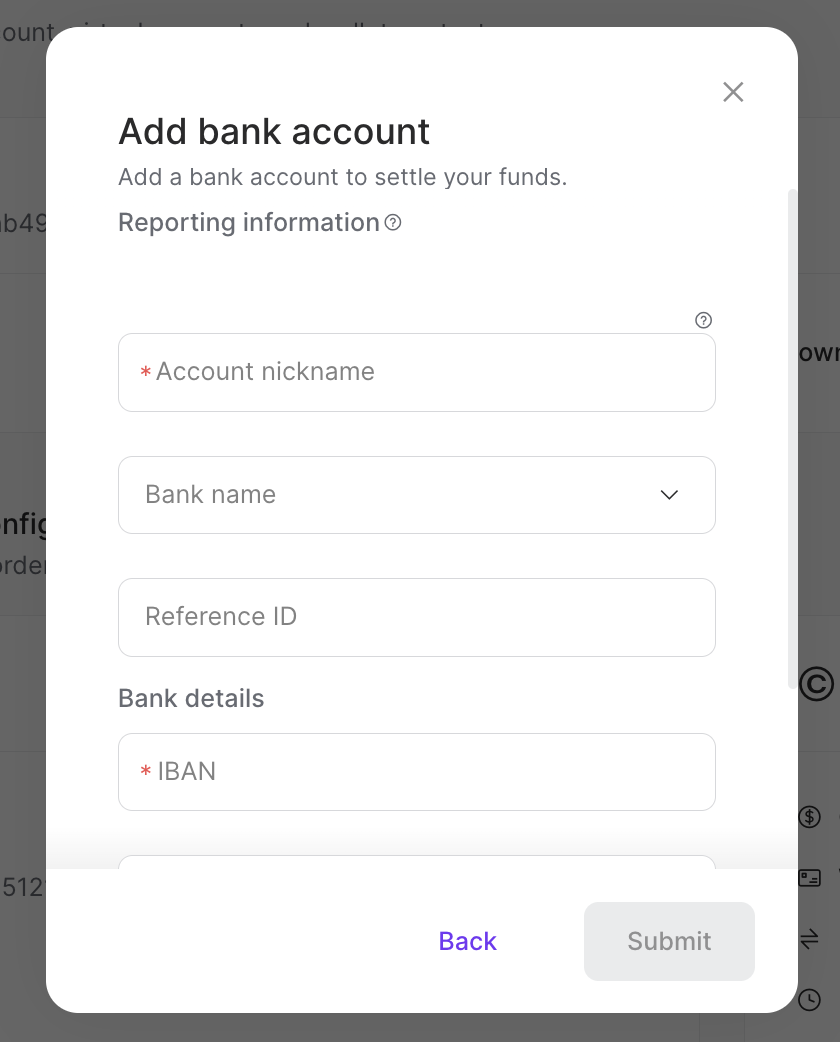
Enter the values for the Reporting Information fields:
Account Nickname - A unique internal alias, such as US Dollar Account.
Bank Name - The bank's name (e.g. Bank of America, Chase Bank).
Reference ID - A unique identification that can be added to settlements.
Note: If the bank name is not listed in the dropdown, select Other and enter the bank name in the field.
Enter the values for the Bank Details fields:
Note: These fields might vary, depending on your bank account's country and currency.
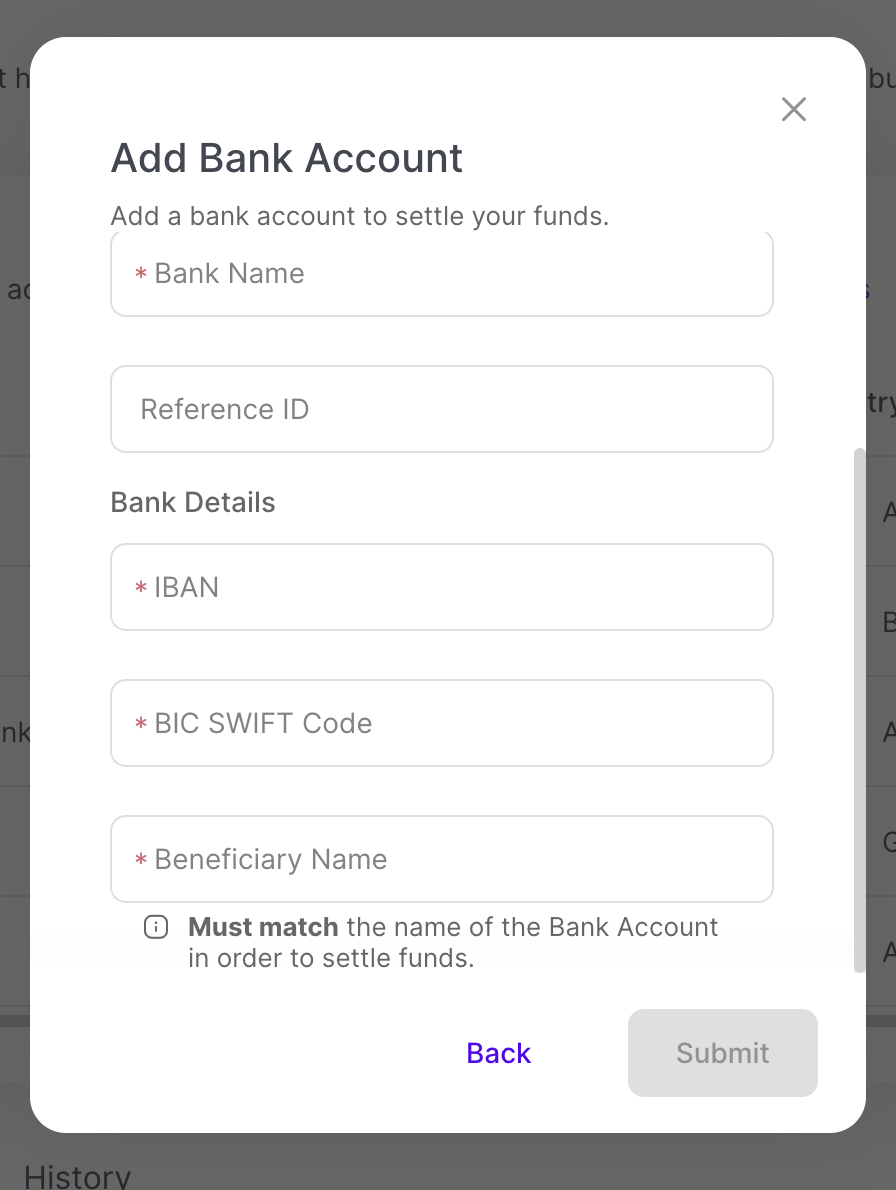
IBAN - International Bank Account Number
BIC SWIFT Code - The Business Identifier Code associated with the bank.
Sort Code - A routing number used for UK bank accounts.
Beneficiary Name - The name of the beneficiary associated with the account.
Note: The Beneficiary Name must match the name of the Bank Account Holder in order to settle funds.
Tap Submit.
The new bank account appears under Accounts and settlement configuration.
You need to verify your bank account information when linking your account to Rapyd through the Client Portal.
Verifying a Bank Account with a Bank Statement
You can verify your bank account information using your bank statement with the following steps:
Note: The country of origin for your bank account must be a country that is not the UK.
After adding your bank account information, the Bank account added dialog box appears.
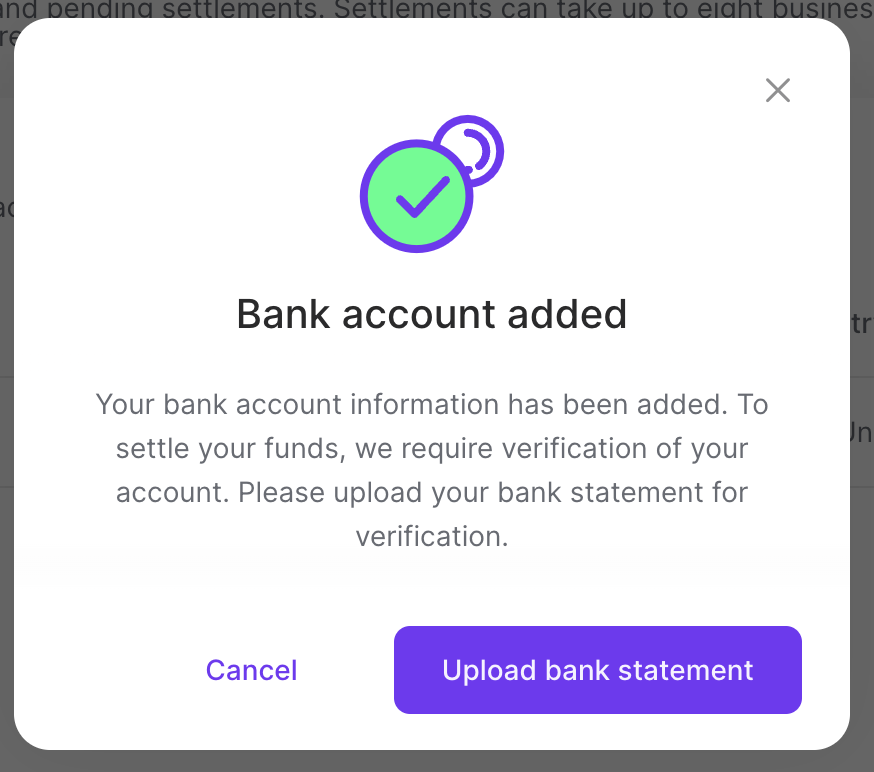
Click the Upload bank statement button.
The Upload bank statement dialog box appears.
Bank Account Settlements
Before we can settle your funds, our team will need to verify your bank account. Please upload your bank account statement.
Uploading your bank account statement is required for your bank account to be verified. The uploaded statement must match the details of the added bank account. You will be able to settle funds once your bank account is verified.
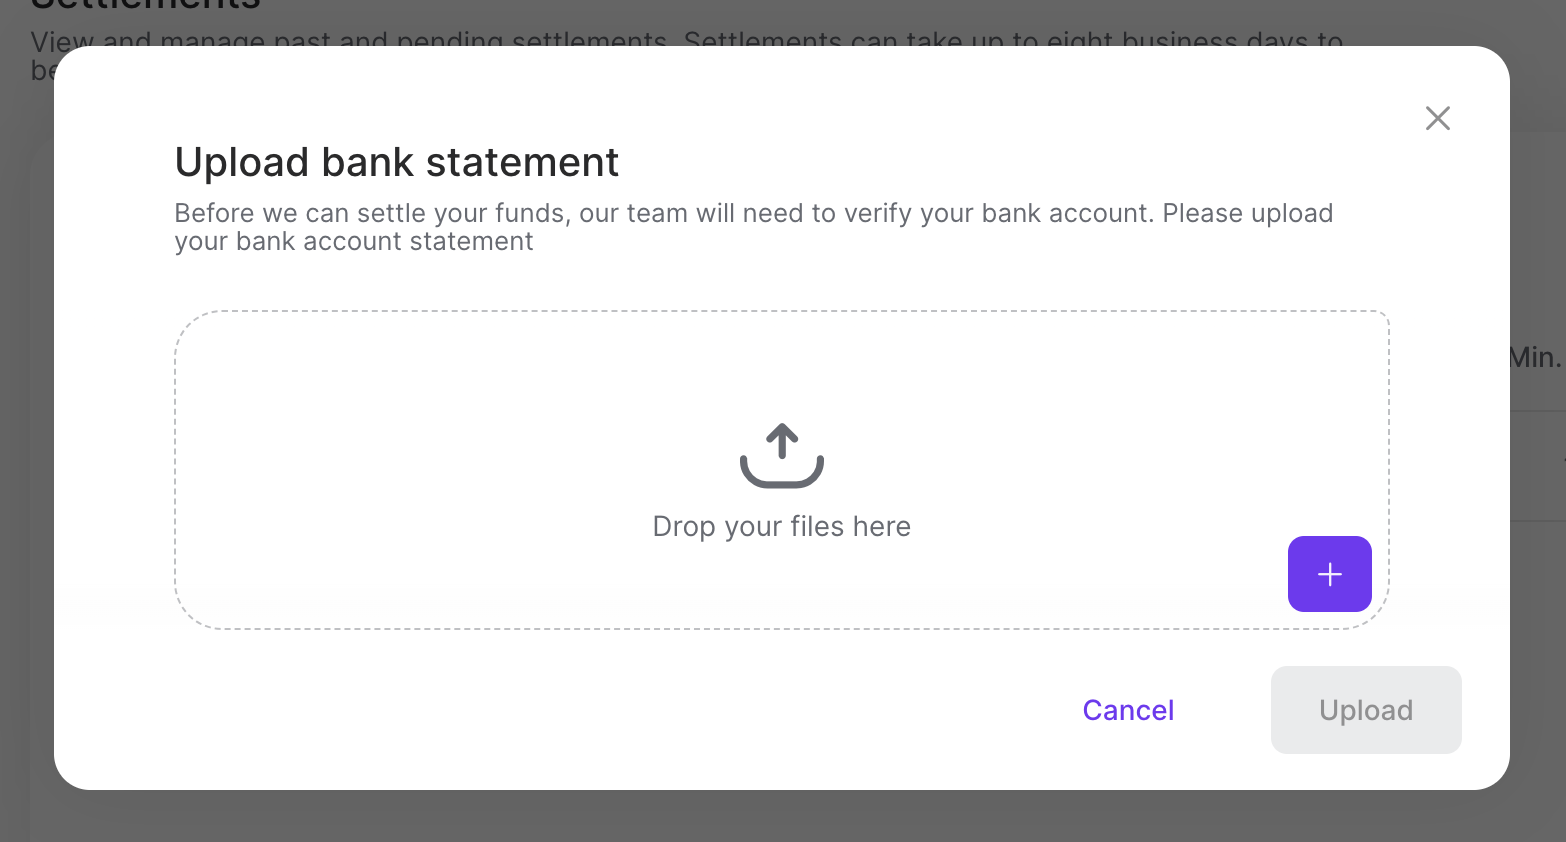
Add your bank statement file by either dragging the file, or clicking the + icon.
Click Upload.
Bank Account Verification Status
Rapyd will review the uploaded bank statement file. The bank account will have a status of Not Verified until the file is fully reviewed and approved.
Verifying a Bank Account with a Redirect
You can verify your bank account by redirecting to a permissions page to verify your account information with the following steps:
Note: The country of origin for your bank account must be one of the following countries: UK, France, Germany, Netherlands, Belgium, Italy, or Iceland.
Sign in to the Client Portal as described in Signing In to the Client Portal and navigate to My Account > Settlements.
Click Add Bank Account.
Provide the required bank account information in the window that appears. See How to Add a Bank Account for more detail.
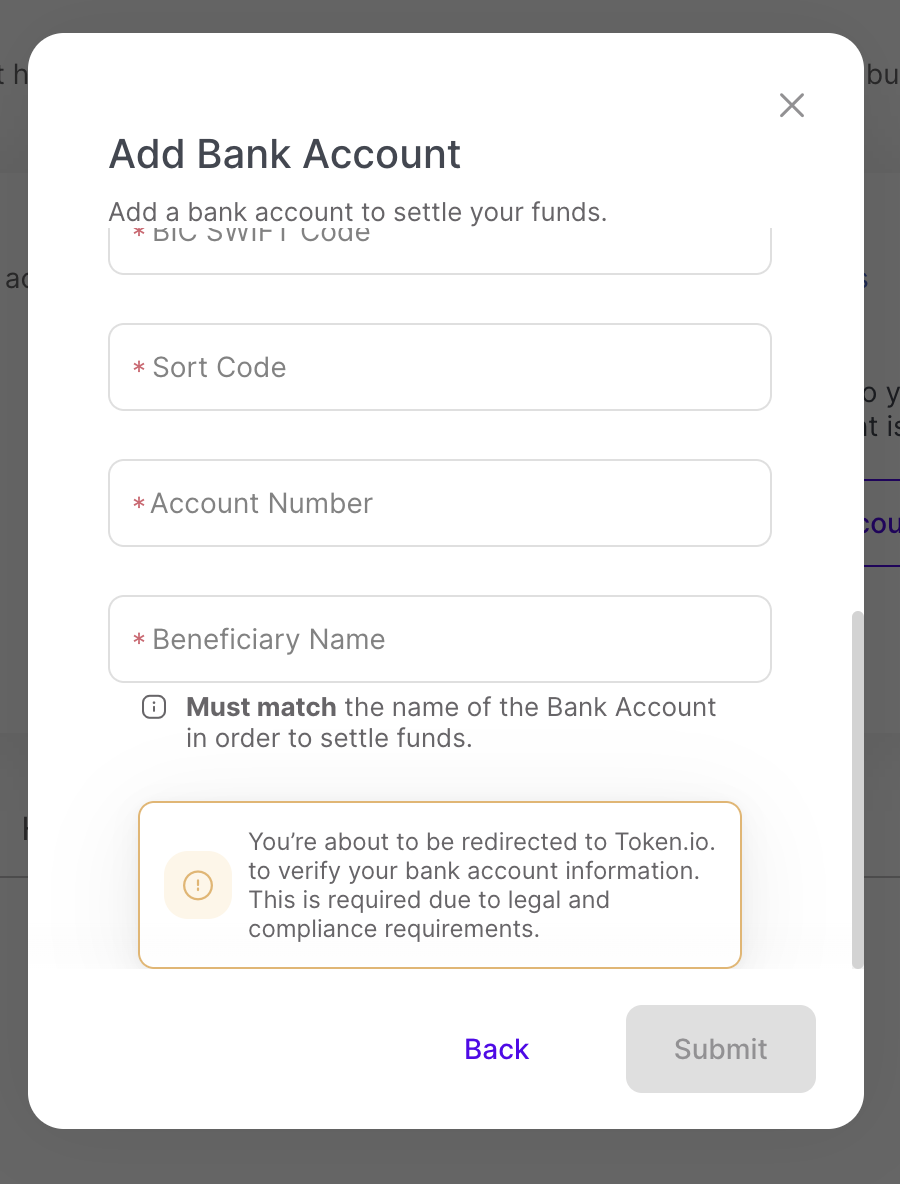
Click Submit.
After submitting the bank account details, you will be redirected to a permissions page.
Read the terms and conditions. Give Rapyd the permission to access your bank account information.
Click Accept.
Redirect to your bank website.
Log in to your bank.
Confirm permissions for Rapyd to access your account information.
Click Confirm.
Redirect to the Settlements page in Client Portal.
The verified bank account appears on the Settlements page with a status of Verified.