Allowing and Blocking IP Addresses
Add and block IP addresses that are linked to your account.
You can add or block IP addresses that are allowed to use your API keys to make calls to the Rapyd API using your credentials.
This procedure requires Owner or Administrator privileges.
Sign in as described in Accessing the Client Portal and navigate to Developers > API Access Control.
The API Access Control page appears.
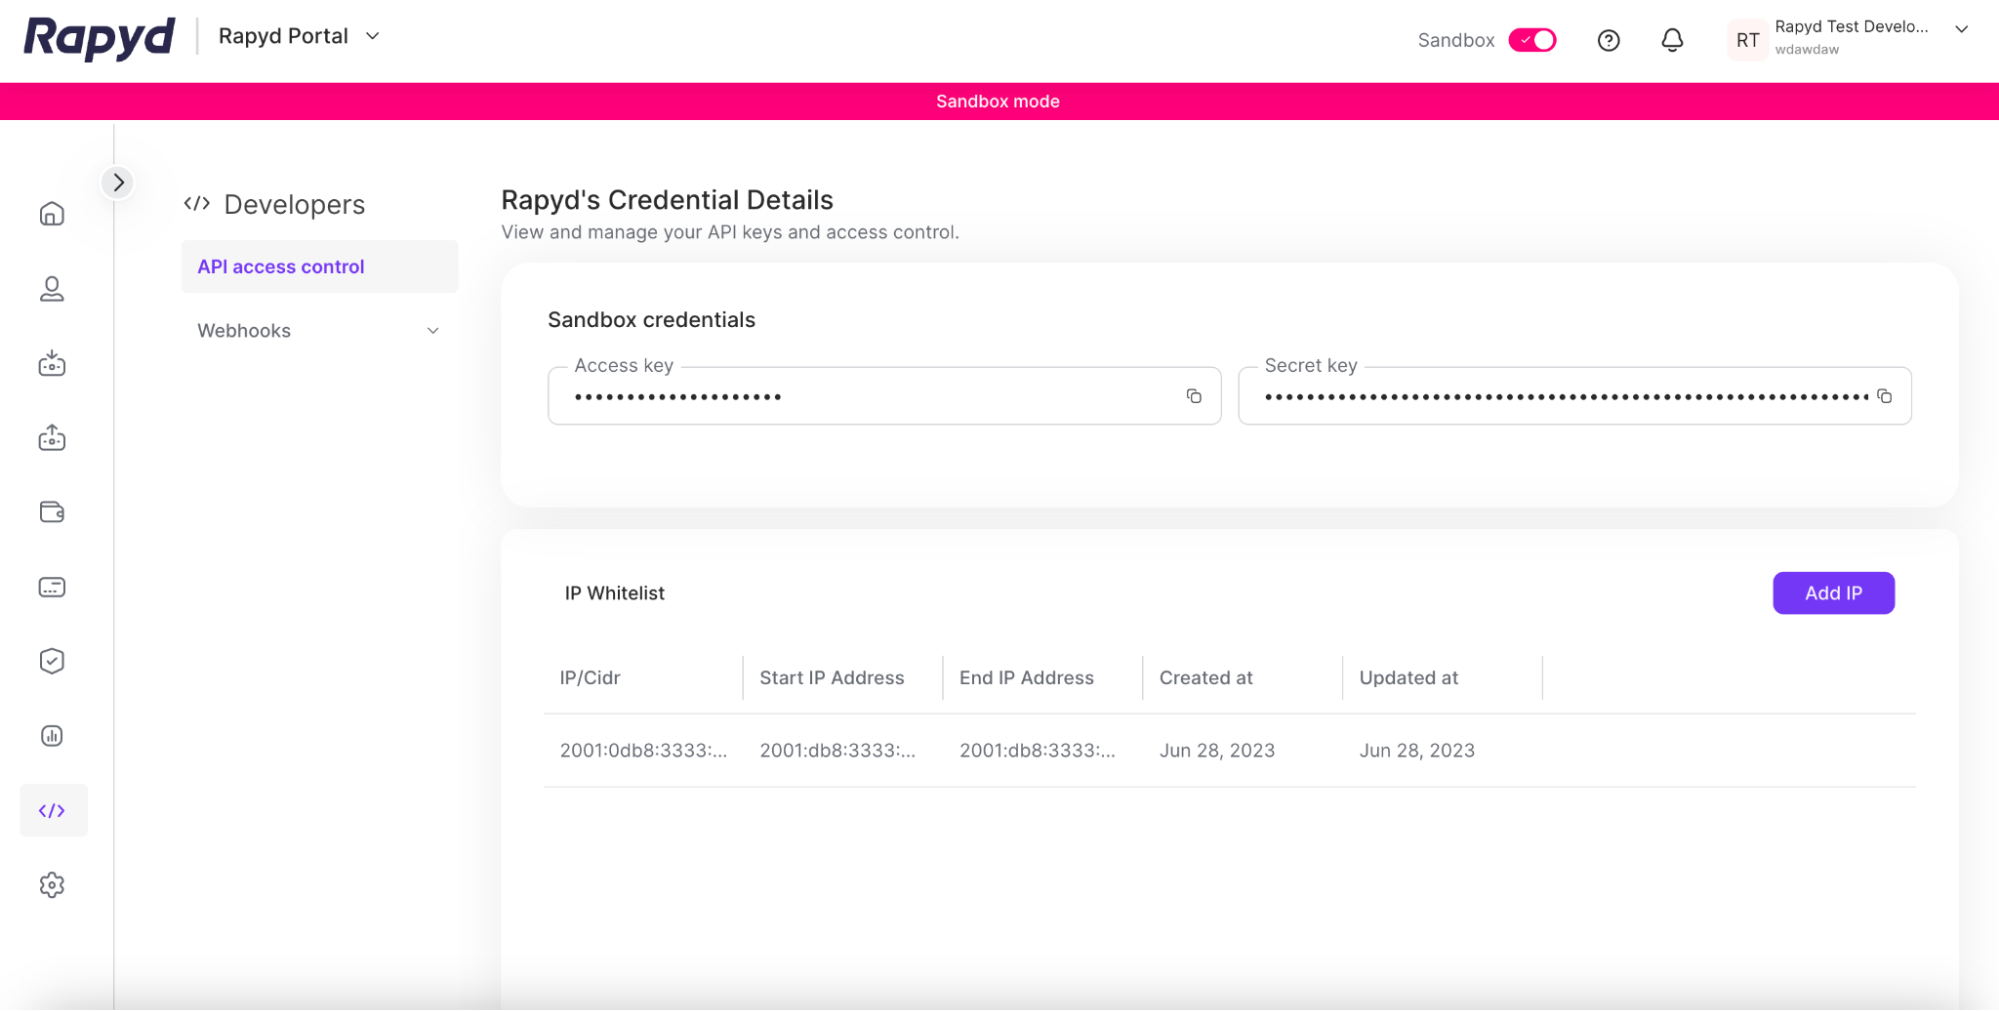
Click the Add IP button.
The Add IP to whitelist dialogue box appears.
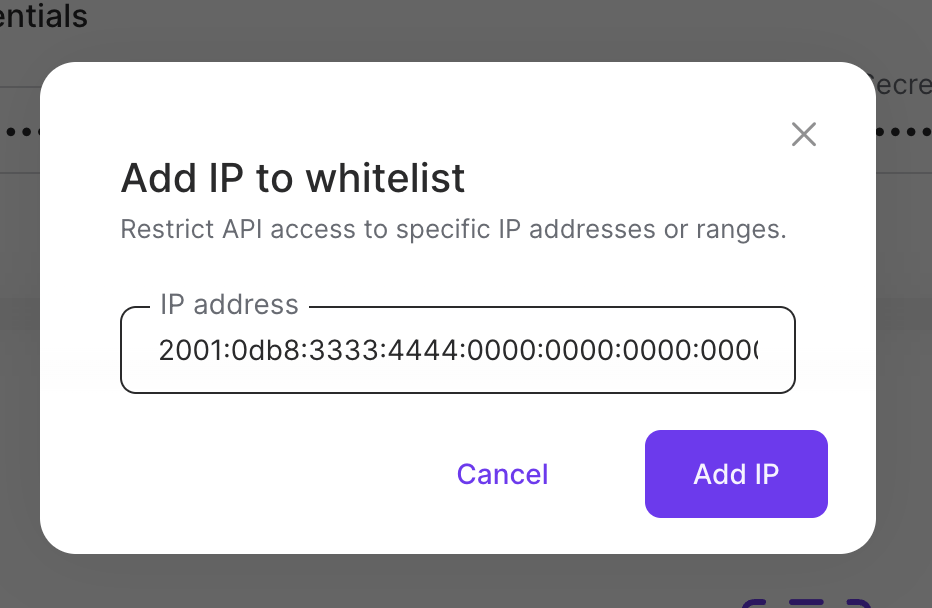
Enter the range of IP addresses you would like to allow.
Note: The IP addresses you add must use CIDR notation.
Click Add IP.
The IP address range appears in the IP whitelist.
Adding a Range of IP Addresses
You can add a range of IP addresses to the whitelist.
You can edit the IP addresses that are allowed to make API calls with your credentials.
Sign in as described in Accessing the Client Portal and navigate to Developers > API Access Control.
The API Access Control details page appears.
Click the Edit icon for the row of the IP address range you would like to edit.
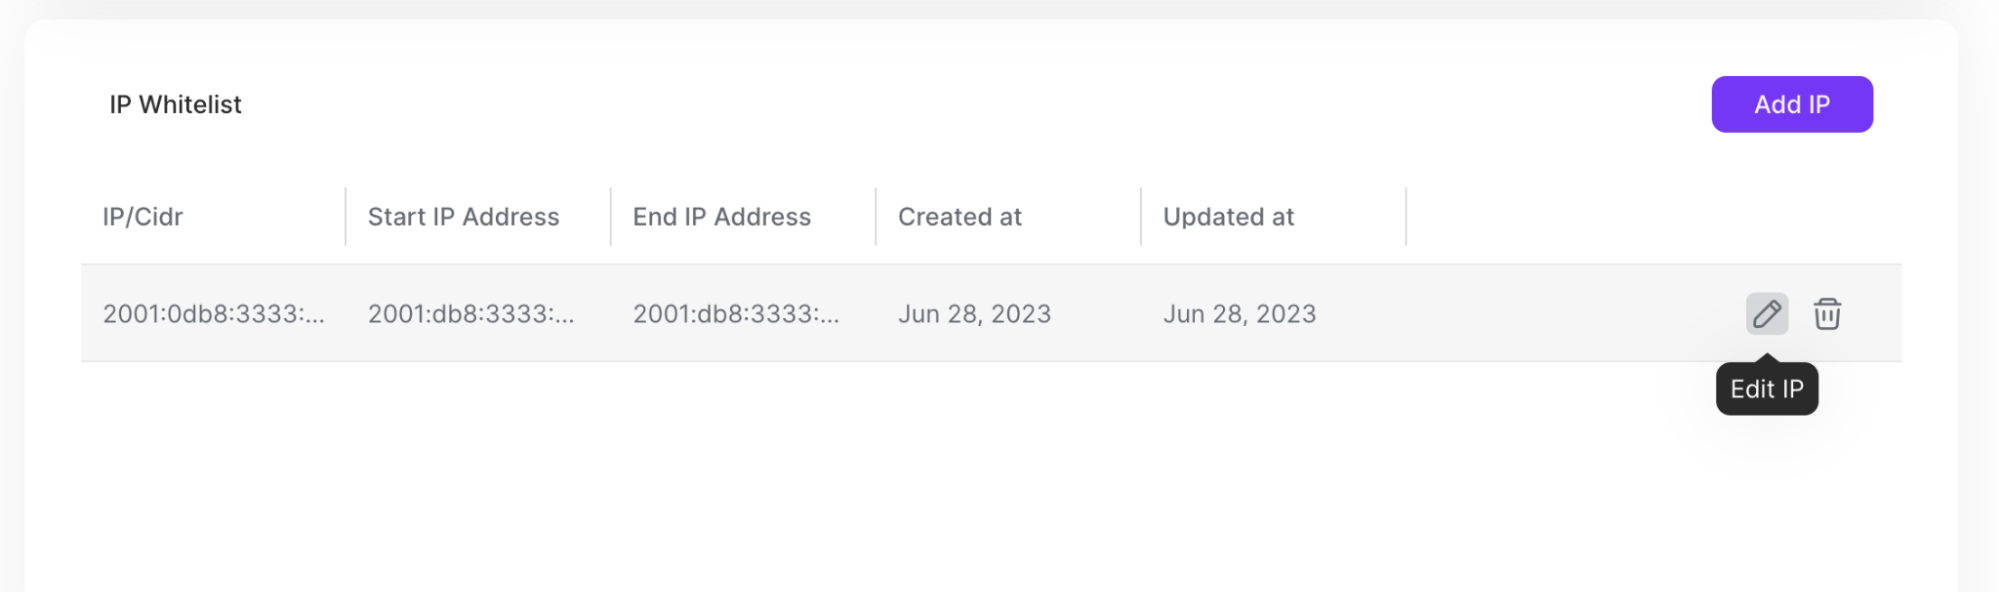
The Edit whitelist IP dialogue box appears.
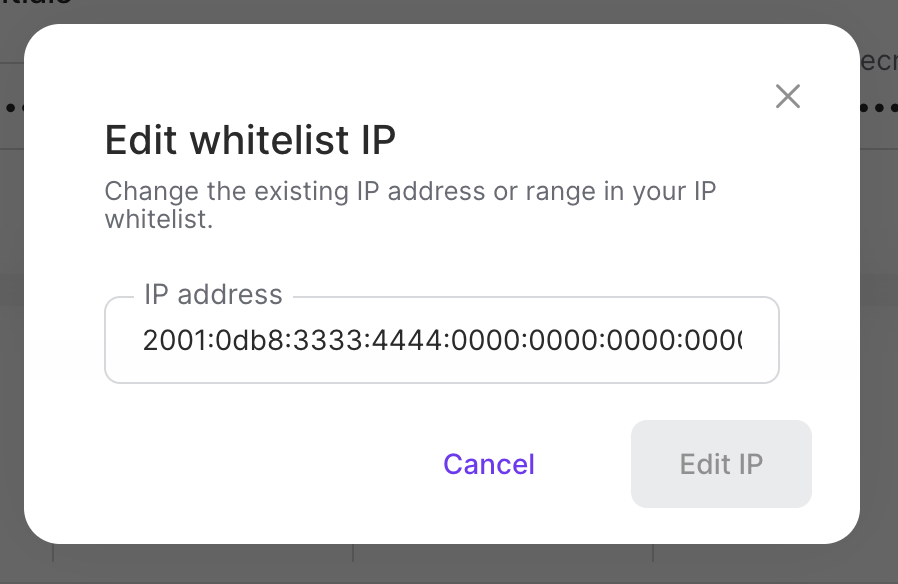
Enter the changed IP address range.
Click Edit IP.
You can delete the IP addresses that are allowed to make API calls with your credentials.
Sign in as described in Accessing the Client Portal and navigate to Developers > API Access Control.
The API Access Control details page appears.
Hover over the row of the IP address range you would like to edit. Click the Delete icon for that row.
The Delete IP dialogue box appears.

Click Yes.