Configuring SSO
You can create your SSO configuration in the Client Portal.
You must have Owner or Administrator privileges to create your SSO configuration. To enable Single Sign-On (SSO) for users linked to your Client Portal account, you need to create an SSO configuration for your users and then enable SSO.
Sign in as described in Signing In to the Client Portal and navigate to the Settings page.
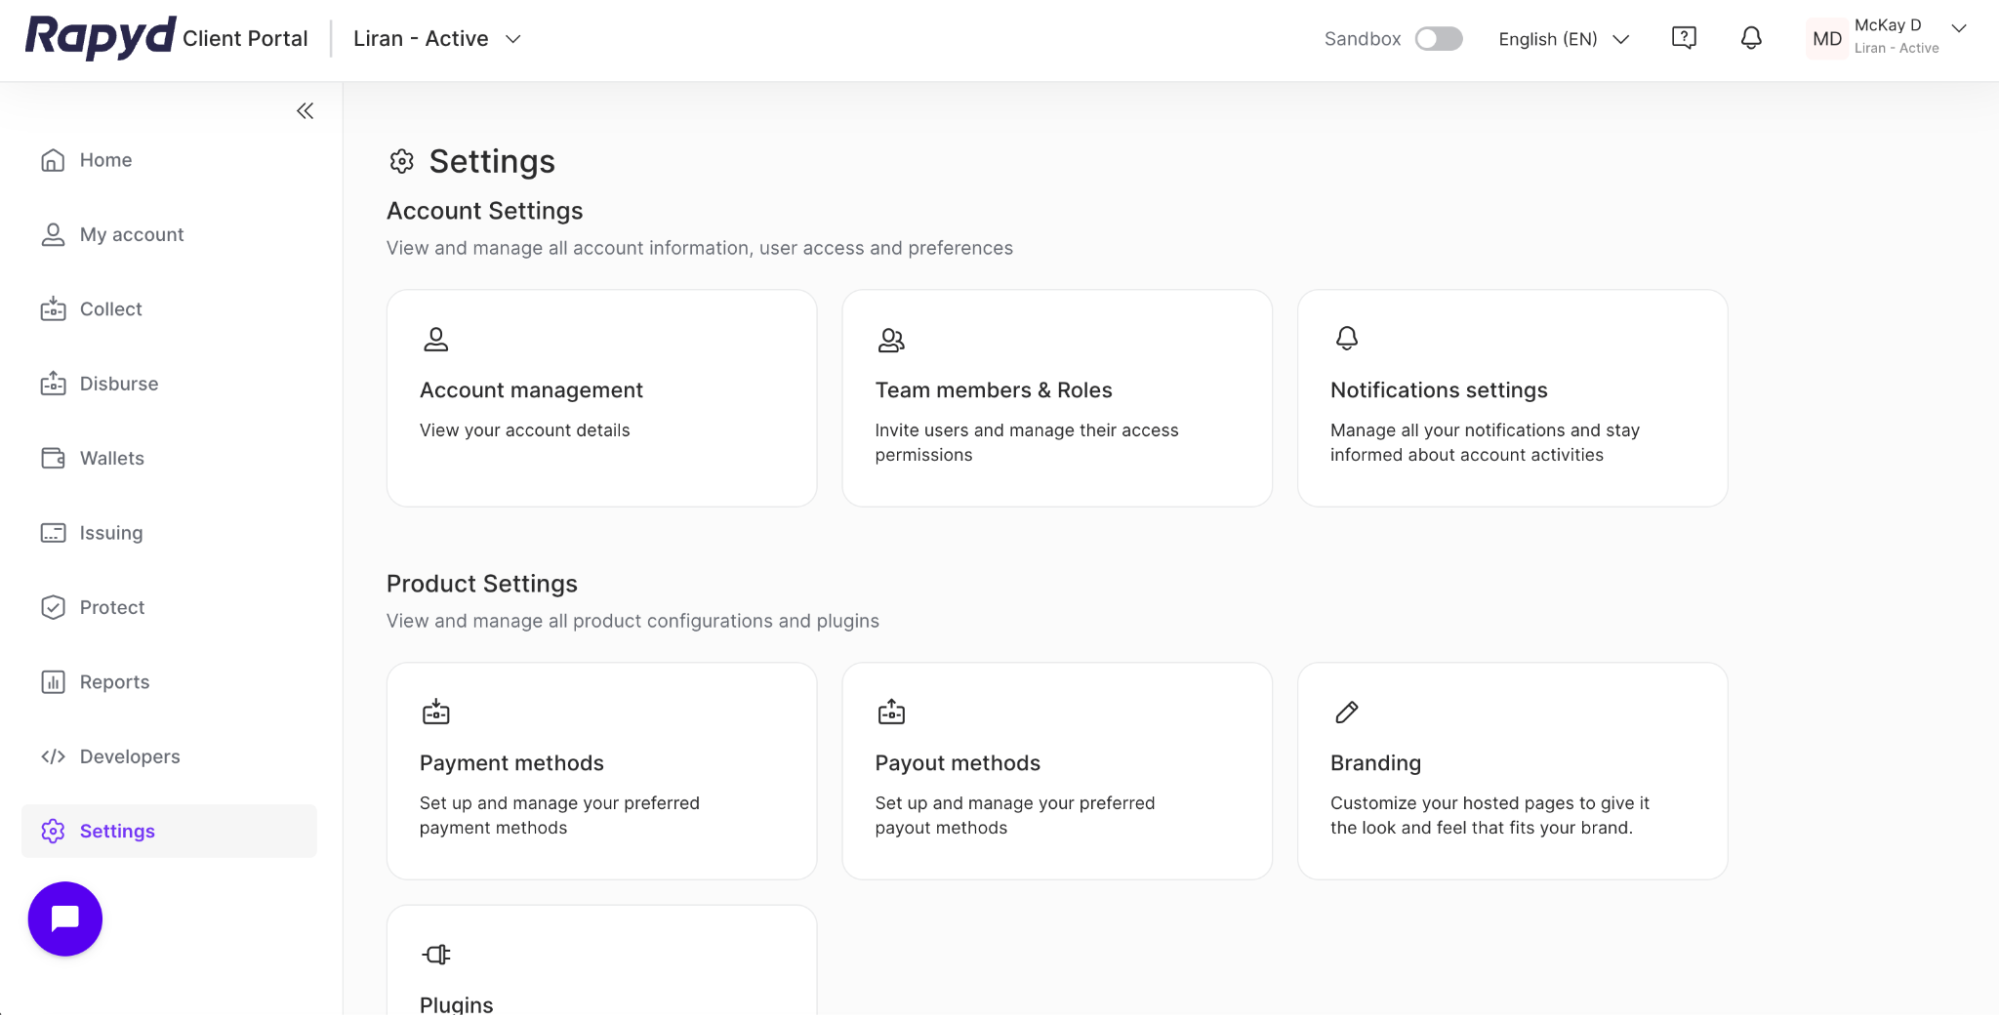
Click on the Team members & Roles tile in the Account Settings sub-section.
The Team members & Roles page appears.
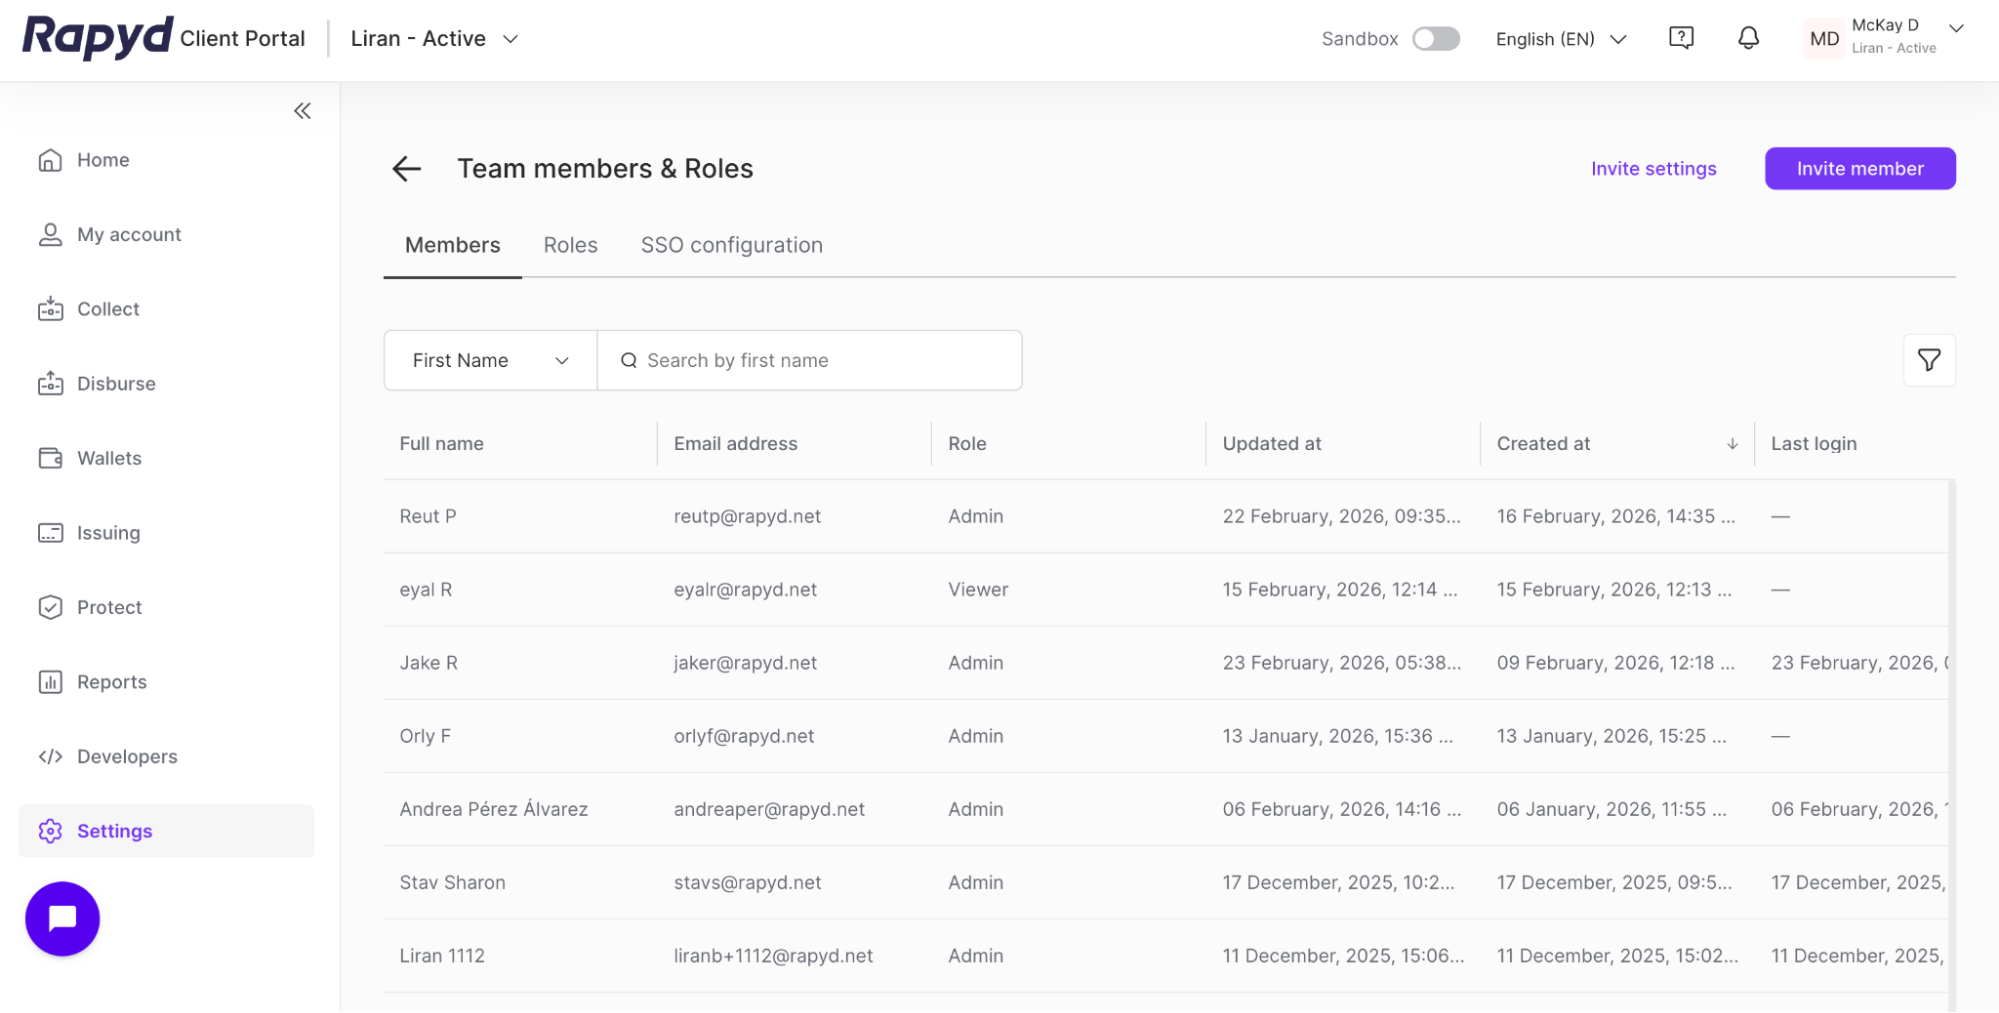
Click on the SSO configuration tab.
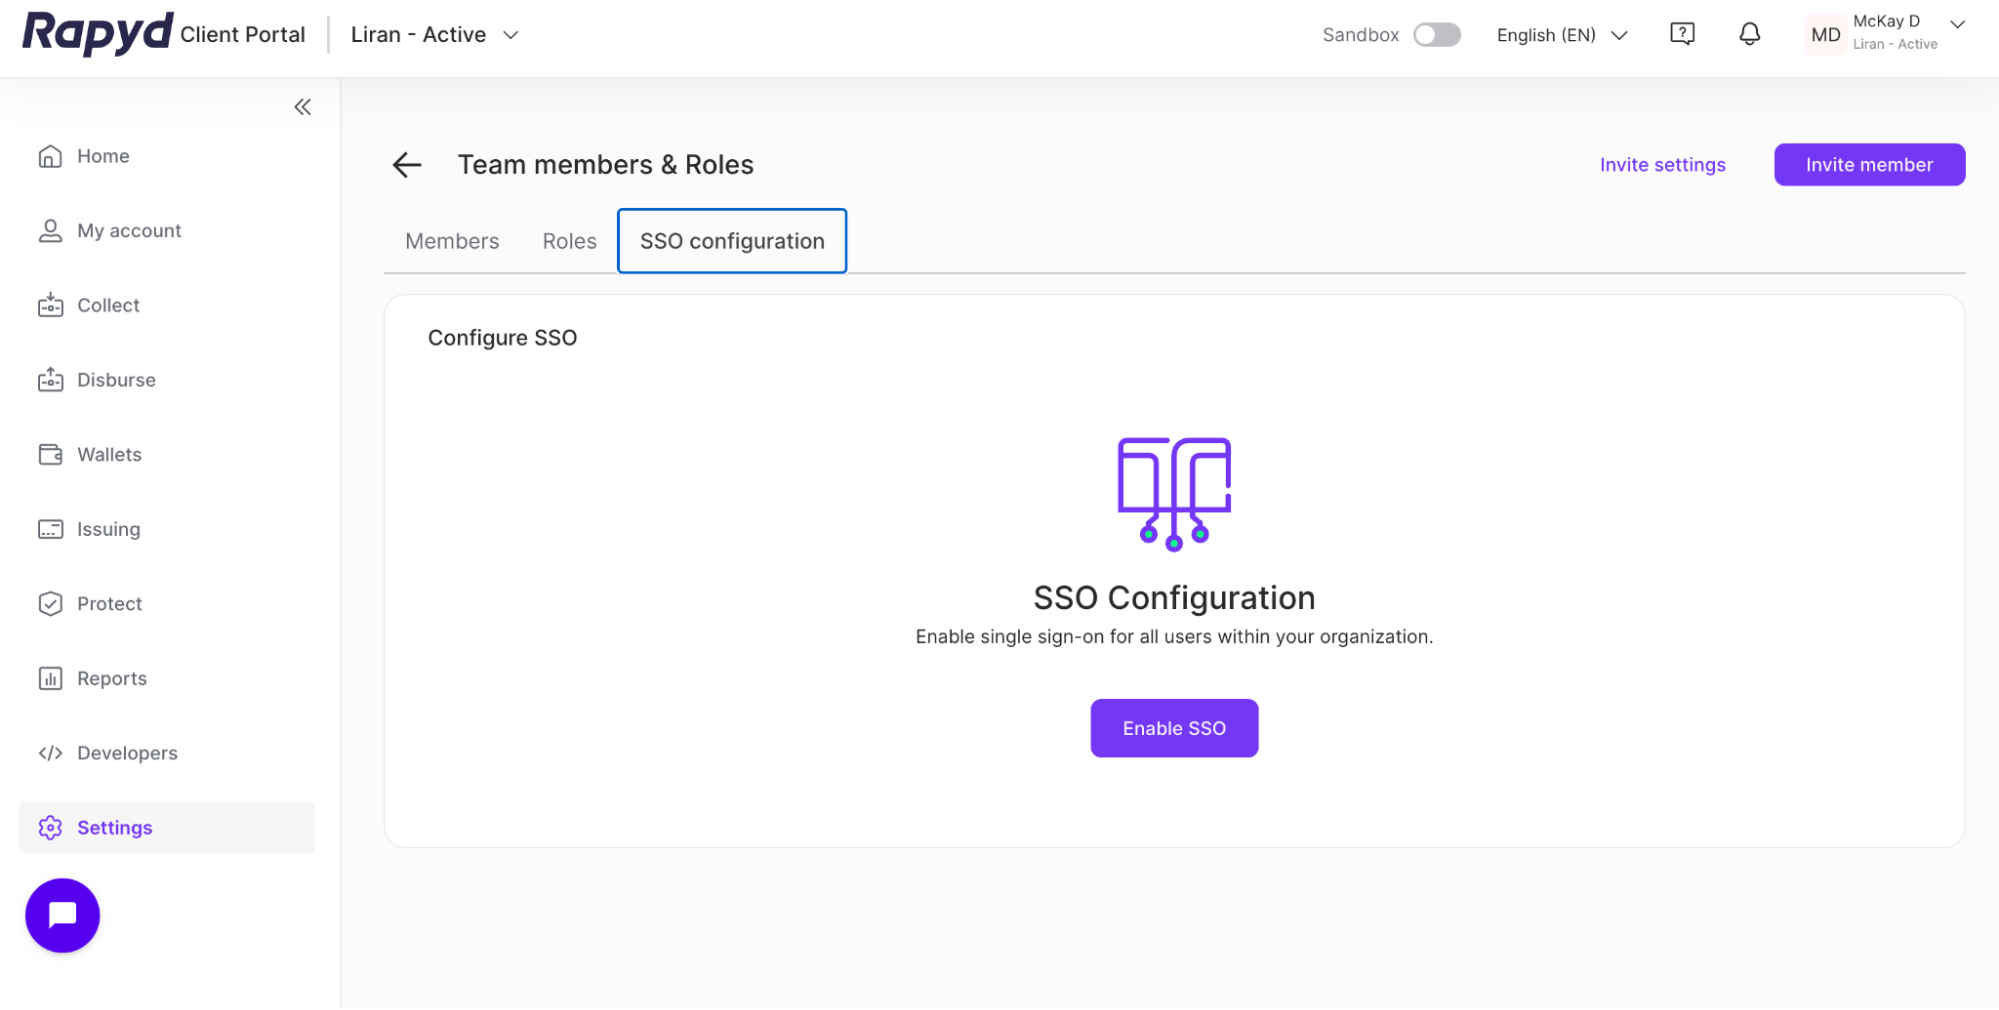
Click the Enable SSO button.
The Configure SSO window appears.
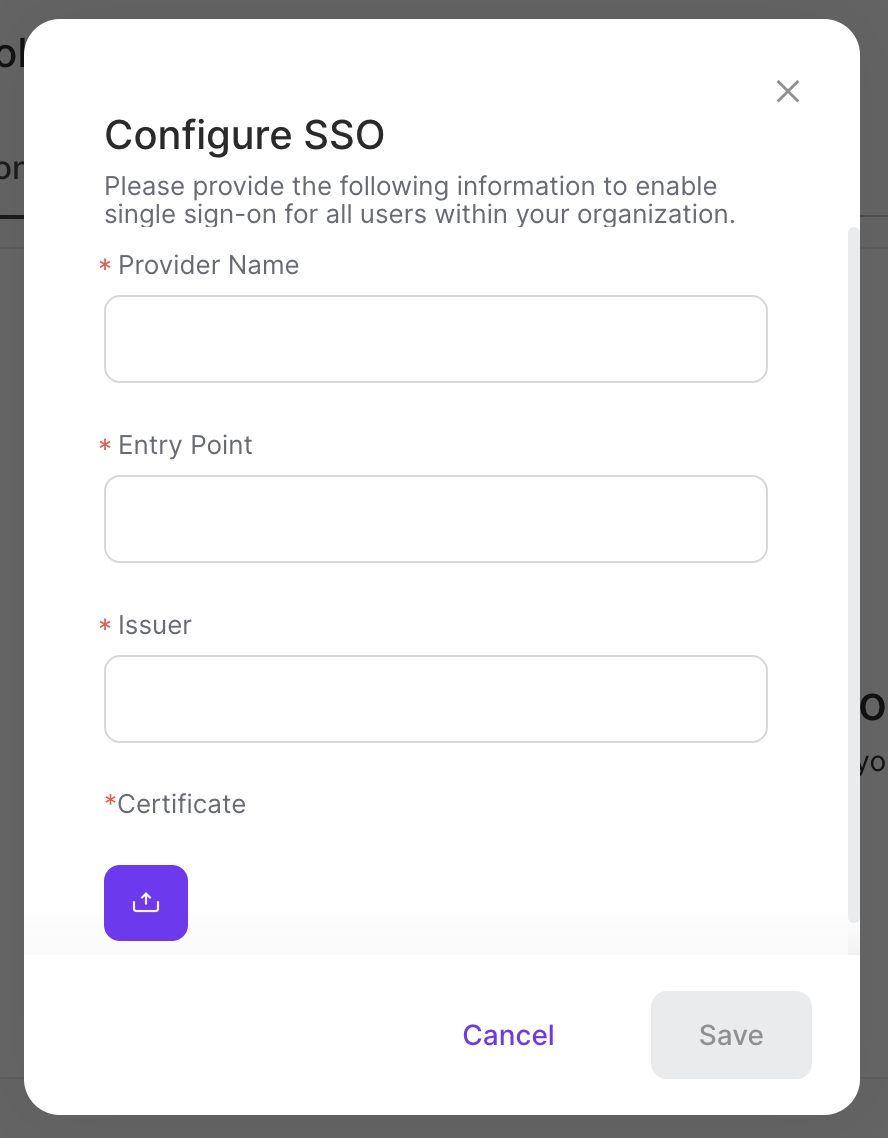
Provide the following information to enable single sign-on for your organization:
Provider Name
Entry Point
Issuer
Certificate - You must upload a certificate file.
Click the upload icon to upload an SSO certificate.
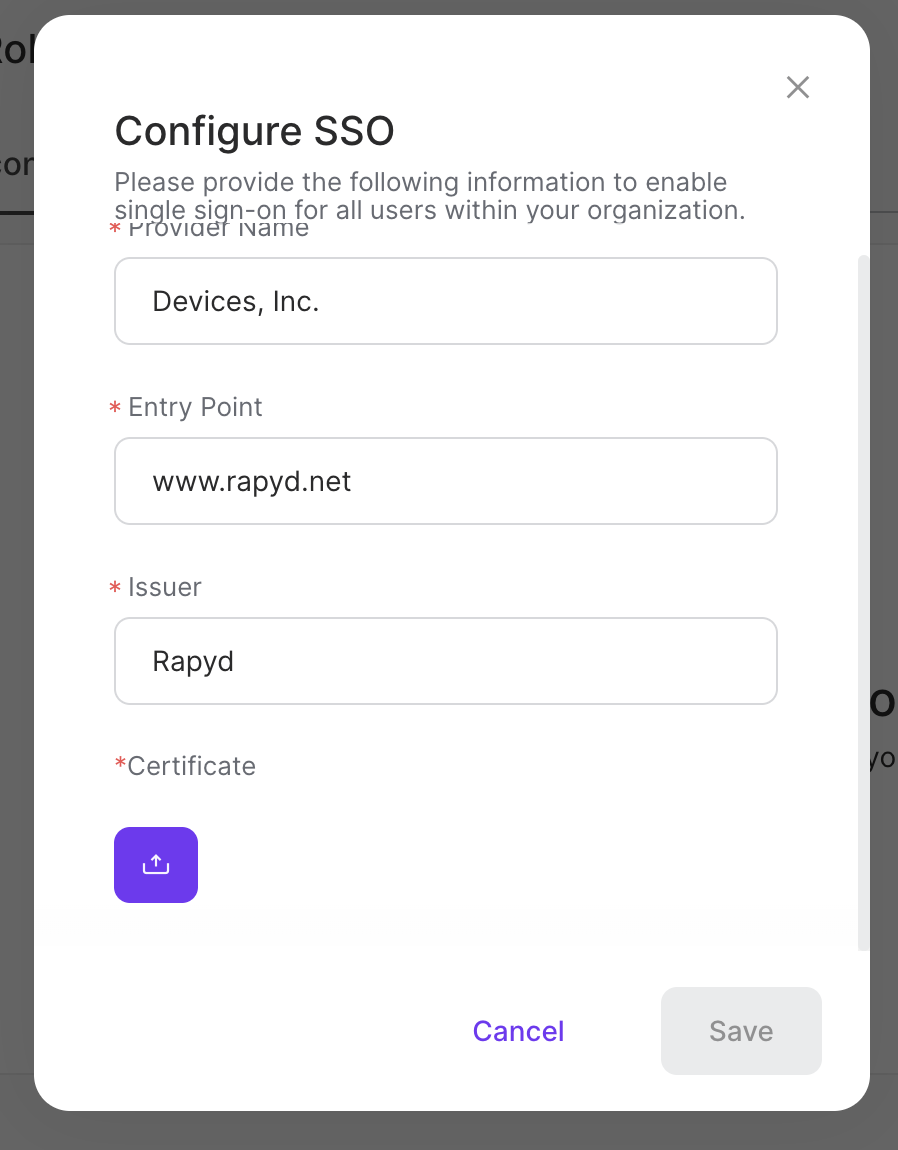
Click Save.
Your SSO configuration will appear.
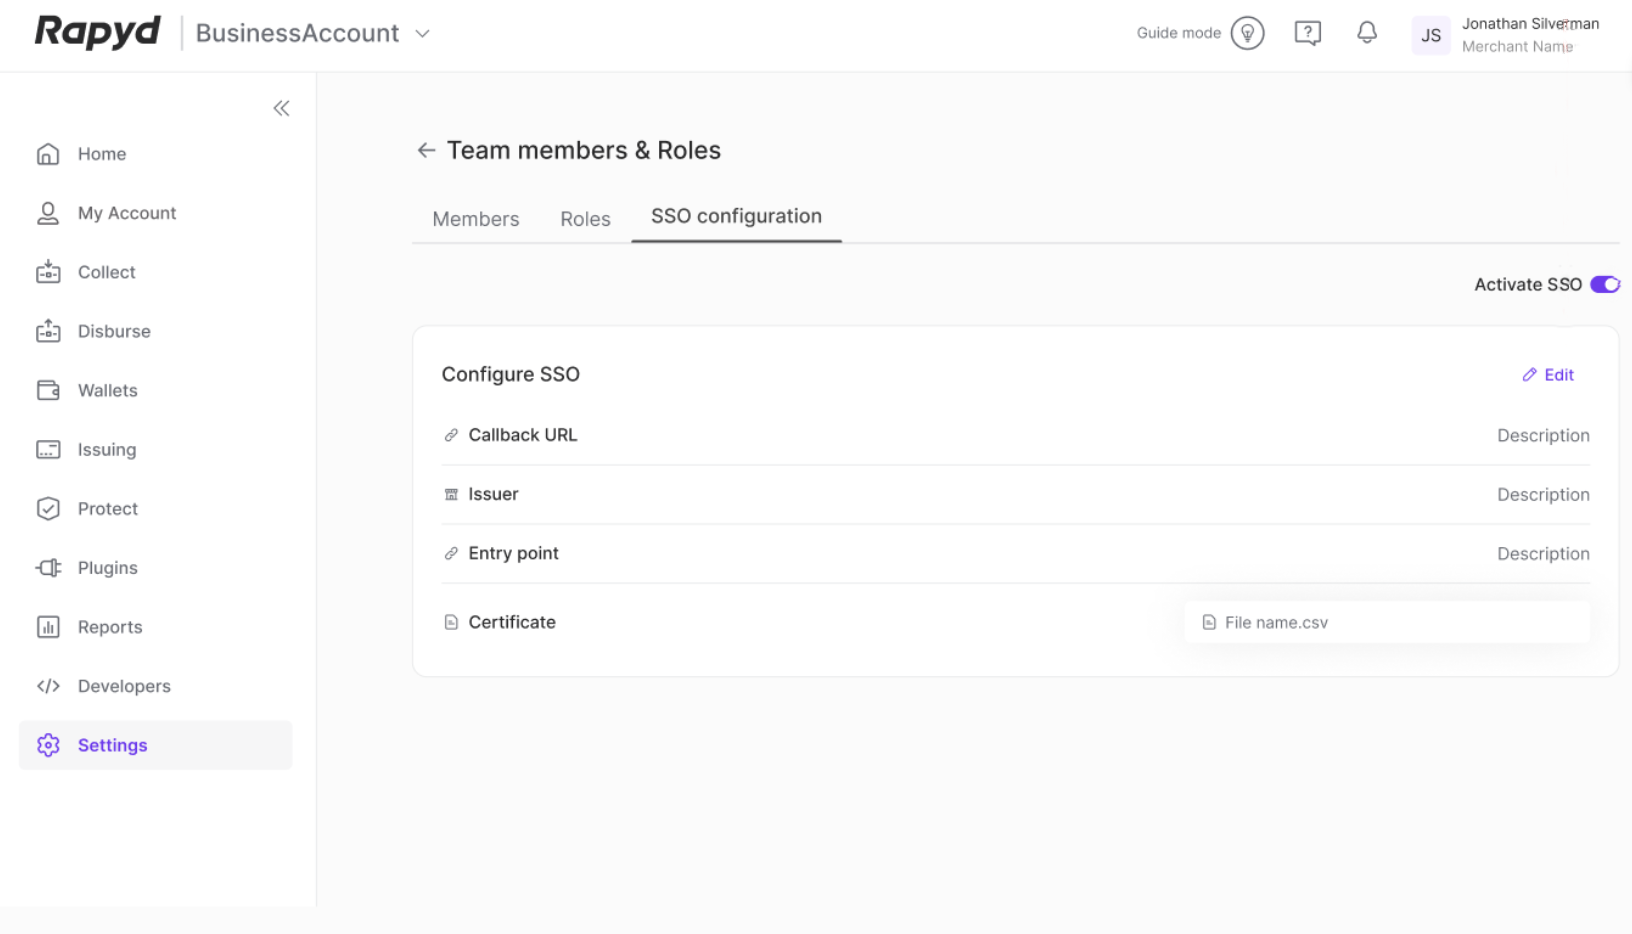
Click the Activate SSO toggle to enable your SSO configuration.
Note: The SSO configuration will be automatically disabled when the SSO configuration is created.