Defining a Webhook Endpoint
You can define a URL that receives all webhooks from the Rapyd environment and select each webhook that is relevant to your operations.
This procedure requires Owner or Administrator privileges.
Sign in as described in Accessing the Client Portal and navigate to Developers > Webhooks > Management.
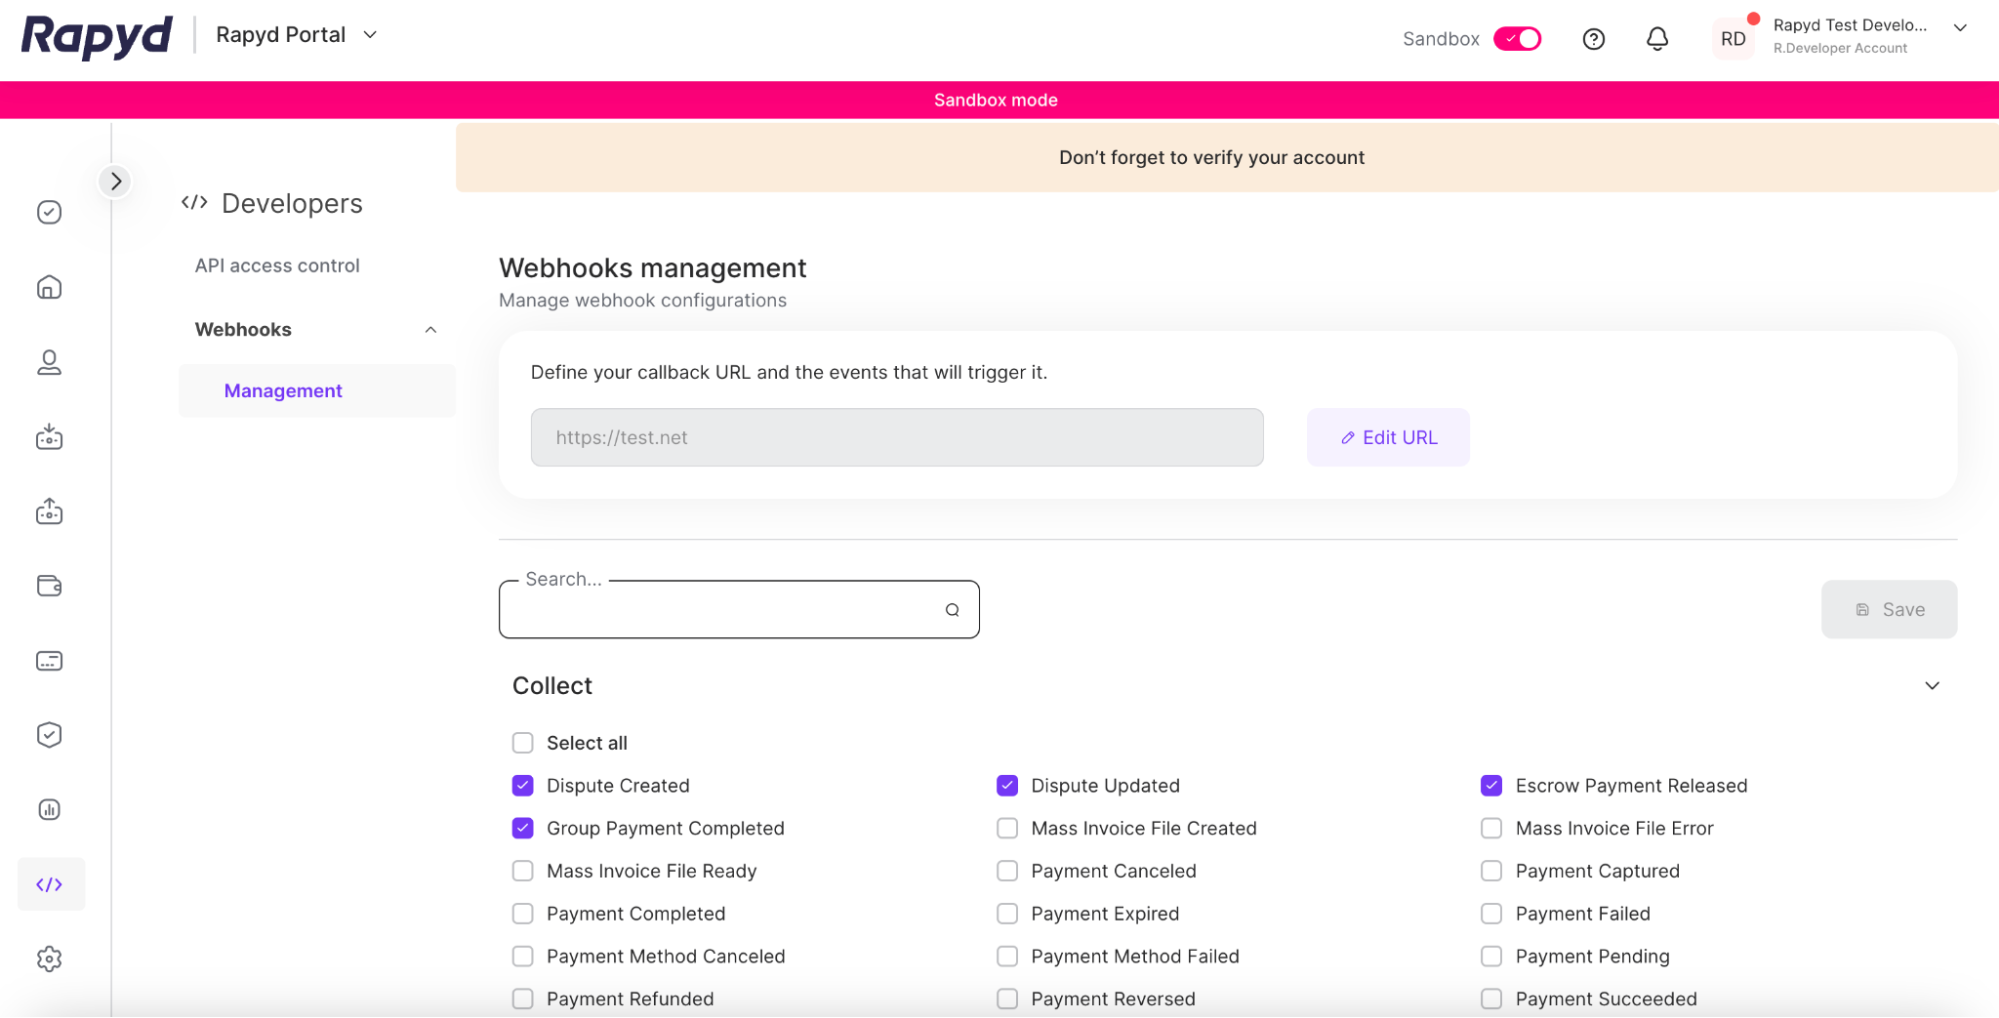
Tap the Edit URL icon at the top right of the page.
In the URL field, type the URL that you want Rapyd to send webhooks to. Rapyd recommends HTTPS endpoints.
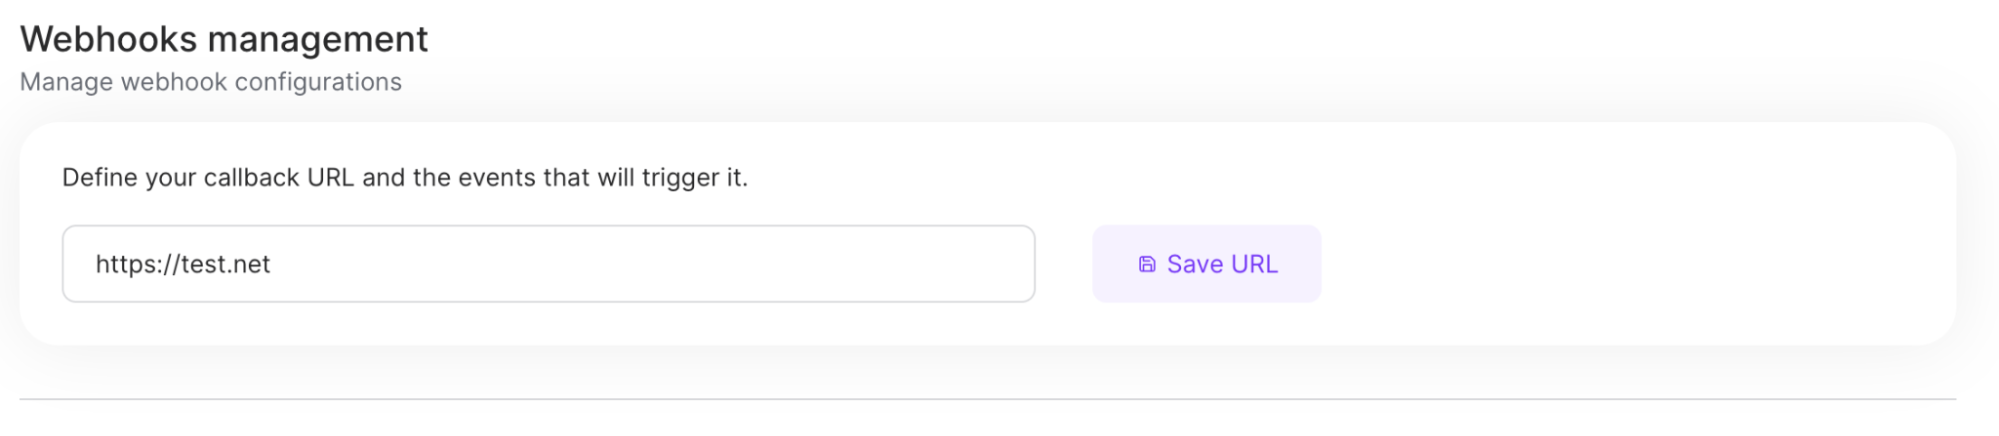
Click the Save URL button.
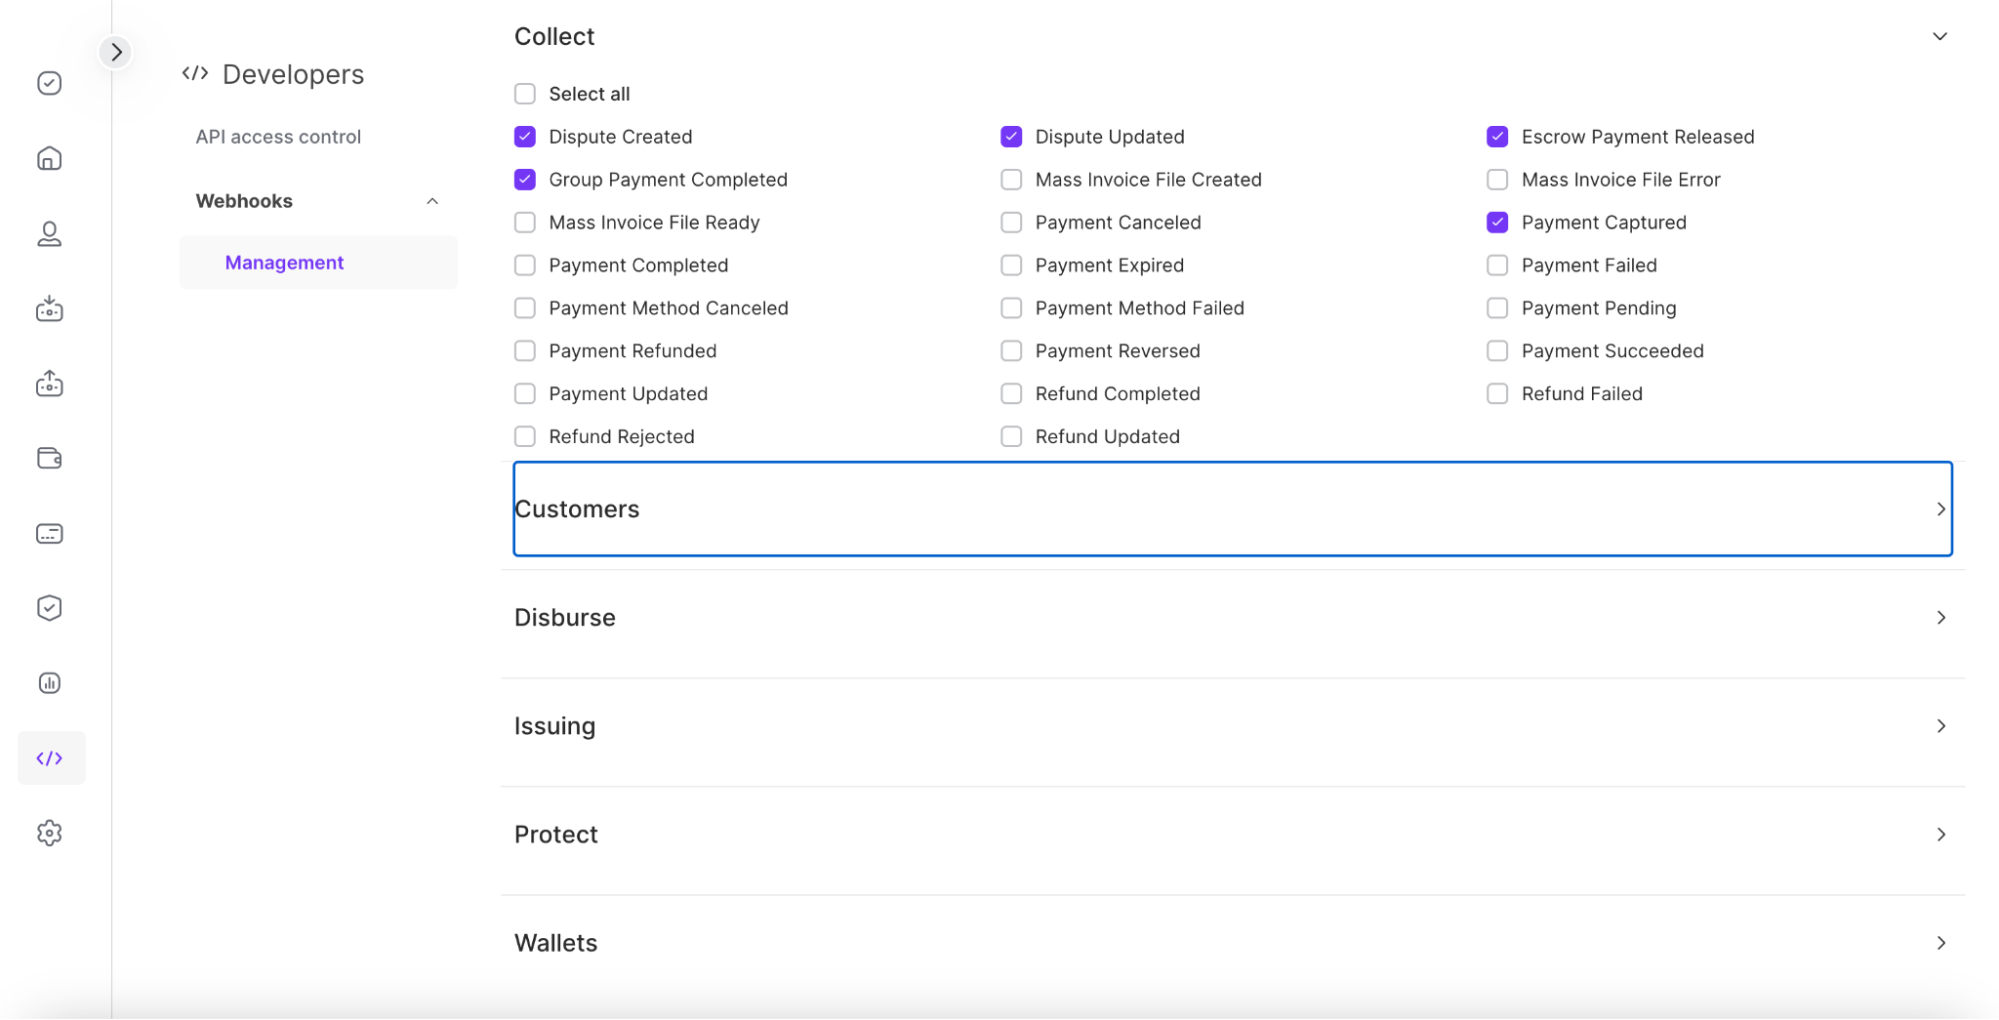
Under Collect subsection, do the following:
To cause an event to trigger a webhook, check the box next to the name of the event.
To prevent an event from triggering a webhook, uncheck the box next to the name of the event.
You can use the Search field to filter the list of events.
You can click the caret symbol to expand or collapse each subsection.
When you have selected your desired webhook events, click the Save button in the middle right corner of the page.
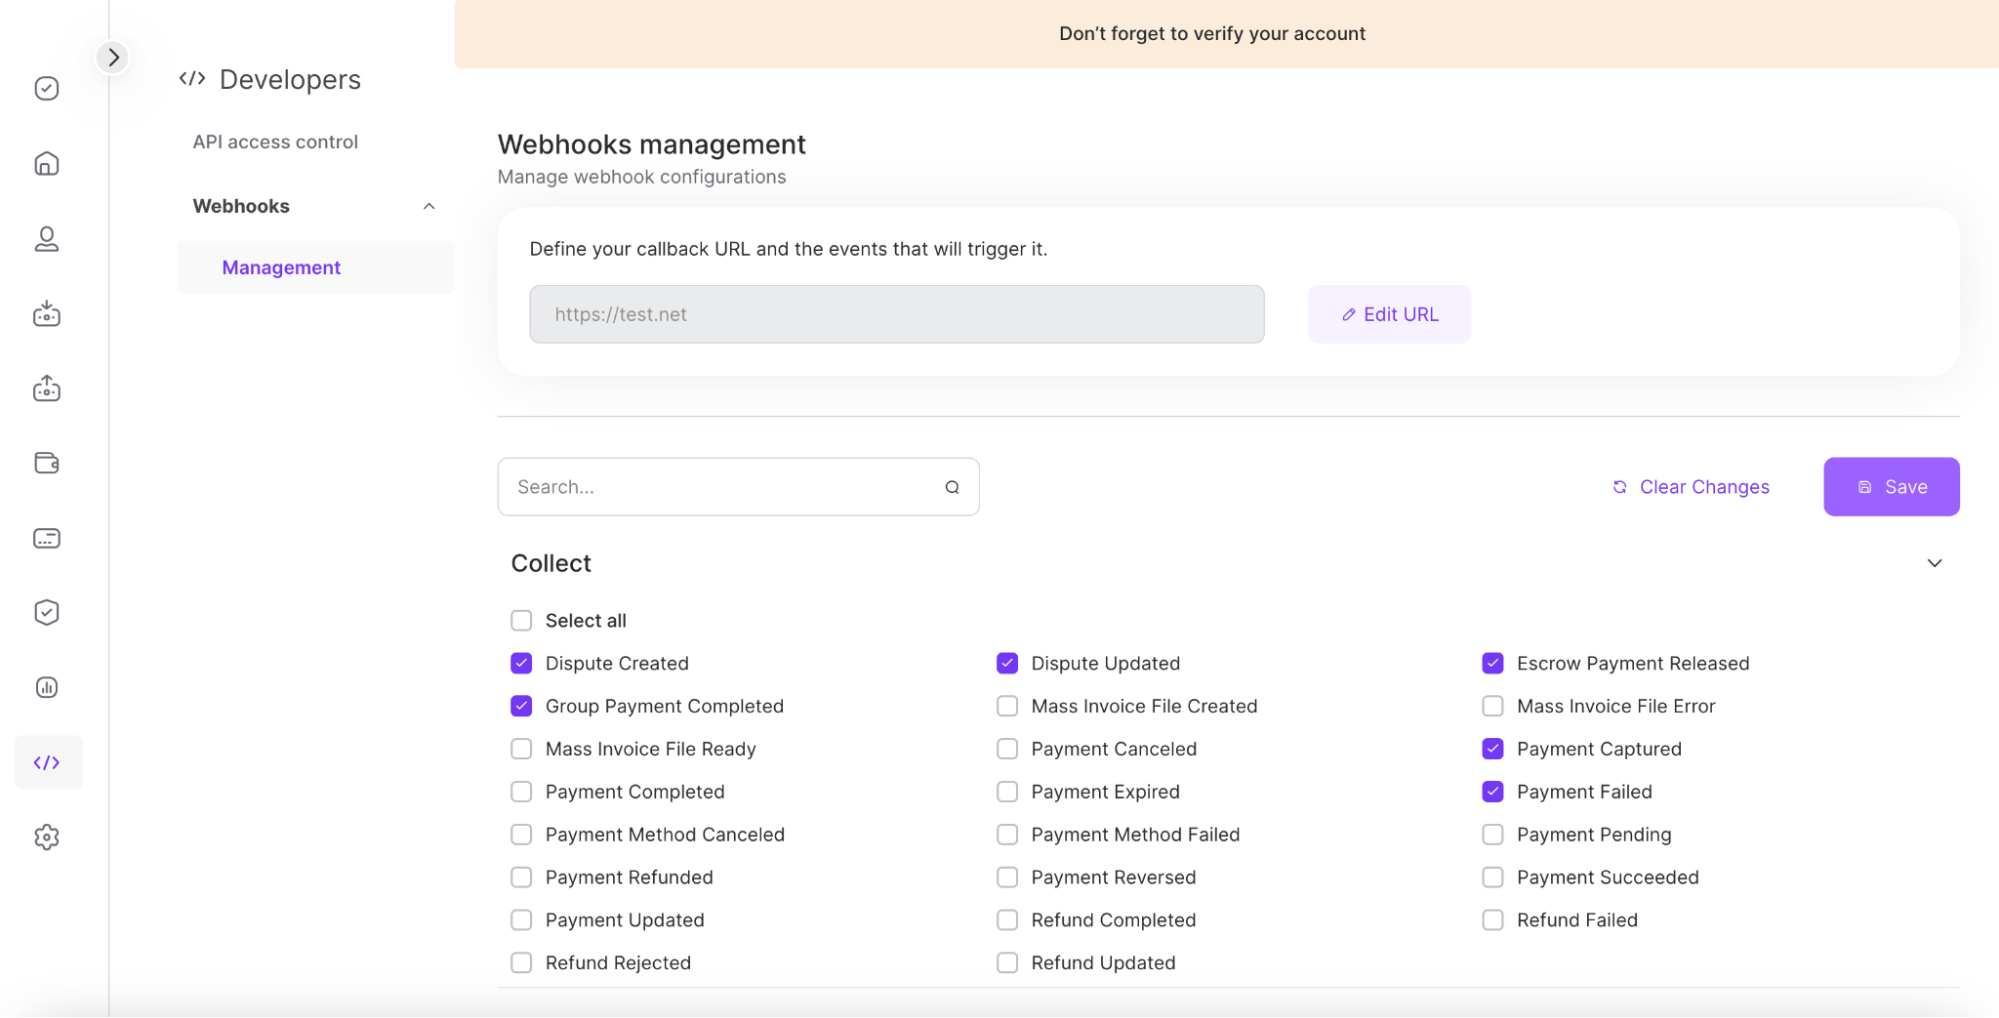
The Save Changes dialog box appears.
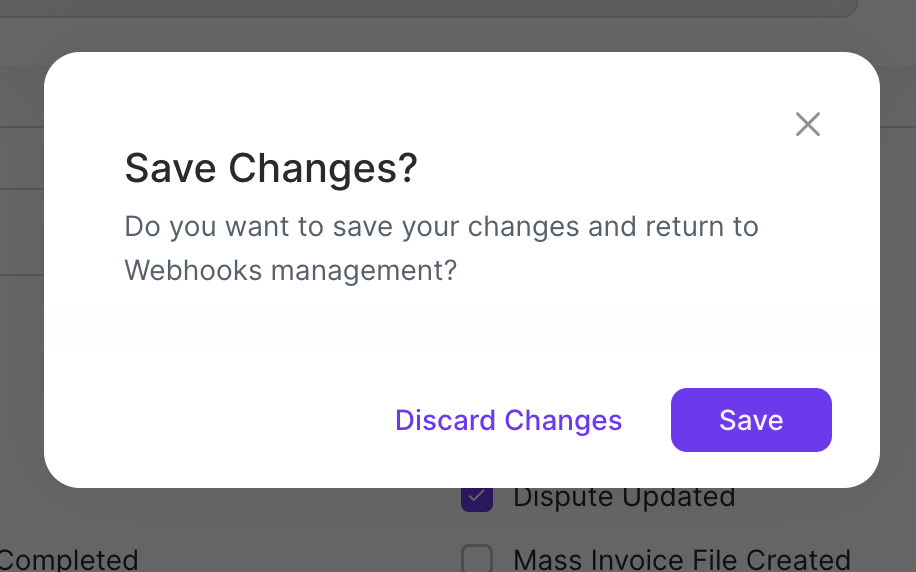
Click Save.