Hosted IDV Page and Toolkit
Generate an Identity Verification page or embed an IDV flow on your webpage.
The Hosted IDV (Identity Verification) Page is a generated secure page for your users to submit a request to verify the identity of a personal contact for a Rapyd Wallet. You can embed the Hosted IDV Page into your webpage with the IDV Toolkit Integration to give you more control over the user experience and onboarding workflow.
The Hosted IDV Page and IDV Toolkit Integration will help collect personal information to verify a contact for a Rapyd wallet. Rapyd Wallets are created via the API and with the Client Portal.
Common Use Cases
Your users sign up for your marketplace to create their wallet, and they need to verify their identity before depositing funds.
Your contractors verify their identity to receive funds directly on their wallet to payout whenever they want.
Select your country of residence.
Click Start Verification.
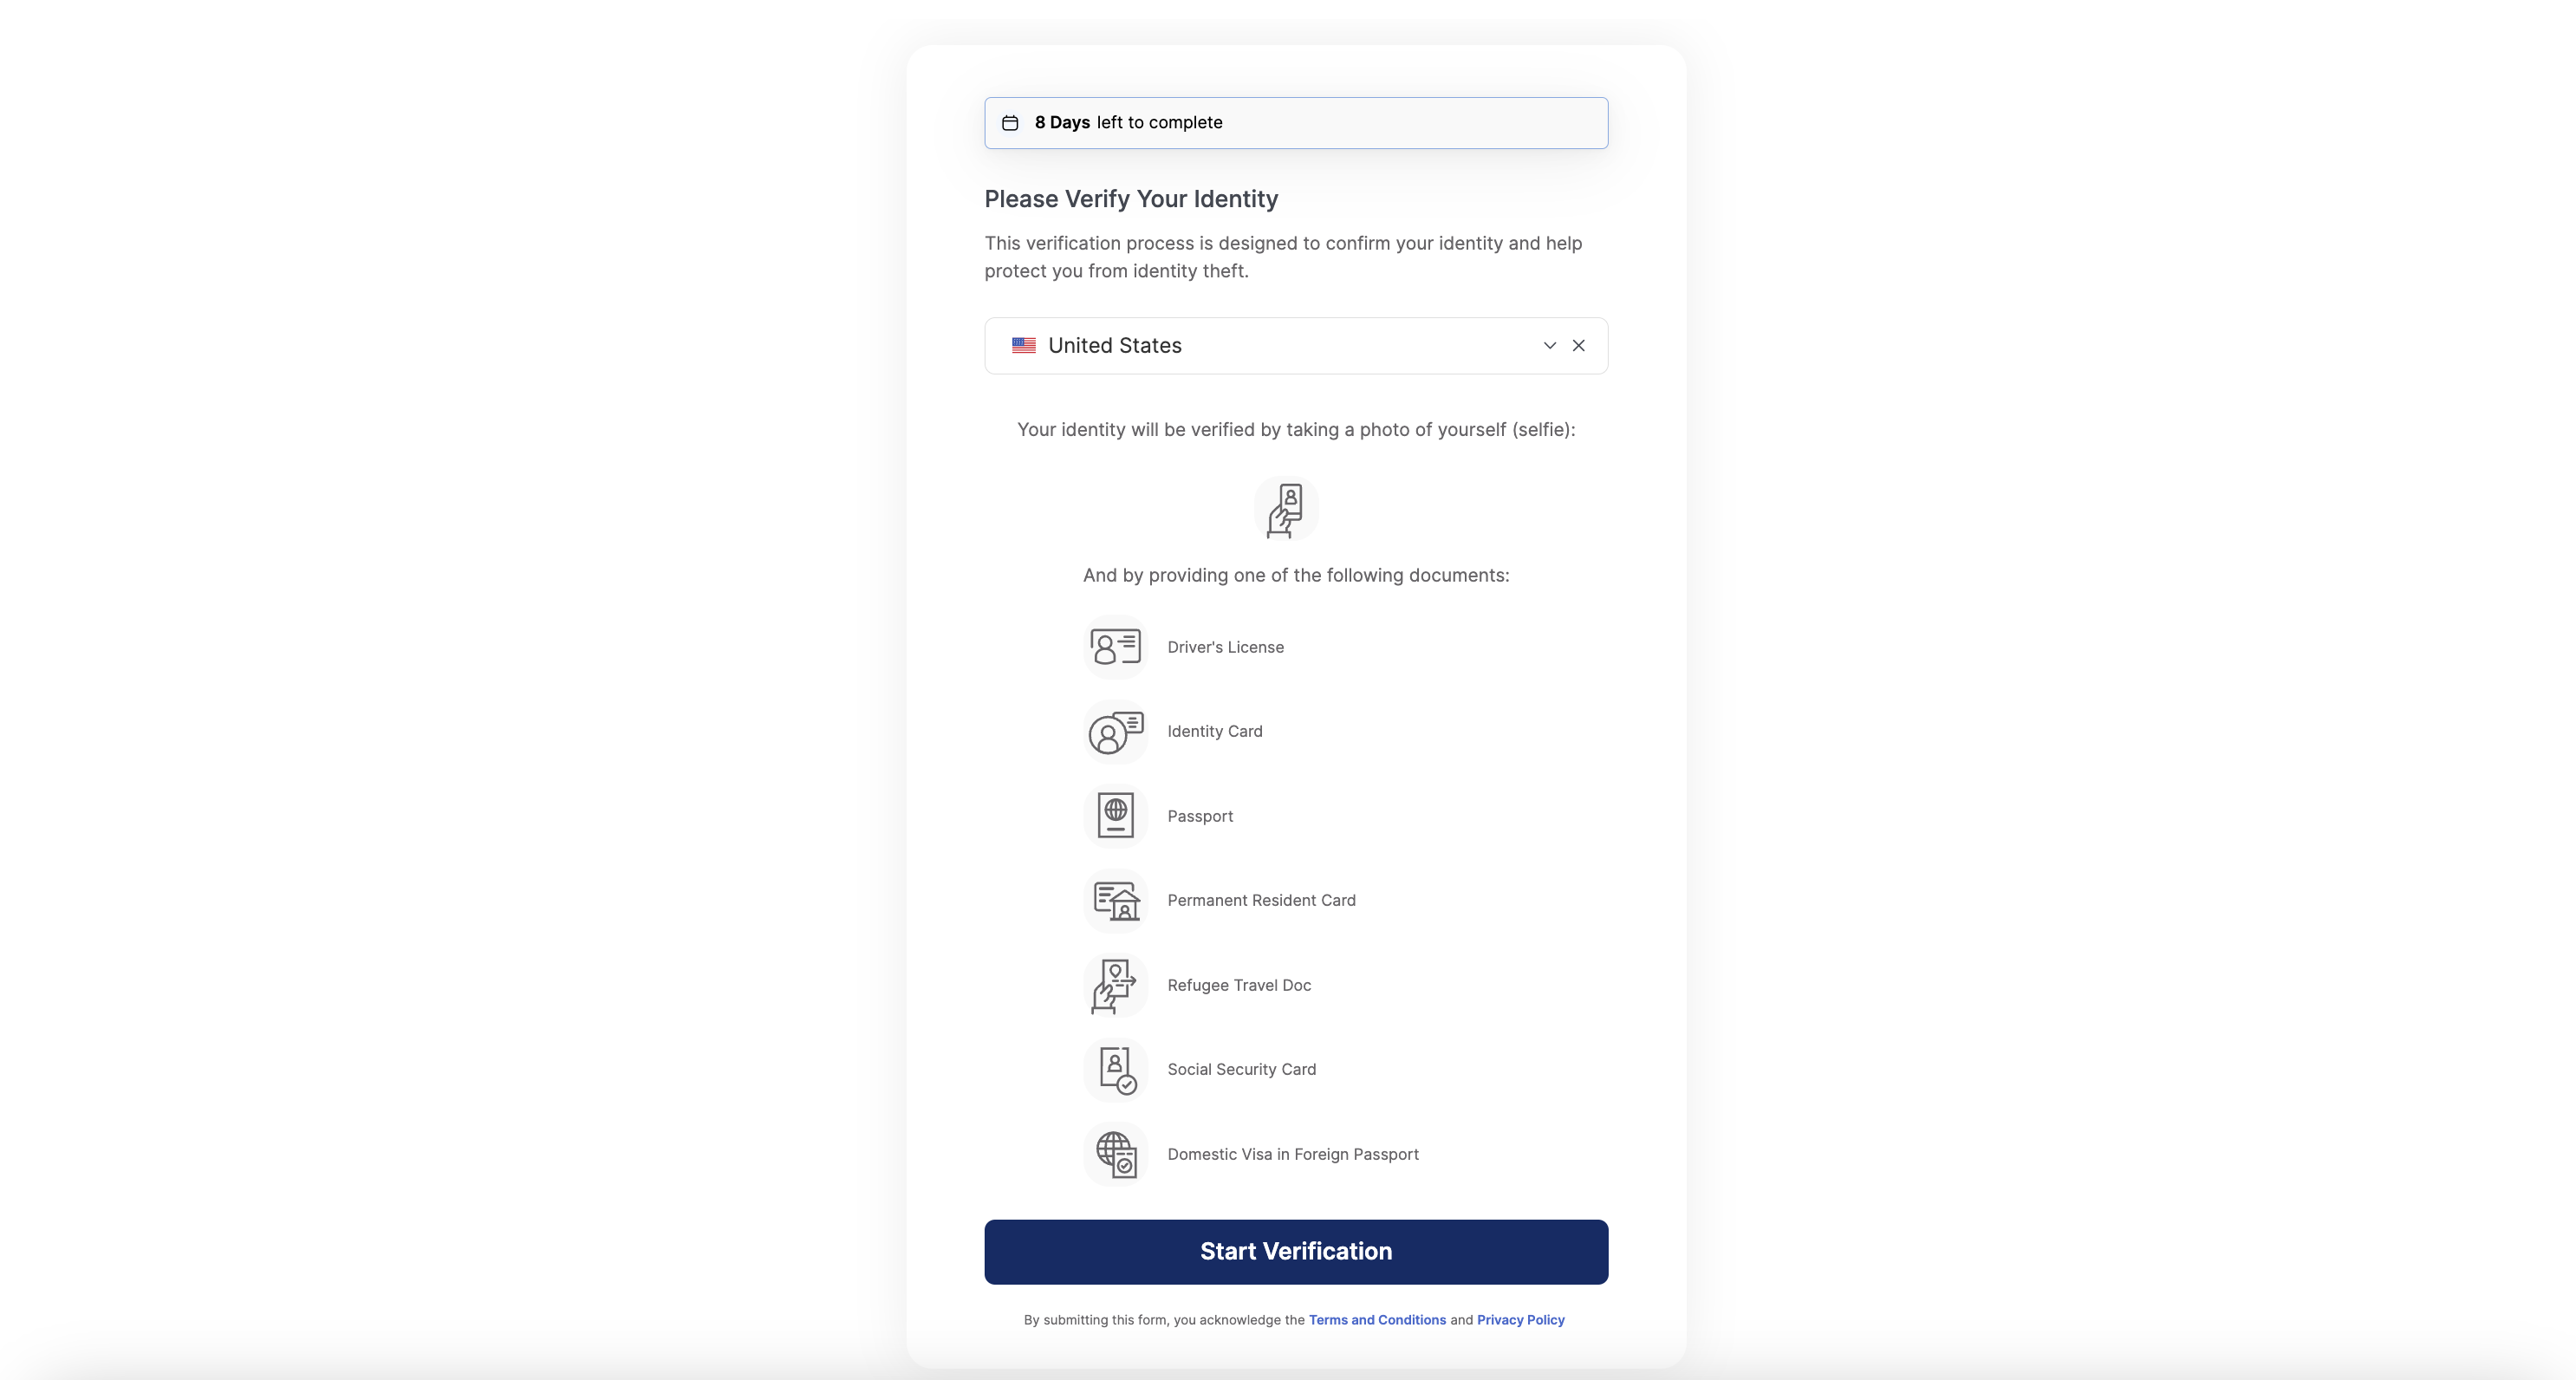
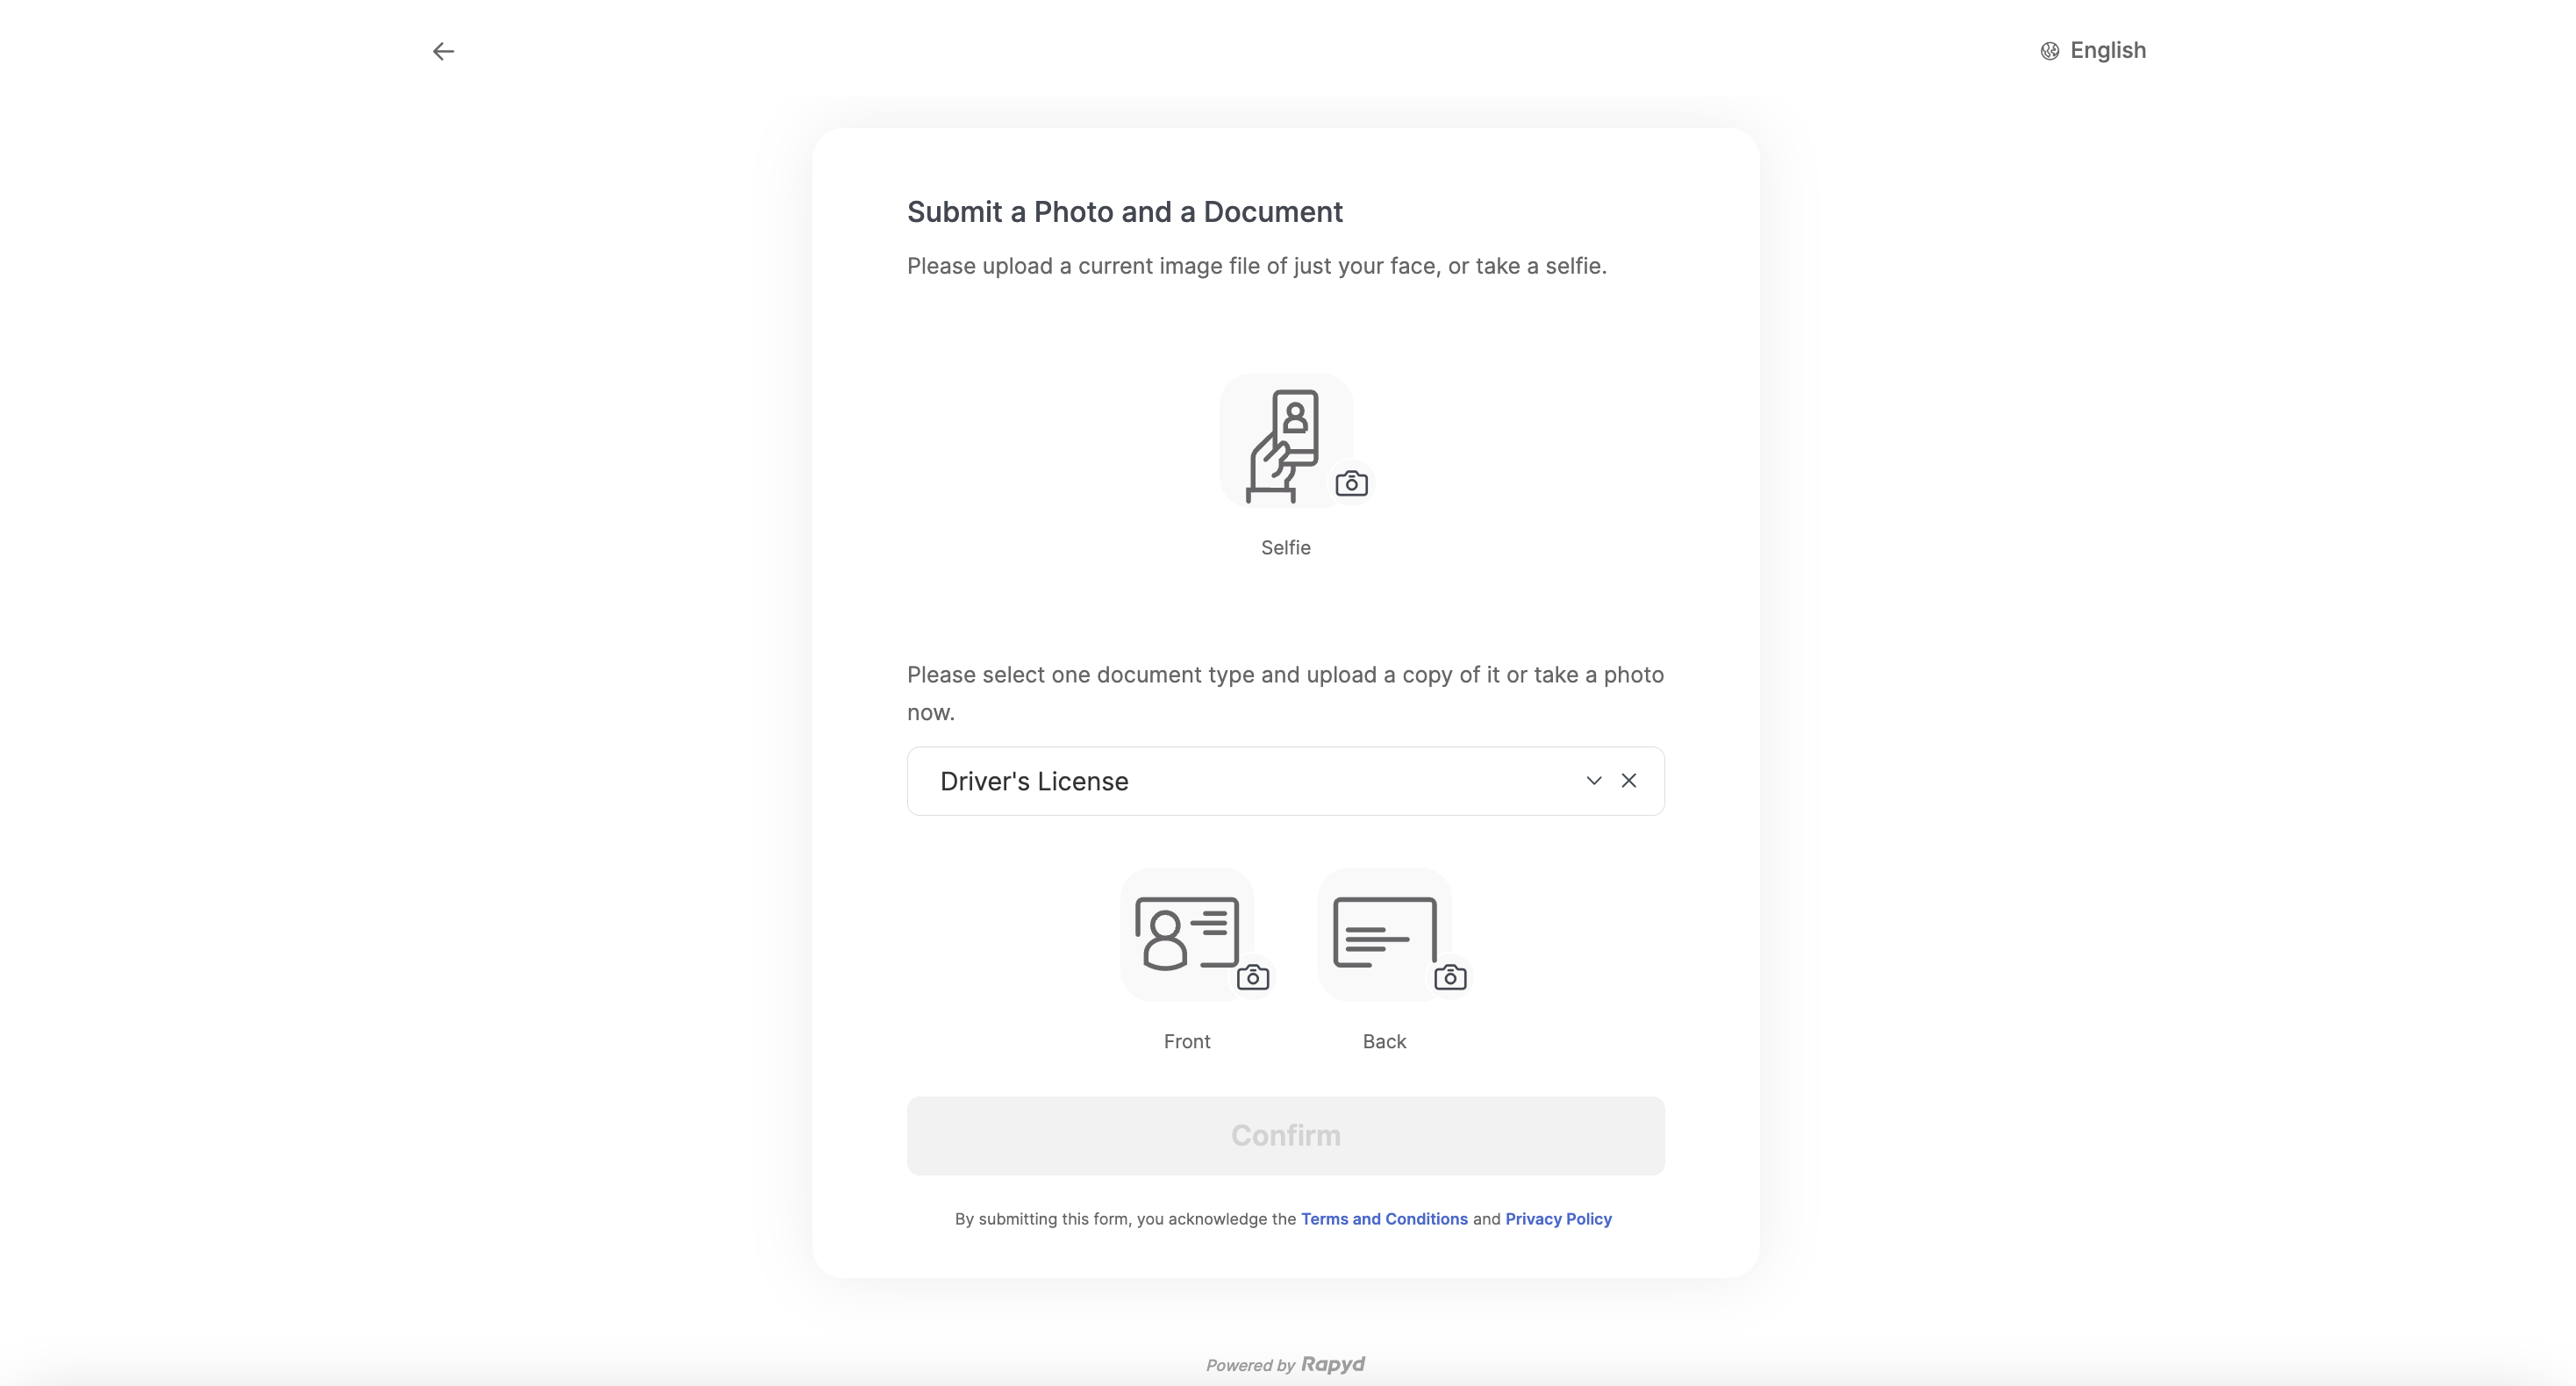
Upload an image of your face.
Upload images of your personal ID.
Click Confirm.
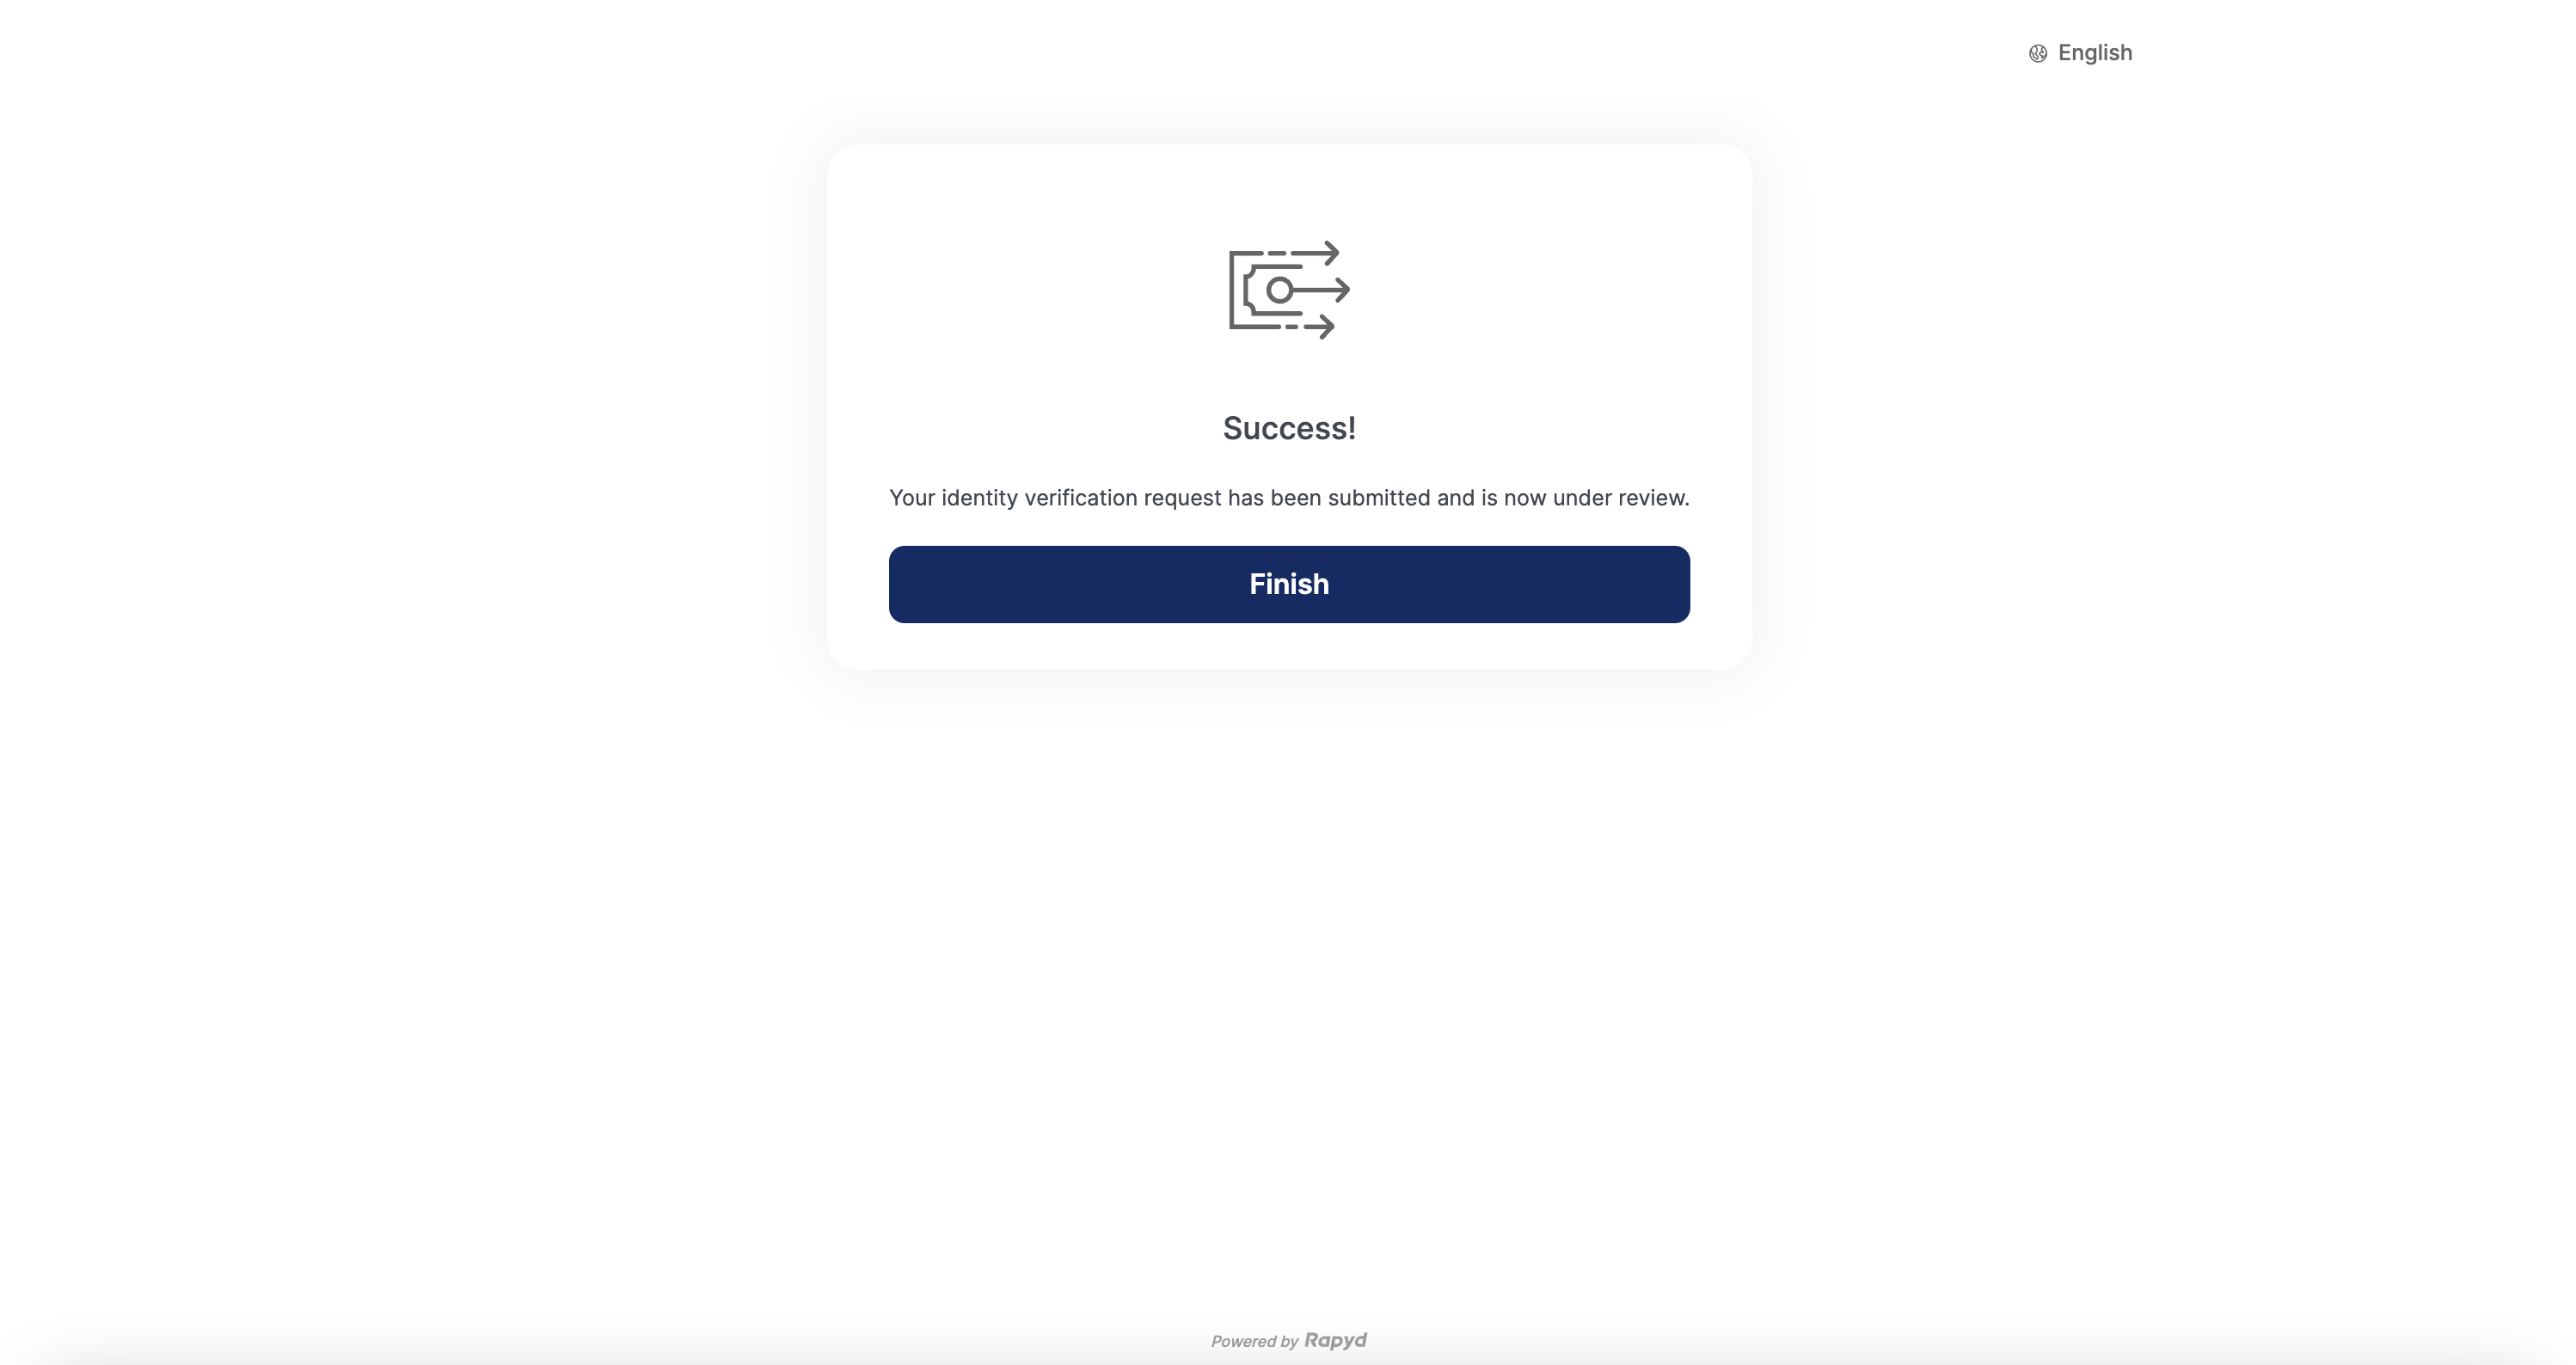
Redirect to the identity verification success page.

You request to Create a Wallet for a personal contact, and collect their information.
Rapyd Creates a Wallet for the contact, and sends a notification.
You request to Create a Hosted IDV Page, and send the URL to the contact.
The contact completes the hosted page, and Rapyd sends you a notification.

You request to Create a Wallet for a personal contact, and collect their information.
Rapyd Creates a Wallet for the contact, and sends a notification.
You request to Create a Hosted IDV Page, and initialize the Hosted IDV Page object and pass on the page ID starting with hpidv.
The contact completes the IDV flow on your webpage, and Rapyd sends you a notification.
The finite state diagram below summarizes the statuses for the Hosted Identity Verification page.

Description of Statuses
Status | Description |
|---|---|
NEW | New - The Hosted Identity Verification page was created. |
DON | Done - The hosted page was completed. The required information was submitted. |
EXP | Expired - The Hosted Identity Verification page is expired. |
Create a Rapyd Wallet and the personal contact of the wallet.
See Create Identity Verification Page to view a full list of the parameters.
The request for the Hosted IDV Page.
JSON
{
"reference_id": "Test Verification Page 1",
"ewallet": "ewallet_16cdeb38381a7ceb2adf2e8dafe7670d",
"contact": "cont_762a36e4a1dcc83488e2aa73144699aa",
"page_expiration": 1608621351
}
Let's take a look at the response.
JSON
{
"status": {
    "error_code": "",
    "status": "SUCCESS",
    "message": "",
    "response_code": "",
    "operation_id": "a74f452b-9d7f-4515-96b1-d35b7b057513"
},
"data": {
    "id": "hp_idv_828956a2afc36116cccee49fe4cd671e",
    "status": "NEW",
    "reference_id": "Test Verification Page 1",
    "wallet": "ewallet_16cdeb38381a7ceb2adf2e8dafe7670d",
    "contact": "cont_762a36e4a1dcc83488e2aa73144699aa",
    "language": null,
    "country": null,
    "page_expiration": 1644454928,
    "request_type": "verify",
    "redirect_url": "https://sandboxhosted.rapyd.net/idv?token=hp_idv_828956a2afc36116cccee49fe4cd671e",
    "merchant_website": "http://rapyd.net",
    "merchant_color": "323fff",
    "merchant_logo": null,
    "cancel_url": null,
    "complete_url": null,
    "force_camera": false,
    "document_type": null
}
}
With the Hosted IDV page, the client can redirect the user to the URL returned in the redirect_url field, or share this URL with their user as standalone links.
With the toolkit, the client can embed the IDV page within their webpage or app.
You can customize your Hosted IDV Page by following the guide Customizing Your Hosted Page to edit your page within the Client Portal.
Use the IDV Toolkit to embed the IDV workflow right into your webpage.
After creating a Hosted IDV Page, complete the following steps.
Add the following code to your IDV page:
Add a <script> tag with the URL of the Rapyd IDV Toolkit:
<script src="https://toolkit.rapyd.net"></script>
Note: To run this method in the sandbox, use the following code:
<script src="https://sandboxtoolkit.rapyd.net"></script>
Add a tag with id="rapyd-toolkit":
<div id="idv"></div>
Initialize the IDV Page object with the following fields:
JavaScript
let toolkit = new RapydToolkit({
button_text: "Confirm",
        // Text that appears on the 'Confirm' button.
        // String. Maximum length is 16 characters.
        // Default is "Confirm". Optional.
    button_color: "blue",
        // Color of the ‘Confirm’ button. String.
        // Standard CSS color name or hexadecimal code such as #323fff.
        // Default is the color that is returned in the 'merchant_color'
        // field of the response to 'Create IDV Page'. Optional.
    id: "hp_idv_828956a2afc36116cccee49fe4cd671e",
        // ID of the 'Identity Verification' response. String. Required.
    close_on_complete: true,
        // Causes the embedded Rapyd IDV Toolkit window to close
        // when the submission is complete. Boolean. Default is 'true'. Optional.
    page_type: "idv"
        /* Mandatory for Identity Verification page
            Default is "collection". */
});
Call display Toolkit() to display the IDV page.
toolkit.displayToolkit();
Optional step. If close_on_complete is set to false, call toolkit.closeToolkit() to close the Rapyd IDV Toolkit window.
toolkit.closeToolkit();
Insert your code that runs when the following events occur. Use your code to read the event field in the window object.
JavaScript
window.addEventListener('onSubmitIdvSuccess', (event) => {
                    console.log(event.detail)

                    // Client code.
})

window.addEventListener('onIdvFailure', (event) => {
                    console.error(event.detail.error)
                    // Returns an error message from the API.
                    // Client code.
 })

window.addEventListener('onSubmitIdvFailure', (event) => {
                    console.error(event.detail.error)
                    // Triggered on failed identity verification request
                    // Client code.
})

window.addEventListener('onLoading', (event) => {
                    console.log(event.detail.loading)
                    // returns true or false depending on the loading state
                    // Client code
})
Here's an example of a Rapyd IDV page created using the Toolkit:
HTML
<!DOCTYPE html>
<html>

<head>
    <meta http-equiv="content-type" content="text/html; charset=utf-8">
    <meta name="viewport" content="width=device-width, initial-scale=1.0">
    <title>Rapyd Identity Verification</title>
    <script src="https://toolkit.rapyd.net"></script>
    <script>
        window.onload = function () {
            let toolkit = new RapydToolkit({
                button_text: "Confirm",
                button_color: "blue",
                id: "hp_idv_828956a2afc36116cccee49fe4cd671e"
            });
            toolkit.displayToolkit();
        }
        window.addEventListener('onSubmitIdvSuccess', function (event) {
            console.log(event.detail)
        });
        window.addEventListener('onIdvFailure', function (event) {
            console.log(event.detail.error)
        });
    </script>
</head>

<body style="background-color: #f1f1f1; display: flex; align-items: center; flex-direction: column; margin: 0">
    <h1>Rapyd Identity Verification Demo</h1>
    <div style="width: 500px" id="idv"></div>
</body>

</html>
Note
On successful submission, the clients receive a onSubmitIdvSuccess event with the Identity Verification Object.
Take note of the following Hosted Identity Verification Page Object fields and the tasks associated with each of them.
Description of Fields
Field | Description | Action |
|---|---|---|
status | Status of the verified identity. One of the following:
Response only. | You can use this field to check the verification status, whether it is new or done. |
ewallet_id | ID of the Rapyd Wallet. String starting with ewallet_. | Use when requesting to verify identity or passing webhooks. Also the ID of the identity verification operation will start with kycid_. |
verification_status | Indicates whether the individual was approved. One of the following:
| You can use this field to check the detailed verification status. |