Requesting a Payment
Request payments within Client Portal from the quick actions menu.
This documentation is for the Mobile Version of Client Portal.
Sign in as described in Accessing the Client Portal.
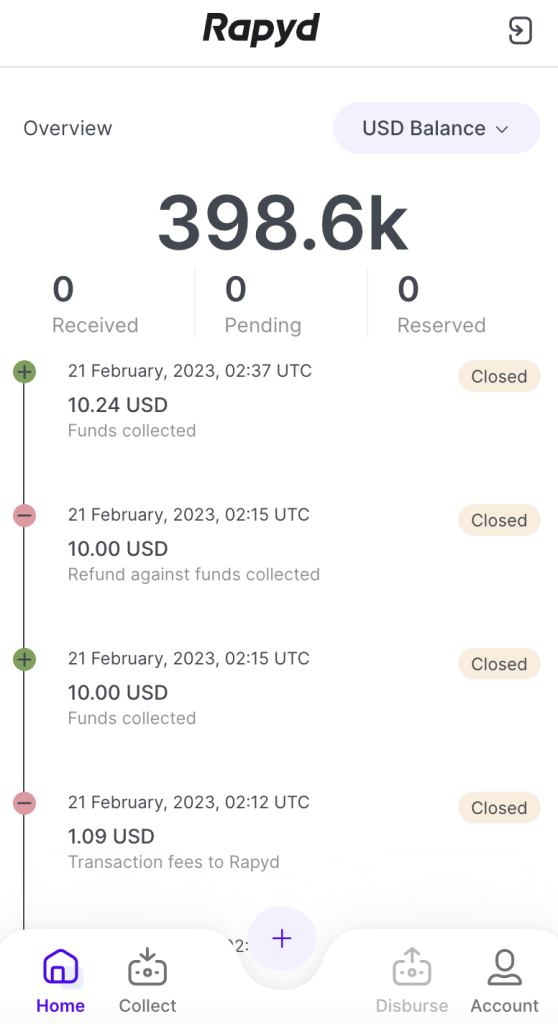
The Home page appears.
Tap on the circular + icon near the bottom of the screen.
The Quick Actions menu appears.
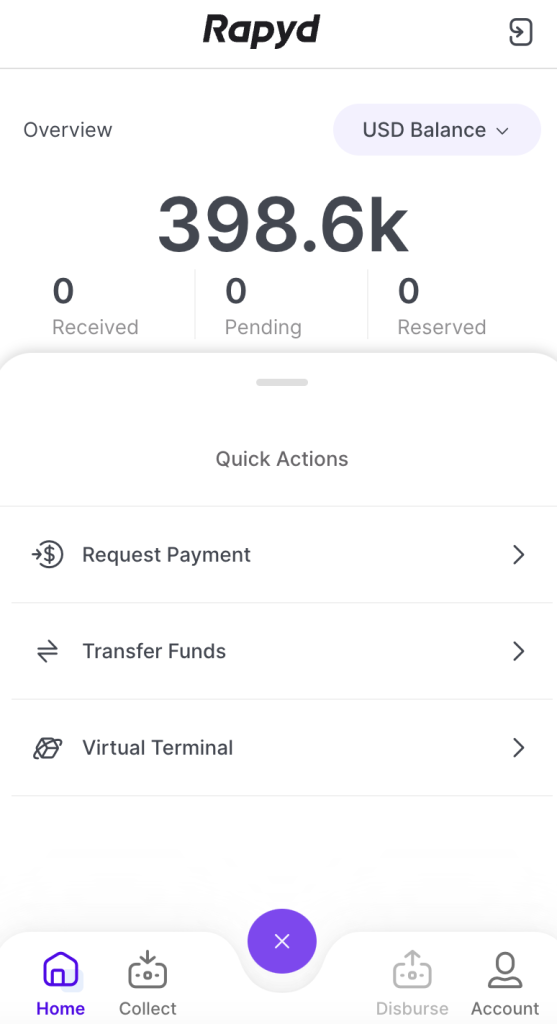
Tap Request Payment.
The Request Payment page appears.
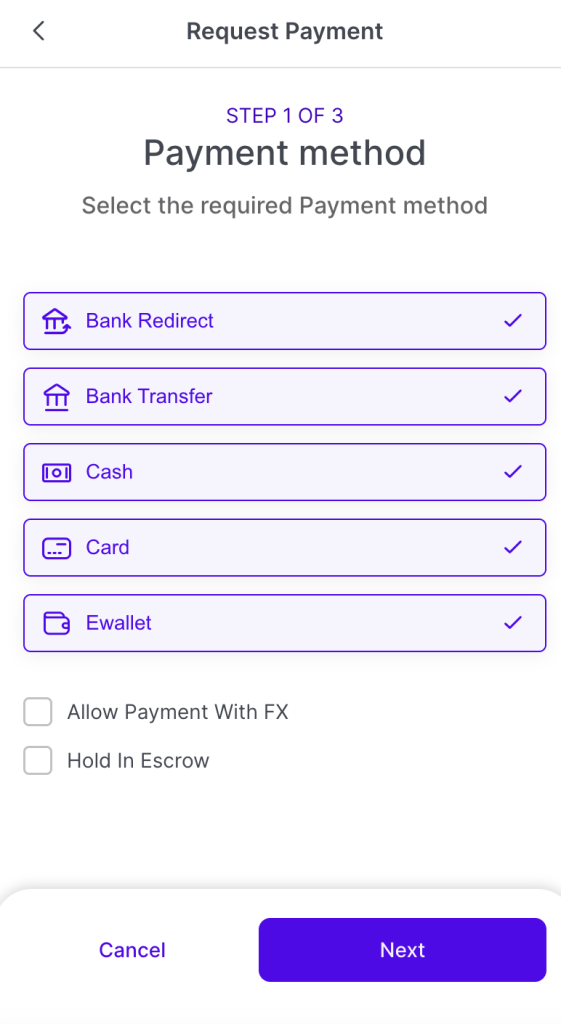
Select the Payment Method Type. You can select one type or multiple:
Bank Redirect
Bank Transfer
Cash
Card
eWallet
Payment With FX
Check the Allow Payment With FX box to allow currency exchange for the payment.
If checked, the following required fields will appear:
You Get - The currency that you will receive when the payment is complete.
Buyer Pays - The currency that is collected for the payment.
The FX exchange rate for the selected currencies will appear below the fields.
Tap Next.
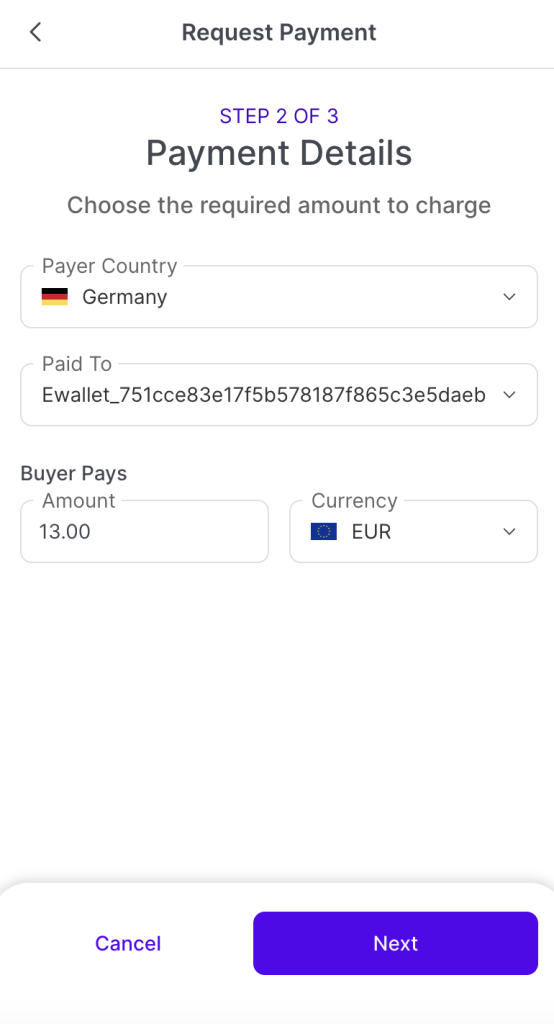
The Payment Details page appears.
Fill in the following:
Note: The available fields may differ, depending if you are requesting a payment with FX, or holding a payment in escrow.
Payer Country - The country of the payer.
Paid To - The Rapyd wallet account used to collect the payment.
Days to Complete Payment - The number of days for the customer to complete the payment.
Amount (You Get) - The amount of funds you receive when collecting a payment with FX.
Amount (Buyer Pays) - The amount of funds the customer pays when you collect a payment with FX.
Amount (Buyer) - The amount of the payment.
Currency (Buyer) - The currency of the payment.
Tap Next.
The Additional Details page appears.
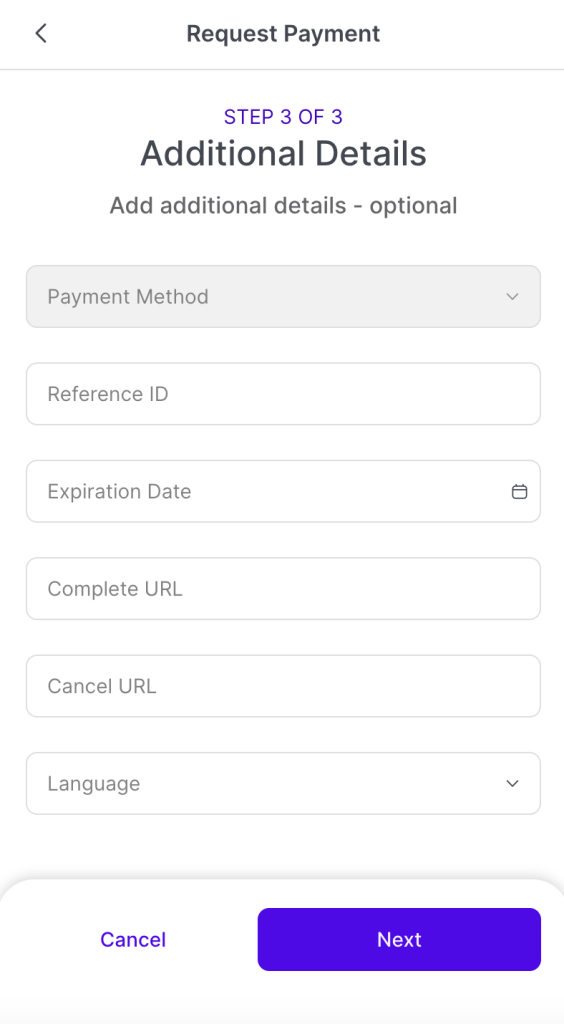
Fill in the following optional fields:
Escrow Release Days - The number of days the payment is in escrow before release.
Note: The Escrow Release Days field appears if you checked the Hold In Escrow box on the Request Payment page.
Reference ID - A unique ID for the payment created by the merchant.
Expiration Date - The date the payment request will expire.
Complete URL - The URL the customer will be redirected to when the payment is complete.
Cancel URL - The URL the customer will be redirected to if the payment fails.
Language - The language of the hosted page.
Tap Next.
The Checkout Page Created page appears.
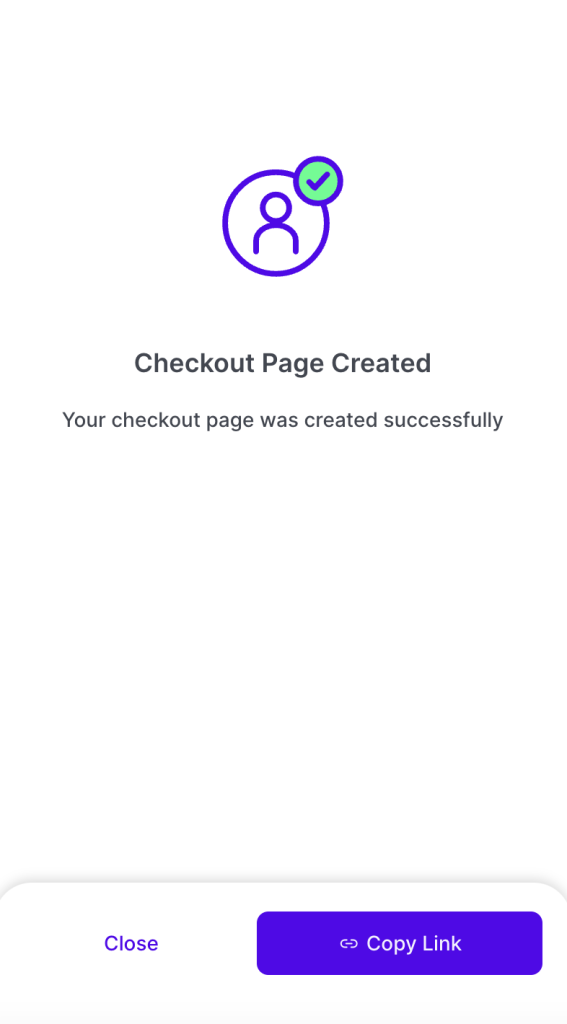
Tap Copy Link to copy the checkout page link.
Paste the link in a browser to view the checkout page.