Using the Subscription Builder
Use the subscription builder to quickly create new subscriptions. beta
This feature is in closed beta. You can contact the Rapyd Support team if you wish to join the closed beta program.
You can use the subscription builder to create new subscriptions in Client Portal.
Sign in as described in Accessing the Client Portal and navigate to Collect > Subscriptions.
The Subscriptions page appears.
Select the Subscription Builder option in the upper right corner.
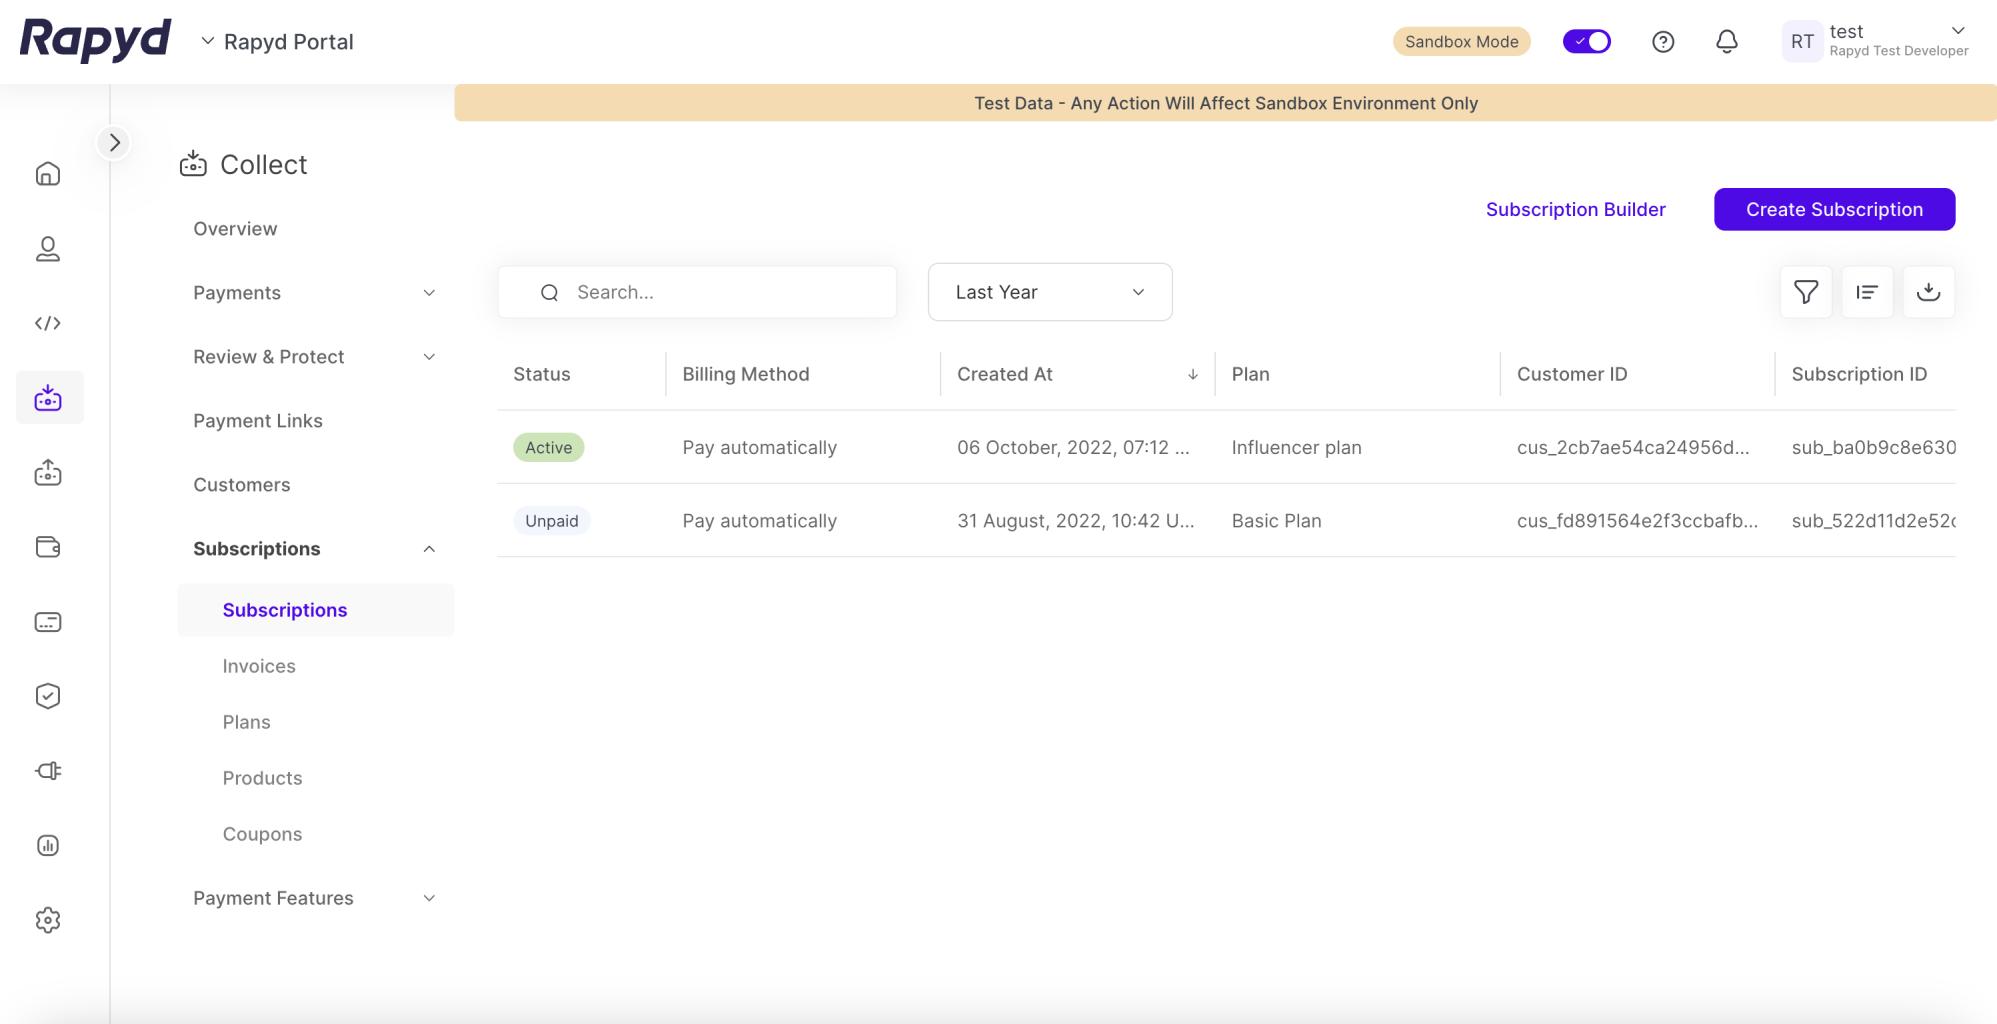
The Create Your First Subscription page appears.
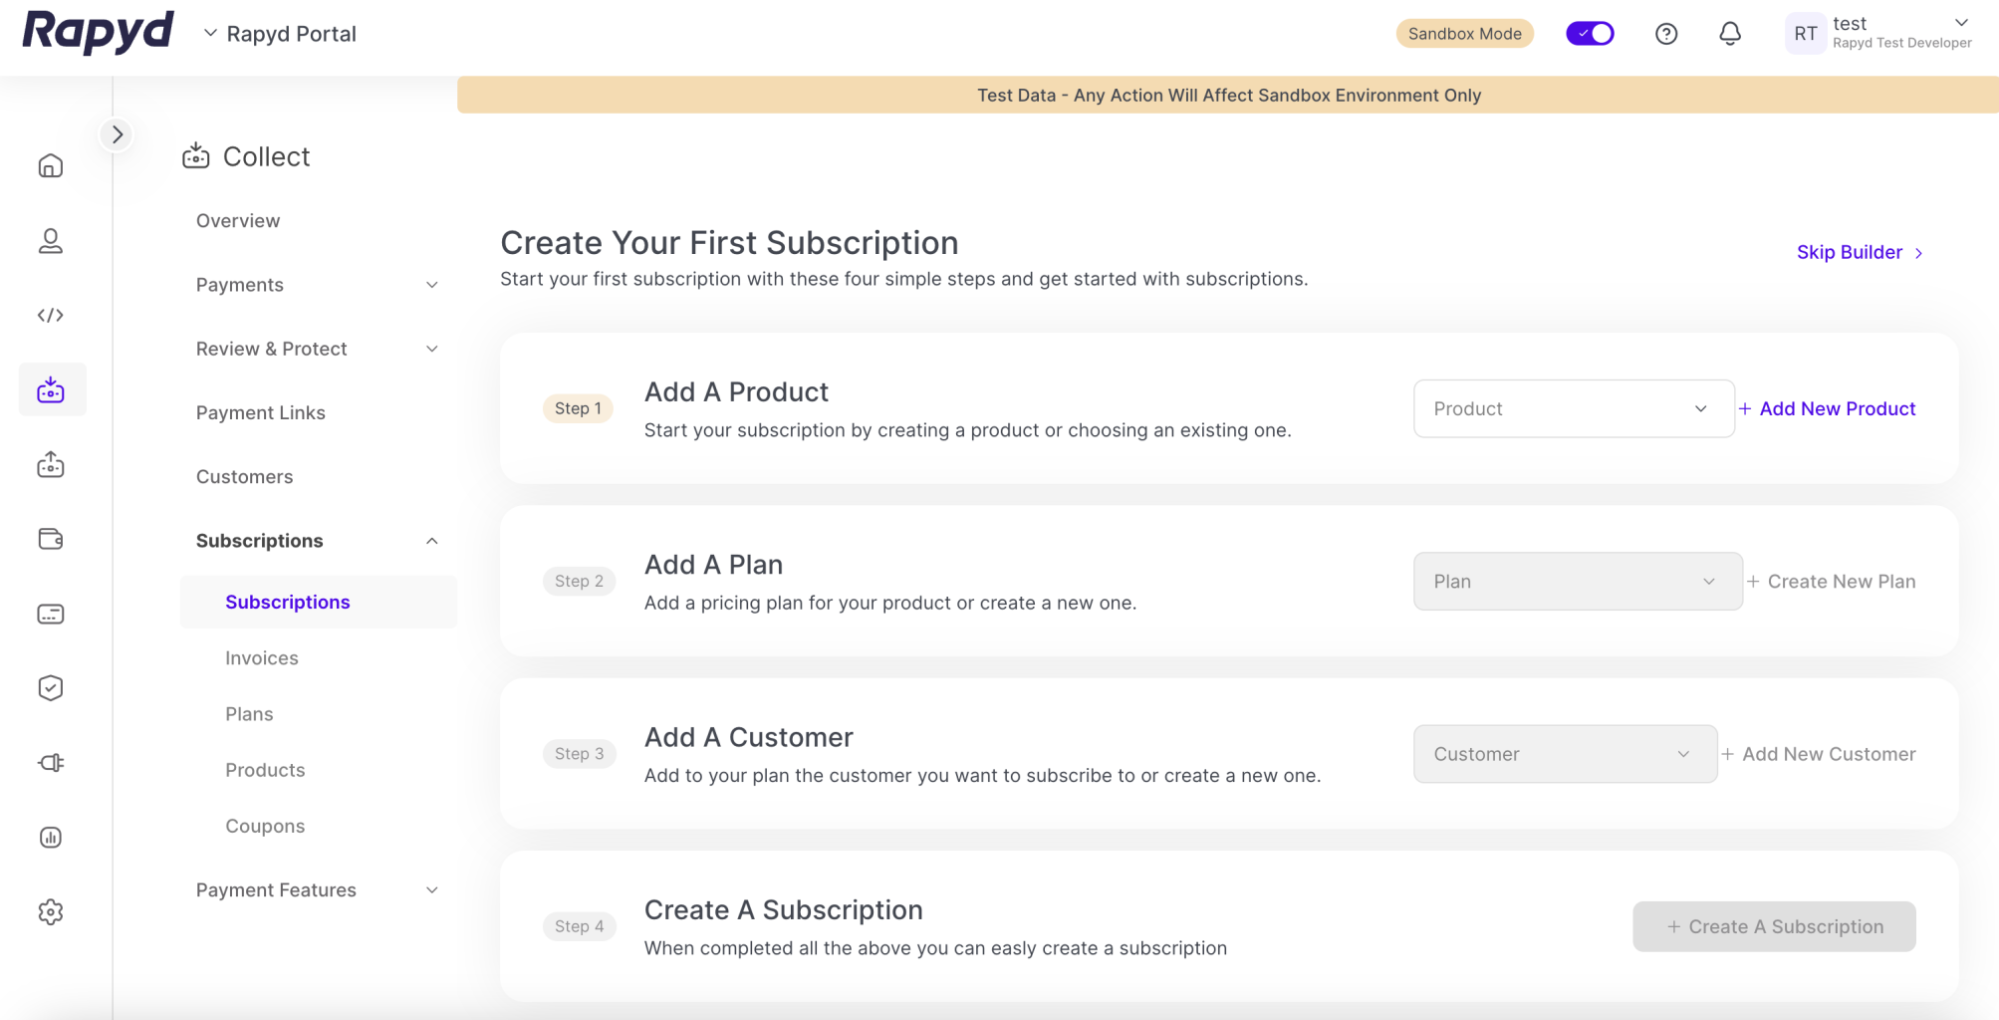
Using the Subscription Builder for the First Time
The subscription builder will display the Create Your First Subscription page if you are creating a subscription for the first time using the subscription builder.
You can use the subscription builder to create additional subscriptions using the same subscription element fields.
There are three main elements to a subscription that you must include when using the subscription builder:
A product
A pricing plan
A customer
Add a Product
Add a product to your subscription by selecting a previously created product from the drop-down menu.
To add a new product, click + Add New Product.
The Create New Product window appears.
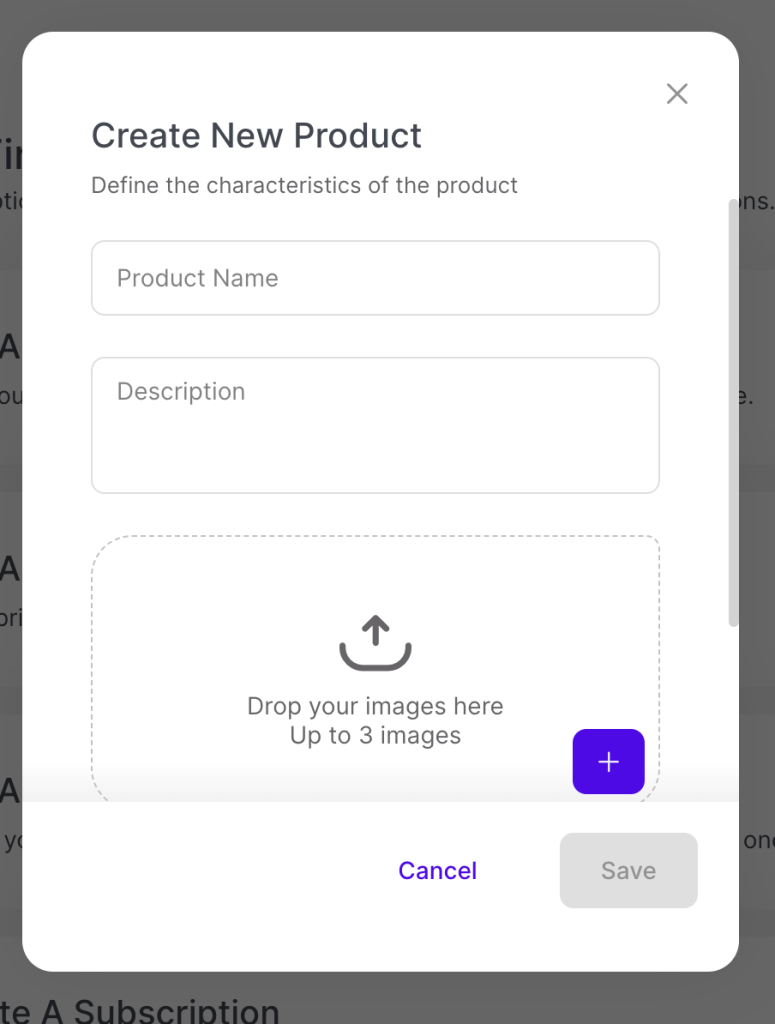
Enter your product name in the Product Name field.
Enter your product description in the Description field.
Upload an image of your product by clicking the + button.
Click Save
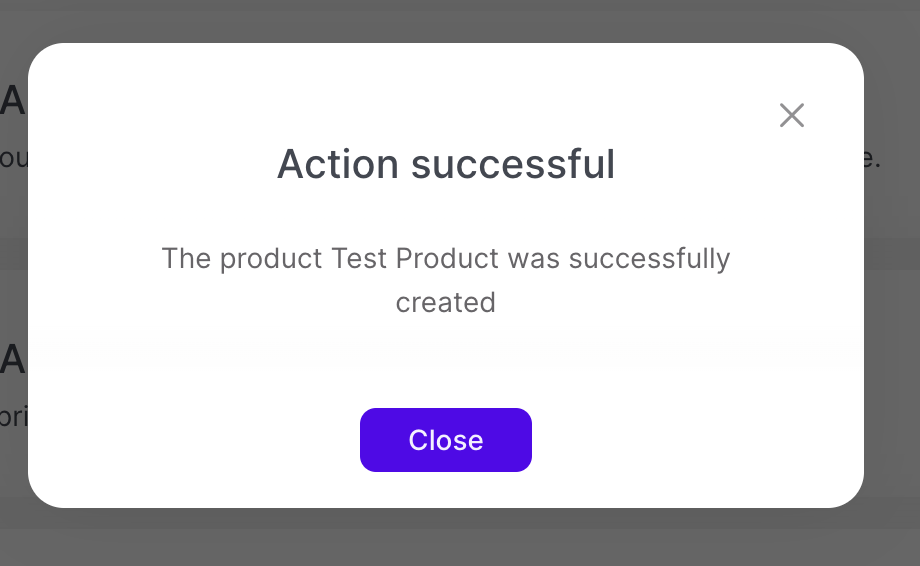
The Action Successful window appears
Add a Plan
Add a pricing plan to your subscription by selecting a previously created pricing plan from the drop-down menu.
Click on + Create New Plan to create a new Pricing Plan. See Creating a Subscription Pricing Plan for more detail.
Add a Customer
Add a customer to your subscription plan by selecting the customer from the drop-down menu.
To add a new customer, click on + Add New Customer.
The Create Customer window appears.
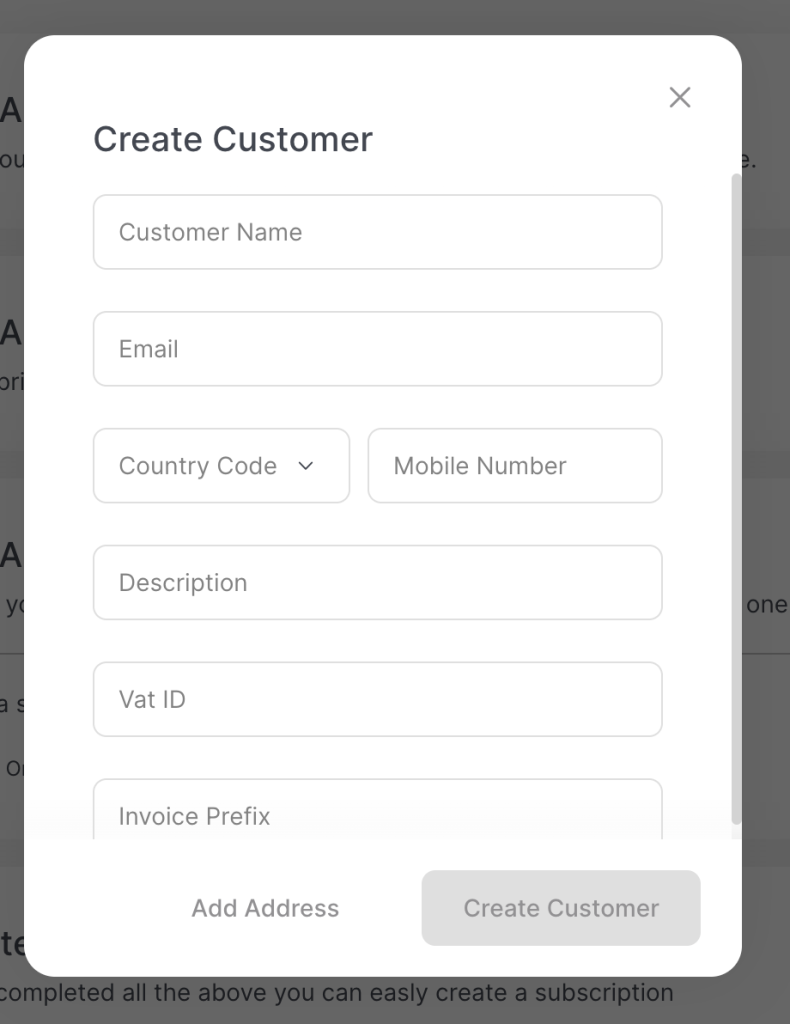
Enter the customer information.
Click Create Customer .
Completing Your Subscription
Finish creating your subscription with the Subscription Builder by clicking the+ Create a Subscription button.
The Action Successful window appears.