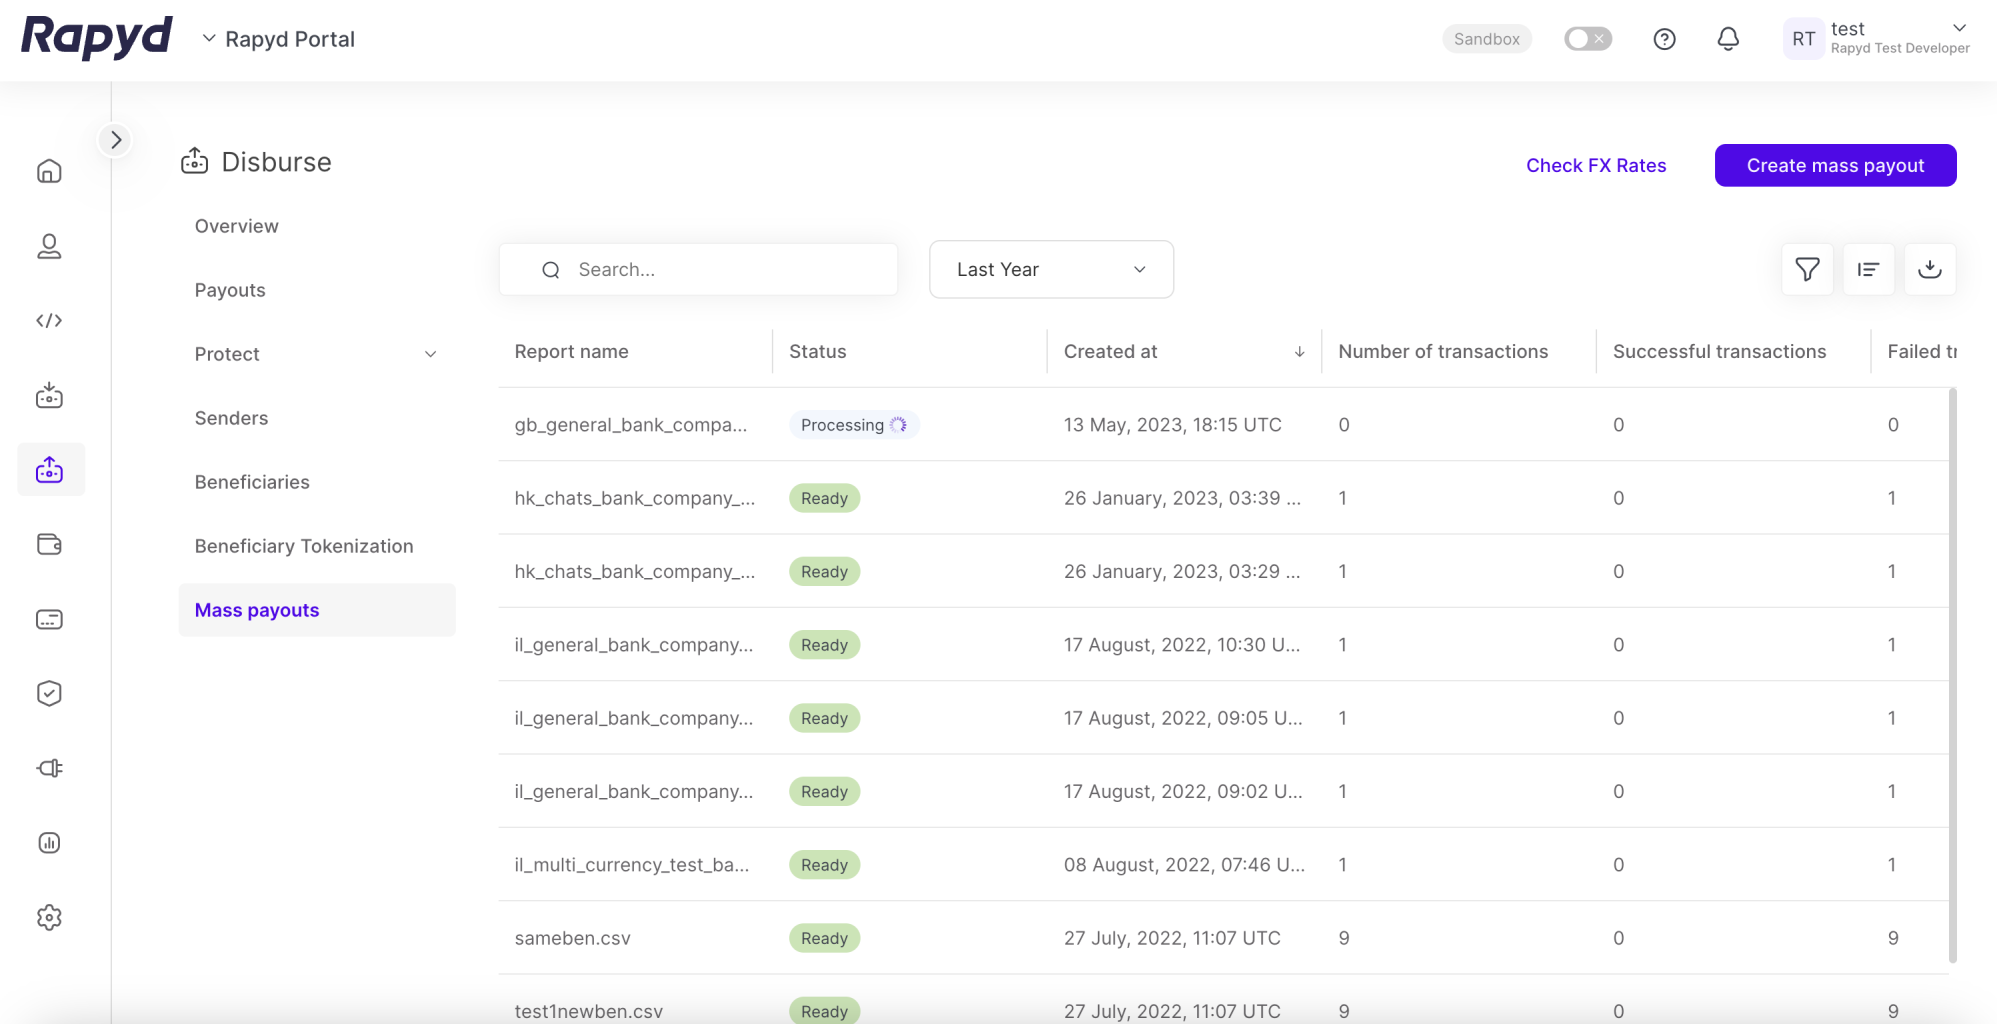
Viewing Mass Payout Reports
You can view a list of mass payout reports.
You must have Owner or Administrator privileges to view mass payout reports.
Sign in as described in Accessing the Client Portal and navigate to Disburse > Mass Payouts.
The Mass Payouts page appears.

Modify the display by doing the following:
To change the column order, tap on a column header and drag it to a new place.
Other things you can do:
To view additional columns, hover over the table and move the horizontal scroll bar at the bottom of the page.
To scroll through the pages of the table, tap the page arrows or type a page number in the box at the bottom of the page.
To filter the list, type a value in the Search field.
To sort the list, tap the column heading.
The following table describes the fields in the Mass Payout Reports page:
Field | Description |
|---|---|
Batch ID | An identifier that the Client Portal assigns to the uploaded mass payout file. |
Report Name | String ending with .csv. For a single file report, the string starts with a name assigned by the Client Portal. For a multiple file report, the string starts with the batch name entered when the files were uploaded. |
Files in batch icon | The number of report files included in the batch. To view the names of the batch files, hover over the icon. Note: Only appears when multiple files are in the batch. An example is displayed in the image above (last row). |
Status | The status of the report. One of the following:
|
Create Date | The date and time that the report was created. |
Number of Transactions | The total number of transactions in the report. |
Successful Transactions | The number of transactions that successfully created a payout. |
Failed Transactions | The number of transactions that failed to create a payout. |