Virtual Terminal
Create card payments in the Client Portal using the Virtual Terminal.
You can create a card payment. This procedure requires Owner or Administrator privileges.
Virtual Terminal Available in Production Environment
Rapyd's sandbox environment enables you to experience a scope of Rapyd's services which is broader than the scope of services you requested under your Merchant Agreement with Rapyd.
Please note that such broadened scope of services shall not be available to you upon activation (‘go live’).
If you would like to add and receive additional services from Rapyd, then please reach out to your designated sales representative.
Sign in as described in Accessing the Client Portal .
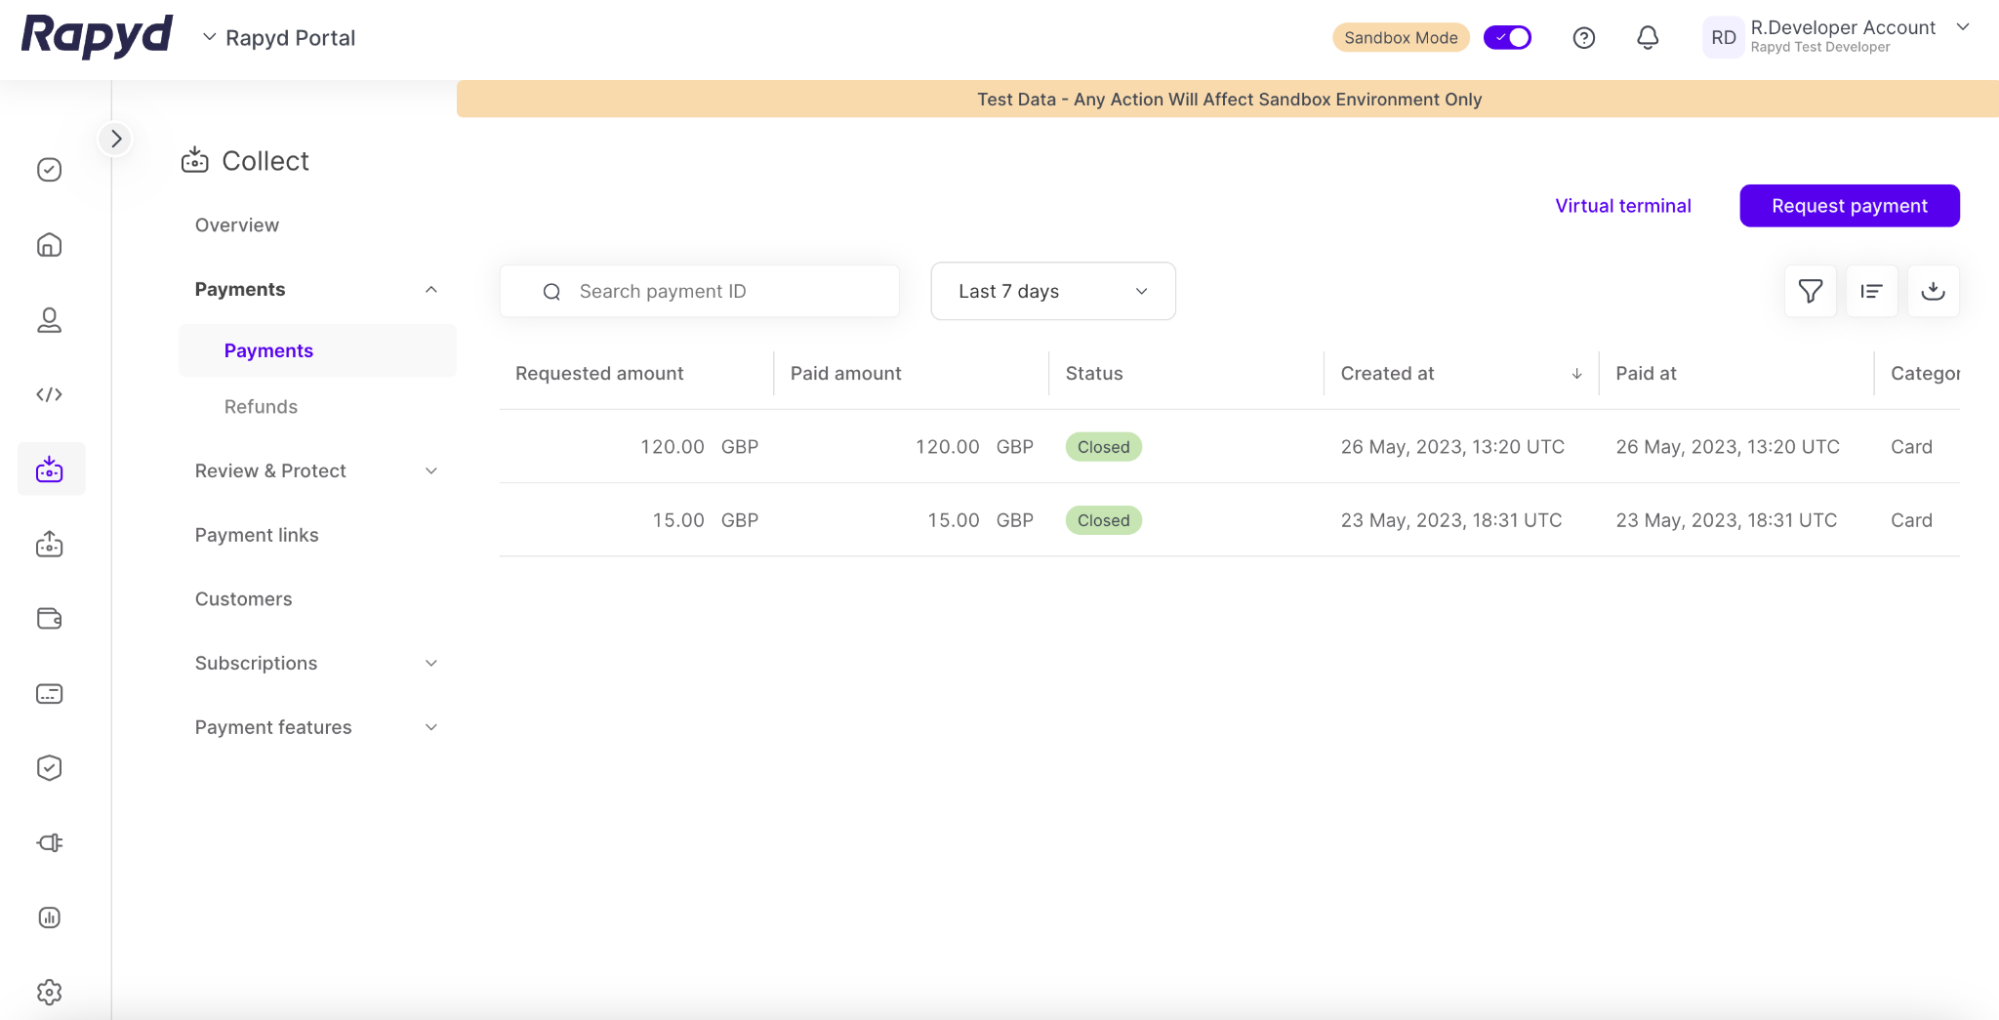
Navigate to Collect > Overview or Collect > Payments.
The Payments page appears.
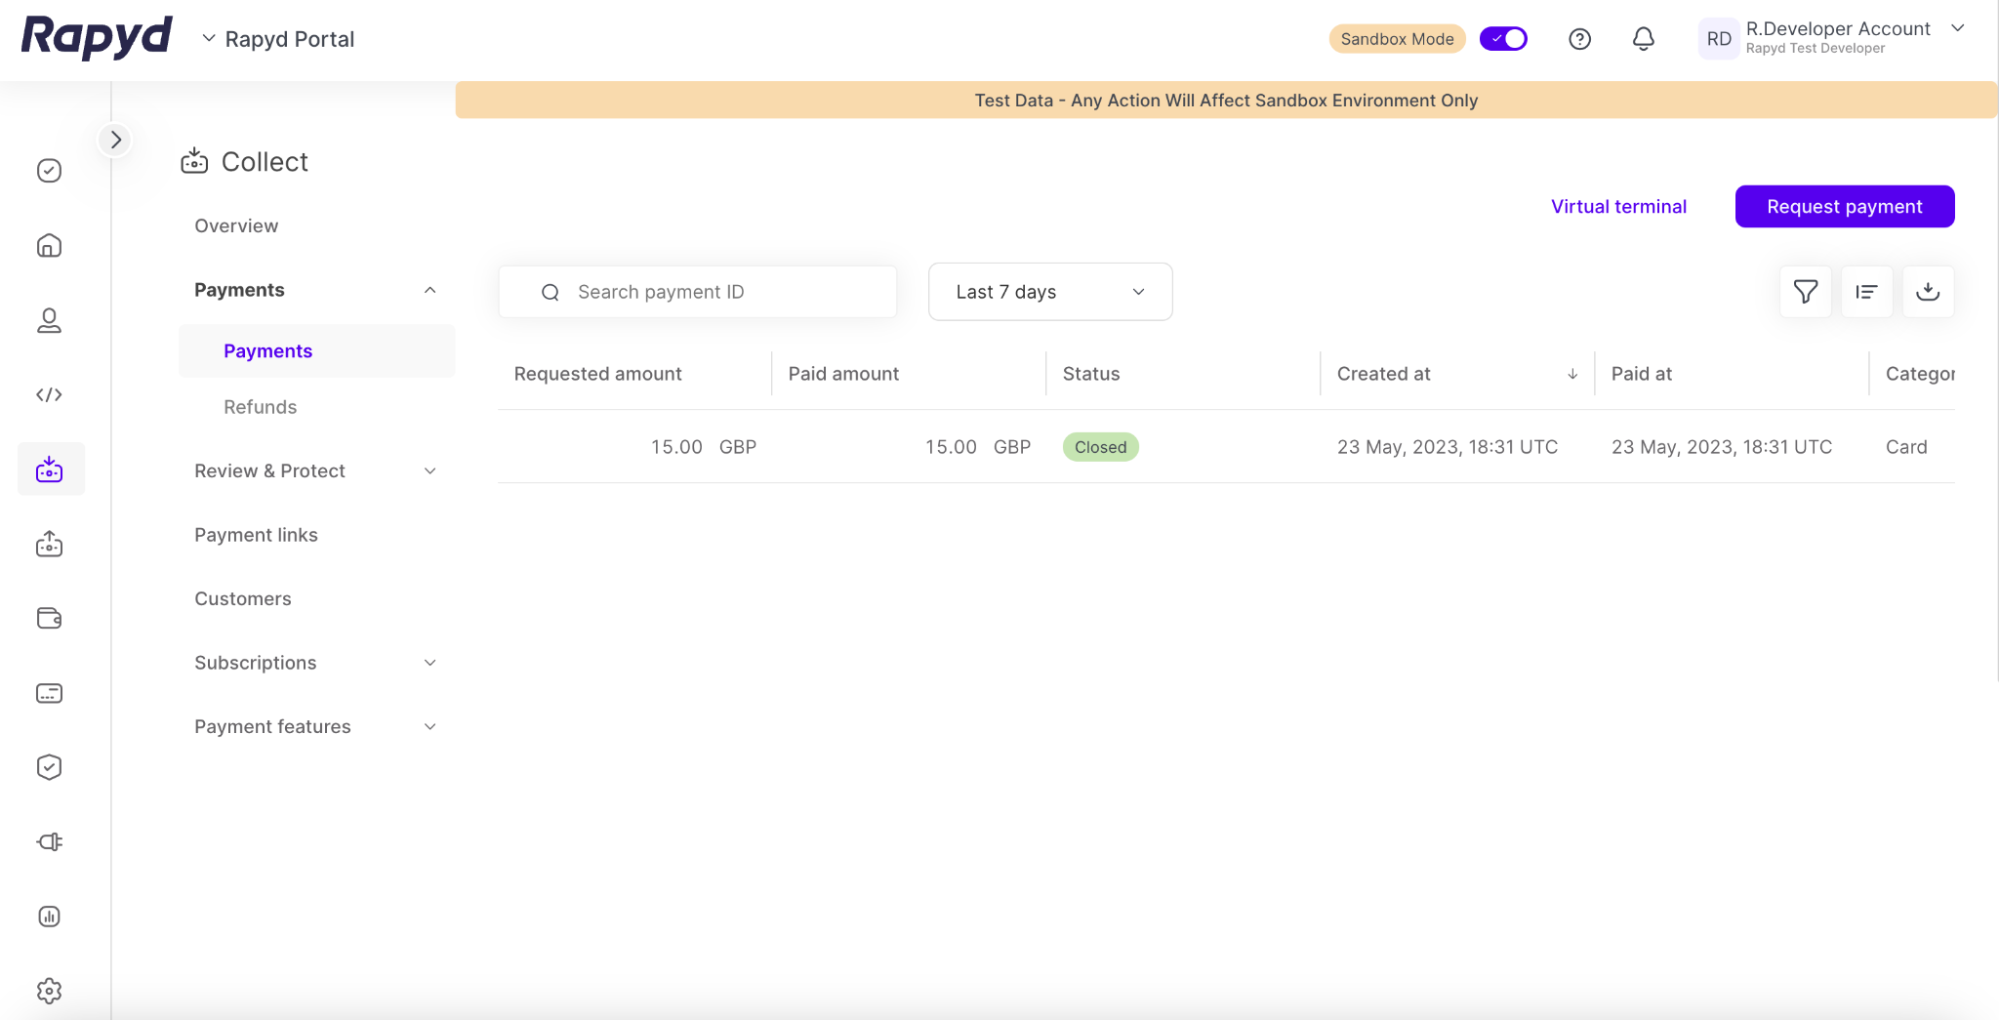
Click the Virtual Terminal link in the upper right corner.
The Virtual Terminal window appears.
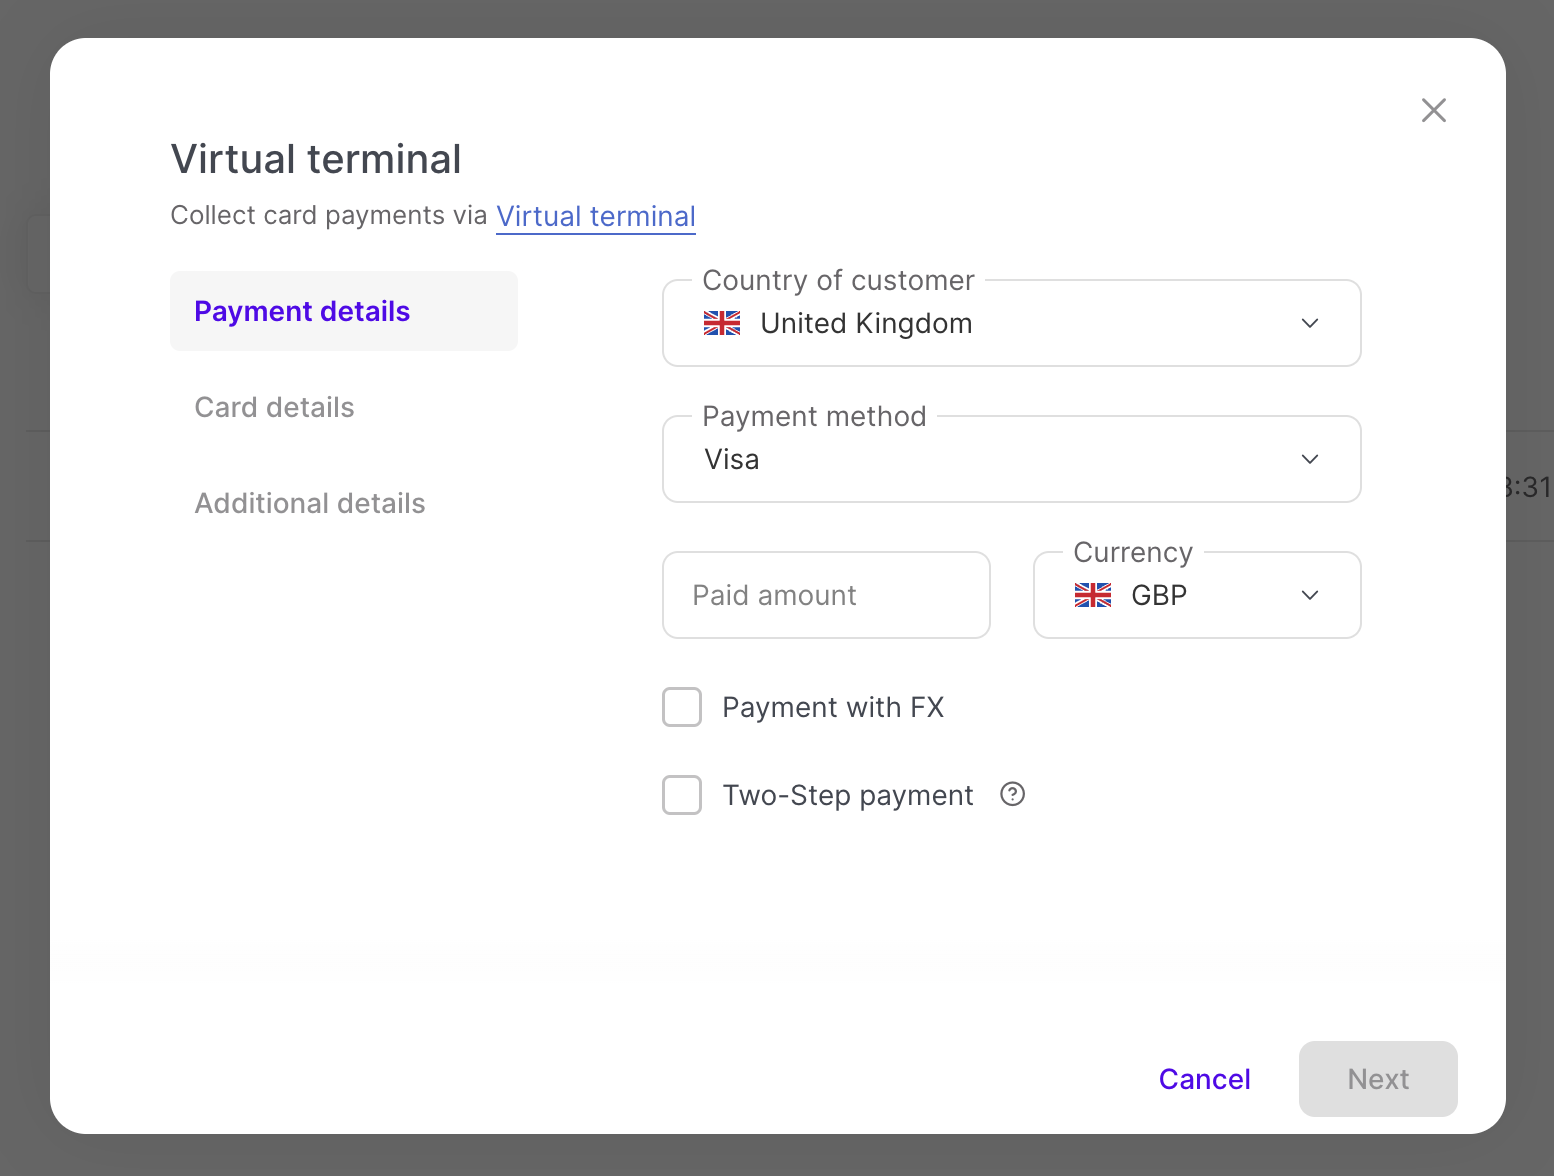
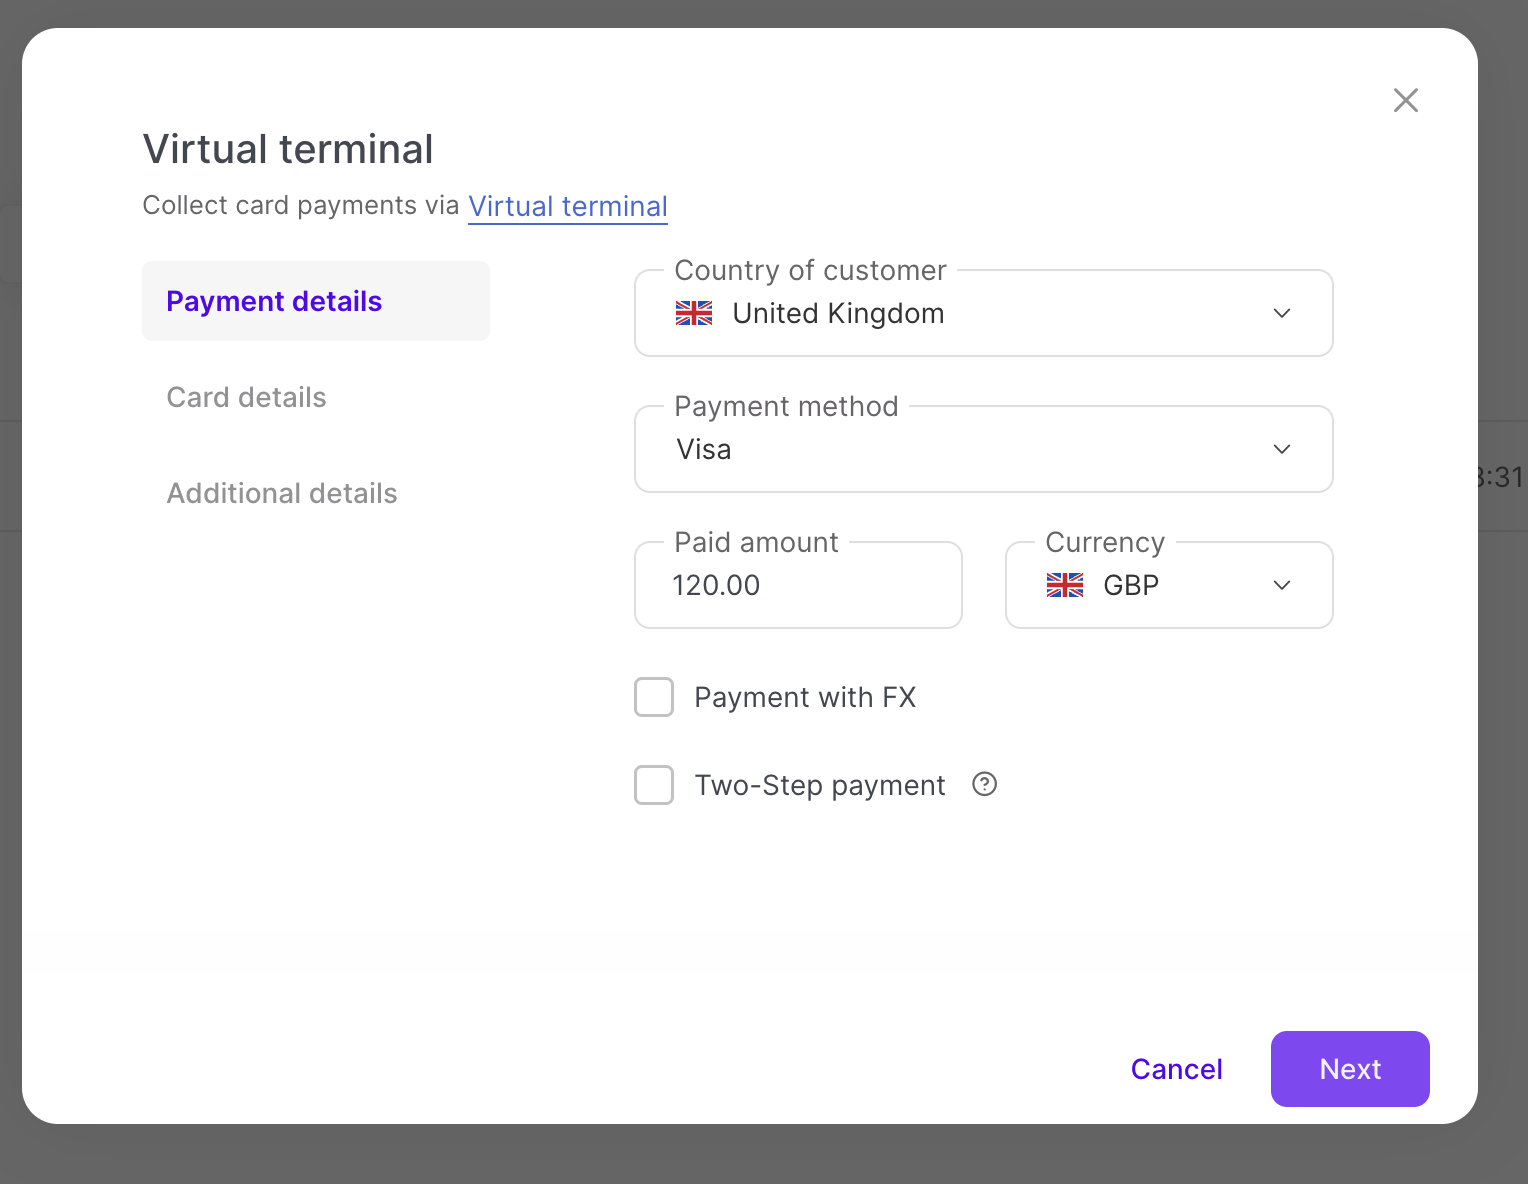
Provide the following Payment details :
Country of Customer - The country where the customer is located.
Payment Method - The type of payment card used.
Paid To - The ewallet account where the payment will be sent.
Paid Amount - The requested amount for the payment.
Currency - The requested currency for the payment.
Note: Check the Payment with FX box to allow currency exchange for the payment.
Two Step Payment
Check the Two Step-Payment box to first authorize the card payment, and then capture funds after the order has shipped. See Two-Step Payment for more information.
Click Next.
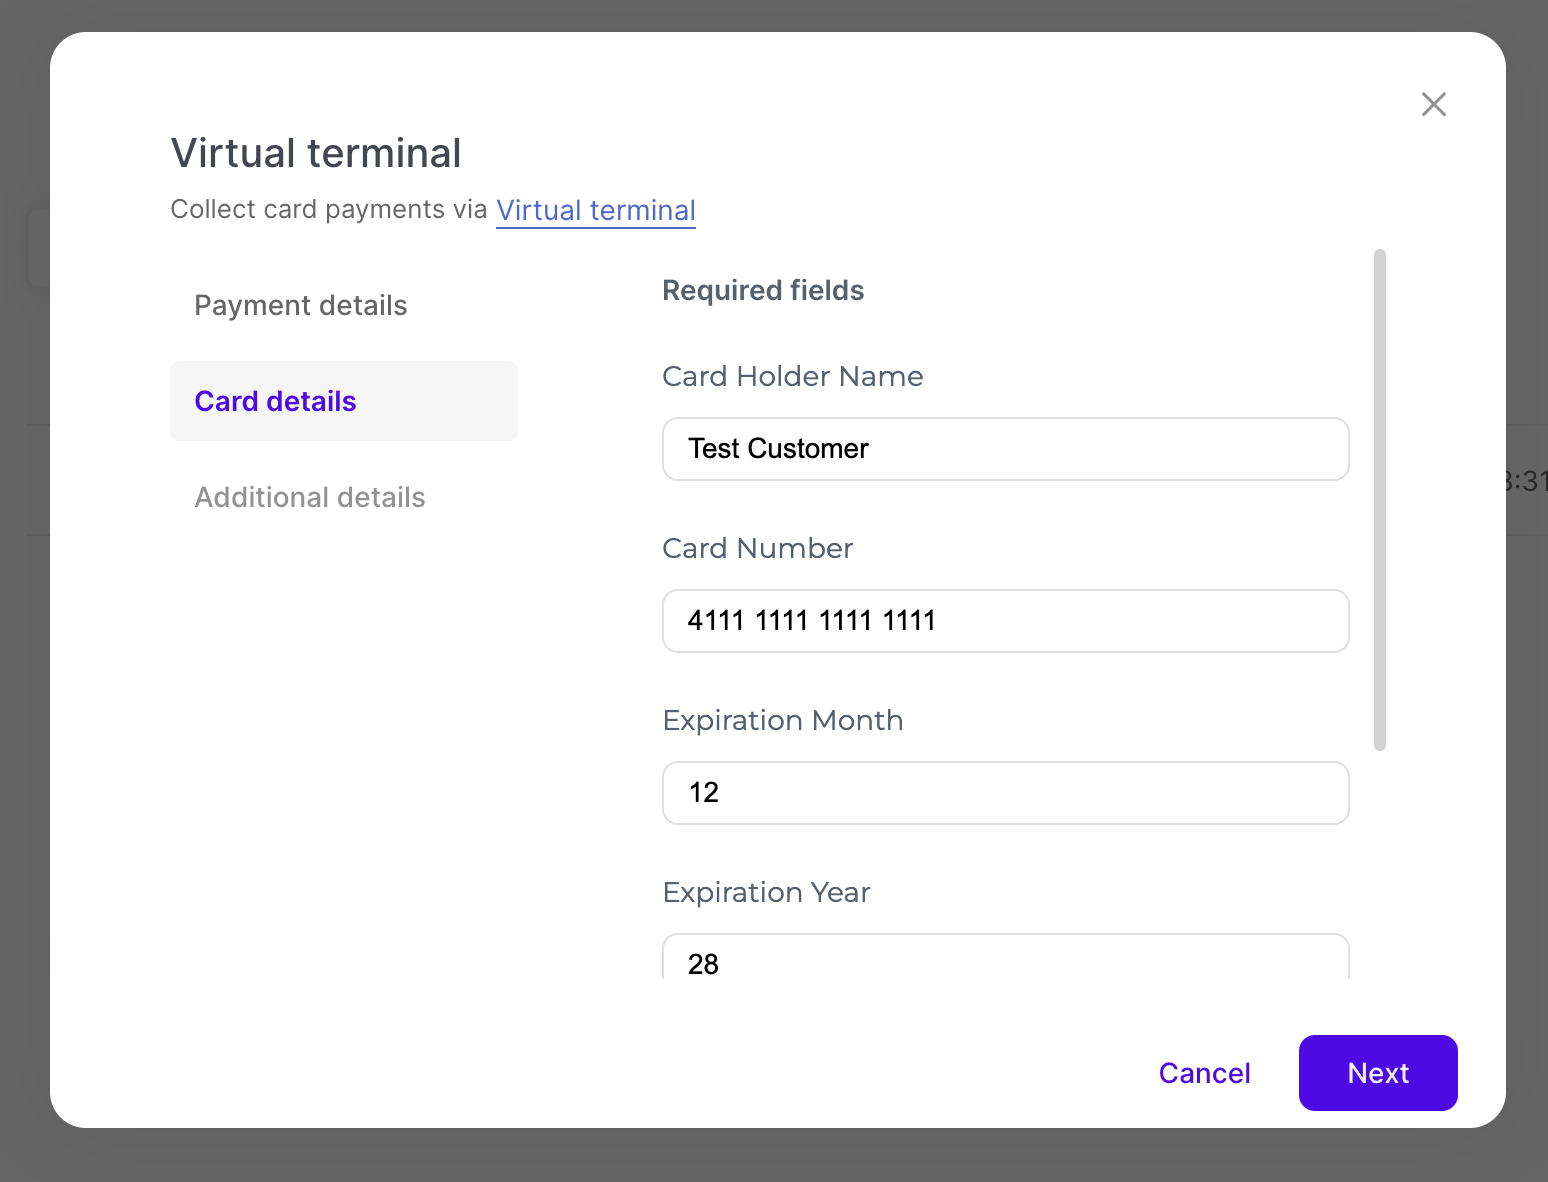
Enter the Card details information. Fill in the following required fields:
Card Holder Name - The name of the card holder.
Card Number - The number of the card provided by the card issuer.
Expiration month (MM) - The month the card expires.
Expiration Year (YY) - The year the card expires.
CVV - The Card Verification Value, a number used for security with purchases.
Click Next.
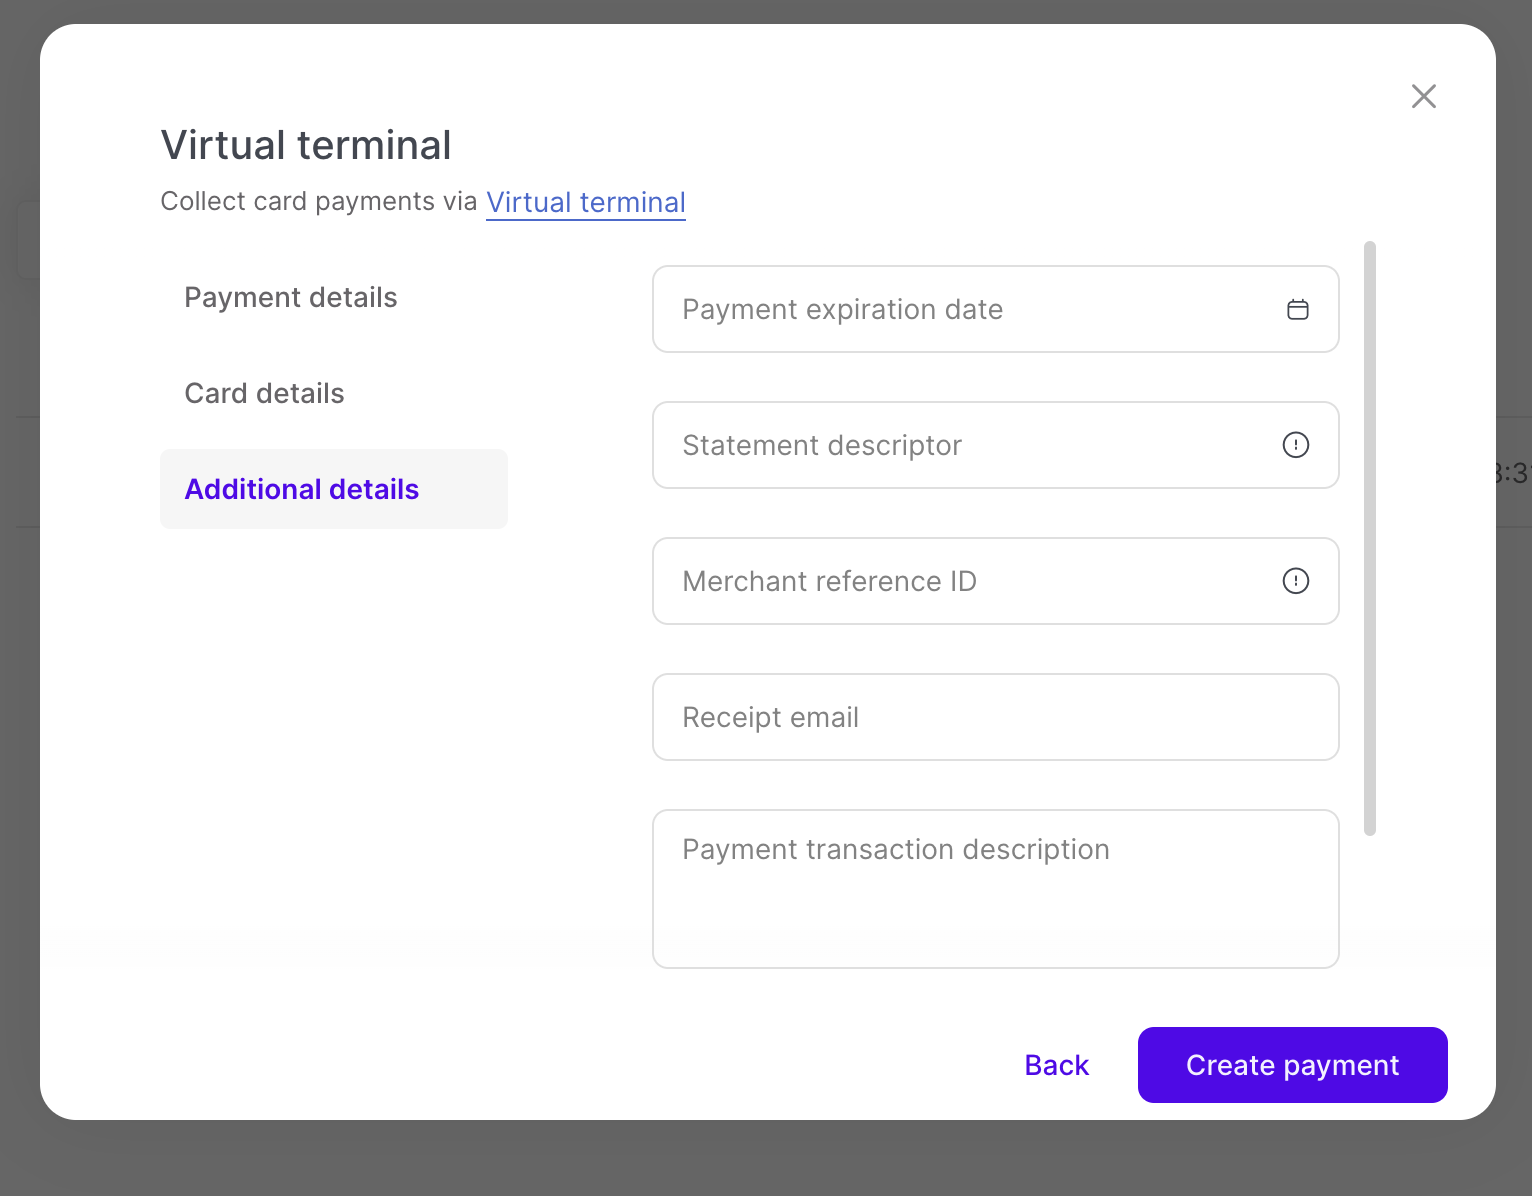
Optional - fill in the following optional fields:
Payment Expiration Date - The date the requested payment will expire.
Statement Descriptor - The information displayed in the beneficiary statement.
Merchant Reference ID - A unique identifier created by the merchant.
Receipt Email - The email the payment receipt will be sent to.
Payment Description - A textual description of the payment.
Click Create payment.
The Payment created window appears.
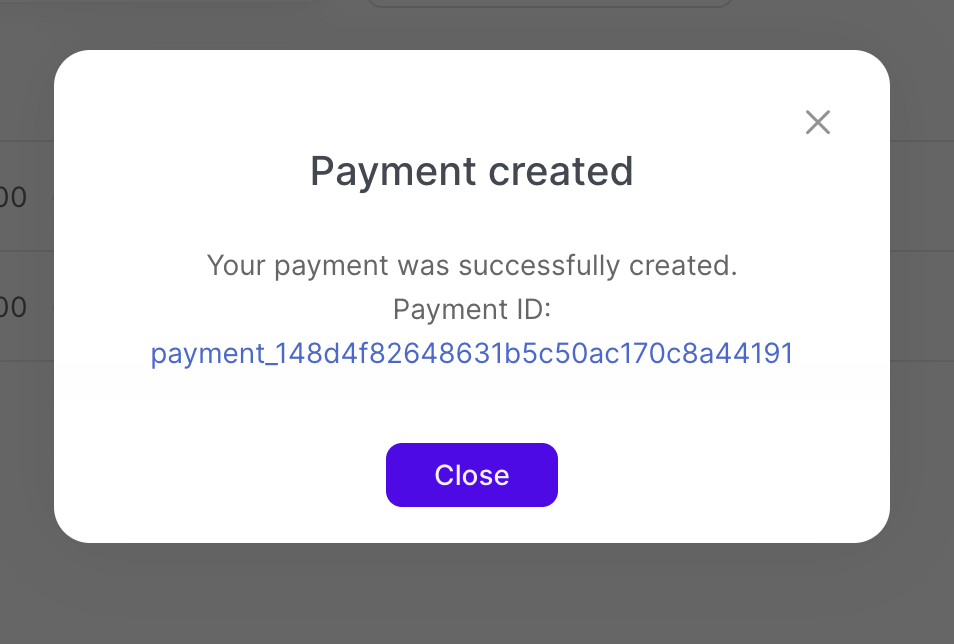
Your newly created payment will appear in the Collect > Payments page.