Creating a Payment Link
Create a payment link to collect payments from your customers. Use the Rapyd Client Portal to generate a reusable or one-time payment link. You can view previous payment links and delete unused links. Payment links can be used to collect payments online without requiring an extensive integration or existing checkout build. You need the Owner or Administrator user role for your account to create or deactivate a payment link.
You can create a reusable or one-time payment link using the Rapyd Client Portal. One-time payment links can only be used once before they expire. Reusable payment links can be used multiple times without expiring.
Sign in as described in Signing In to the Client Portal and navigate to Collect > Payment Links.
Select the Create Payment Link button in the top right.
The Create payment link page appears.
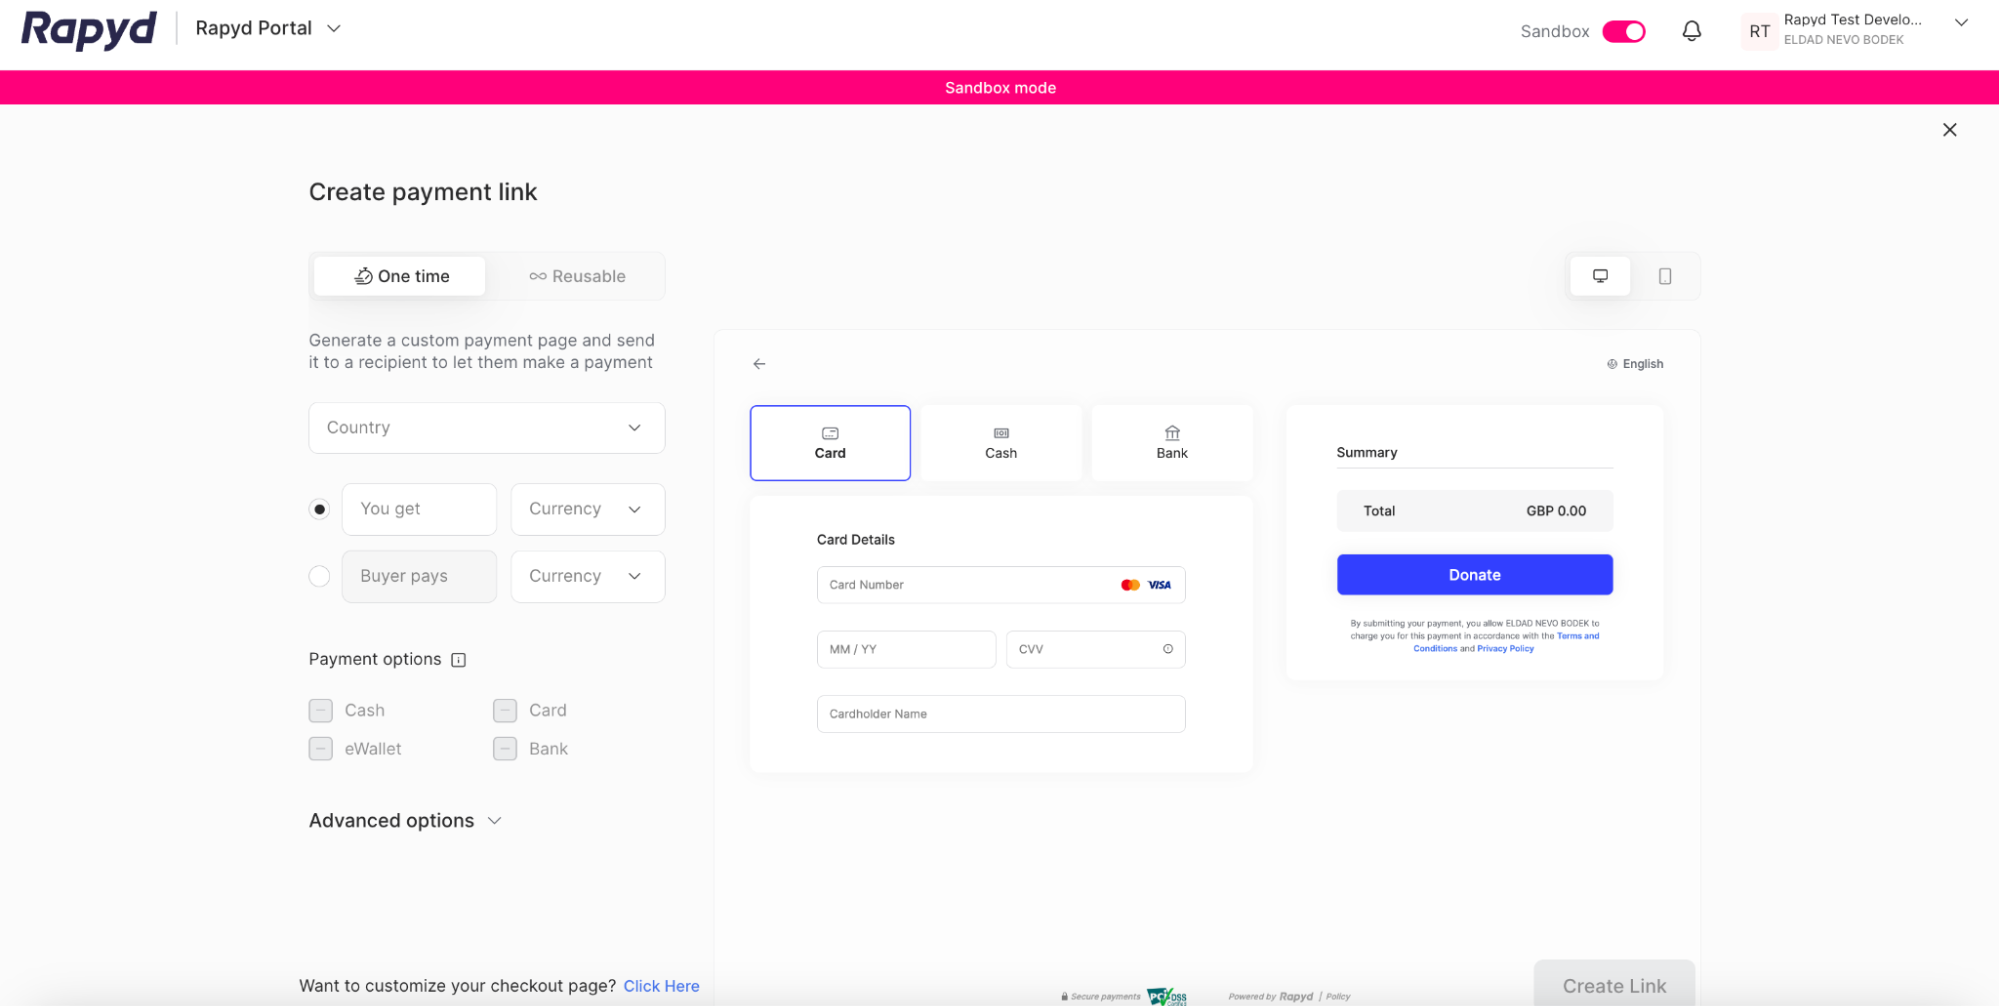
Select One time or Reusable.
If One time, set the Country, Amount, and Payment Options.
If Reusable, select the Country .
If Fixed Amount, input the Amount and Currency for the merchant, and the Amount and Currency for the buyer. Select the checkbox to allow your recipients to modify your chosen amount.
Note: Selecting different currencies allows for an FX transaction.
If Open Amount, select the Currency.
Complete any Advanced Options
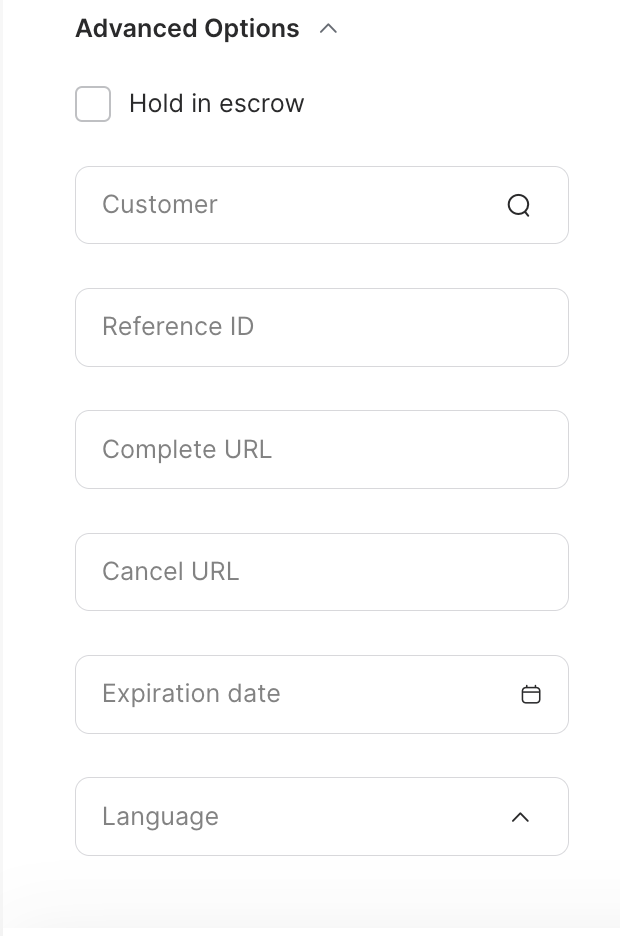
The following definitions describe the Advanced Options fields.
Customer - Search for the unique ID of the customer
Reference ID - Unique ID of the payment link by the merchant.
Expiration Date - Date the payment link expires.
Complete URL - URL where the customer is redirected for final steps in completing the payment. Provided by the client.
Cancel URL - URL where the customer is redirected after pressing Back to Website to exit the hosted page. This URL overrides the merchant_website URL.
Language - Language of the Payment Link page.
Click Create Link.
The Payment Link Created dialog box appears.
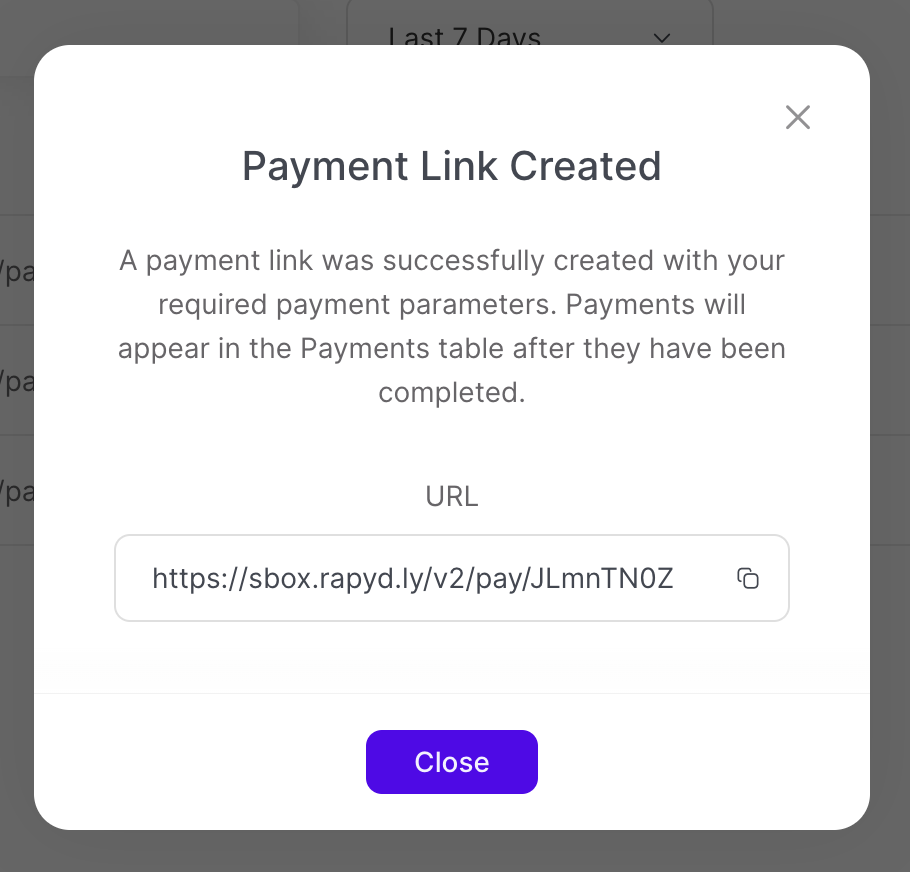
Copy the URL and paste it into a new browser url field. The Payment Links page appears.
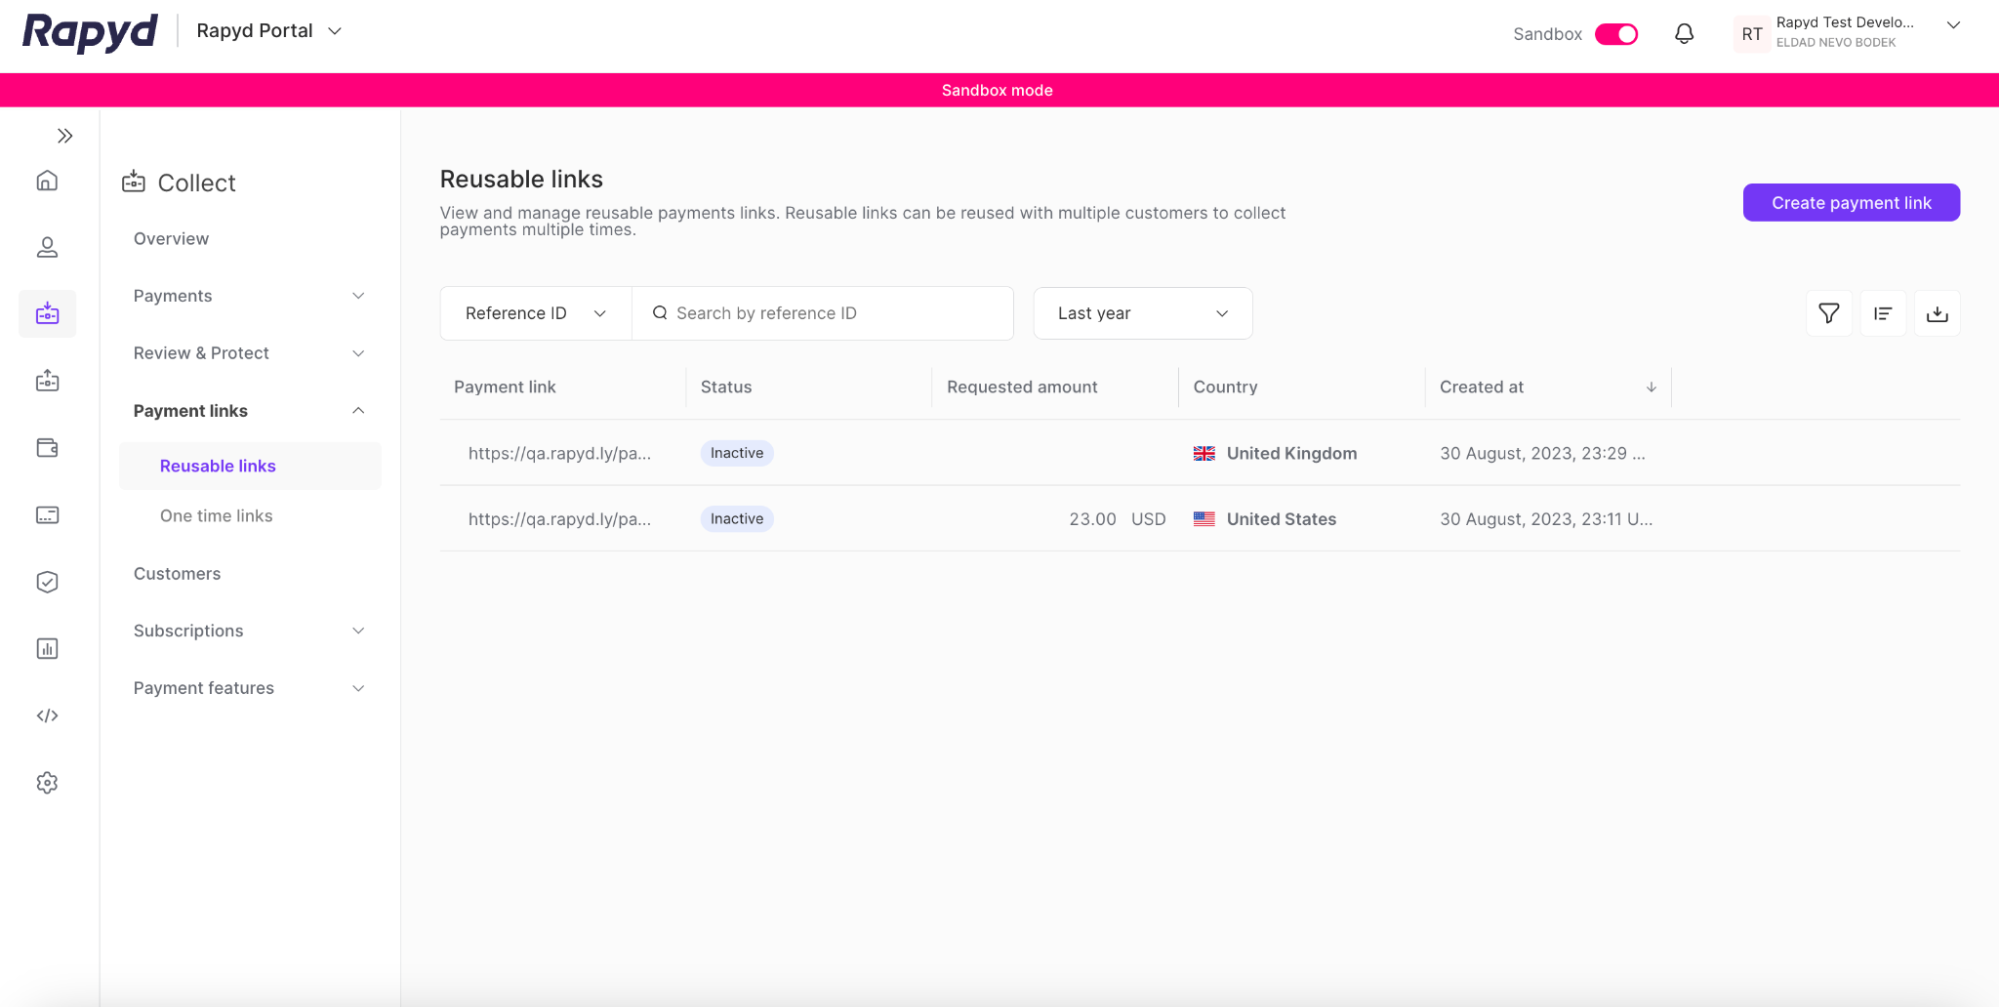
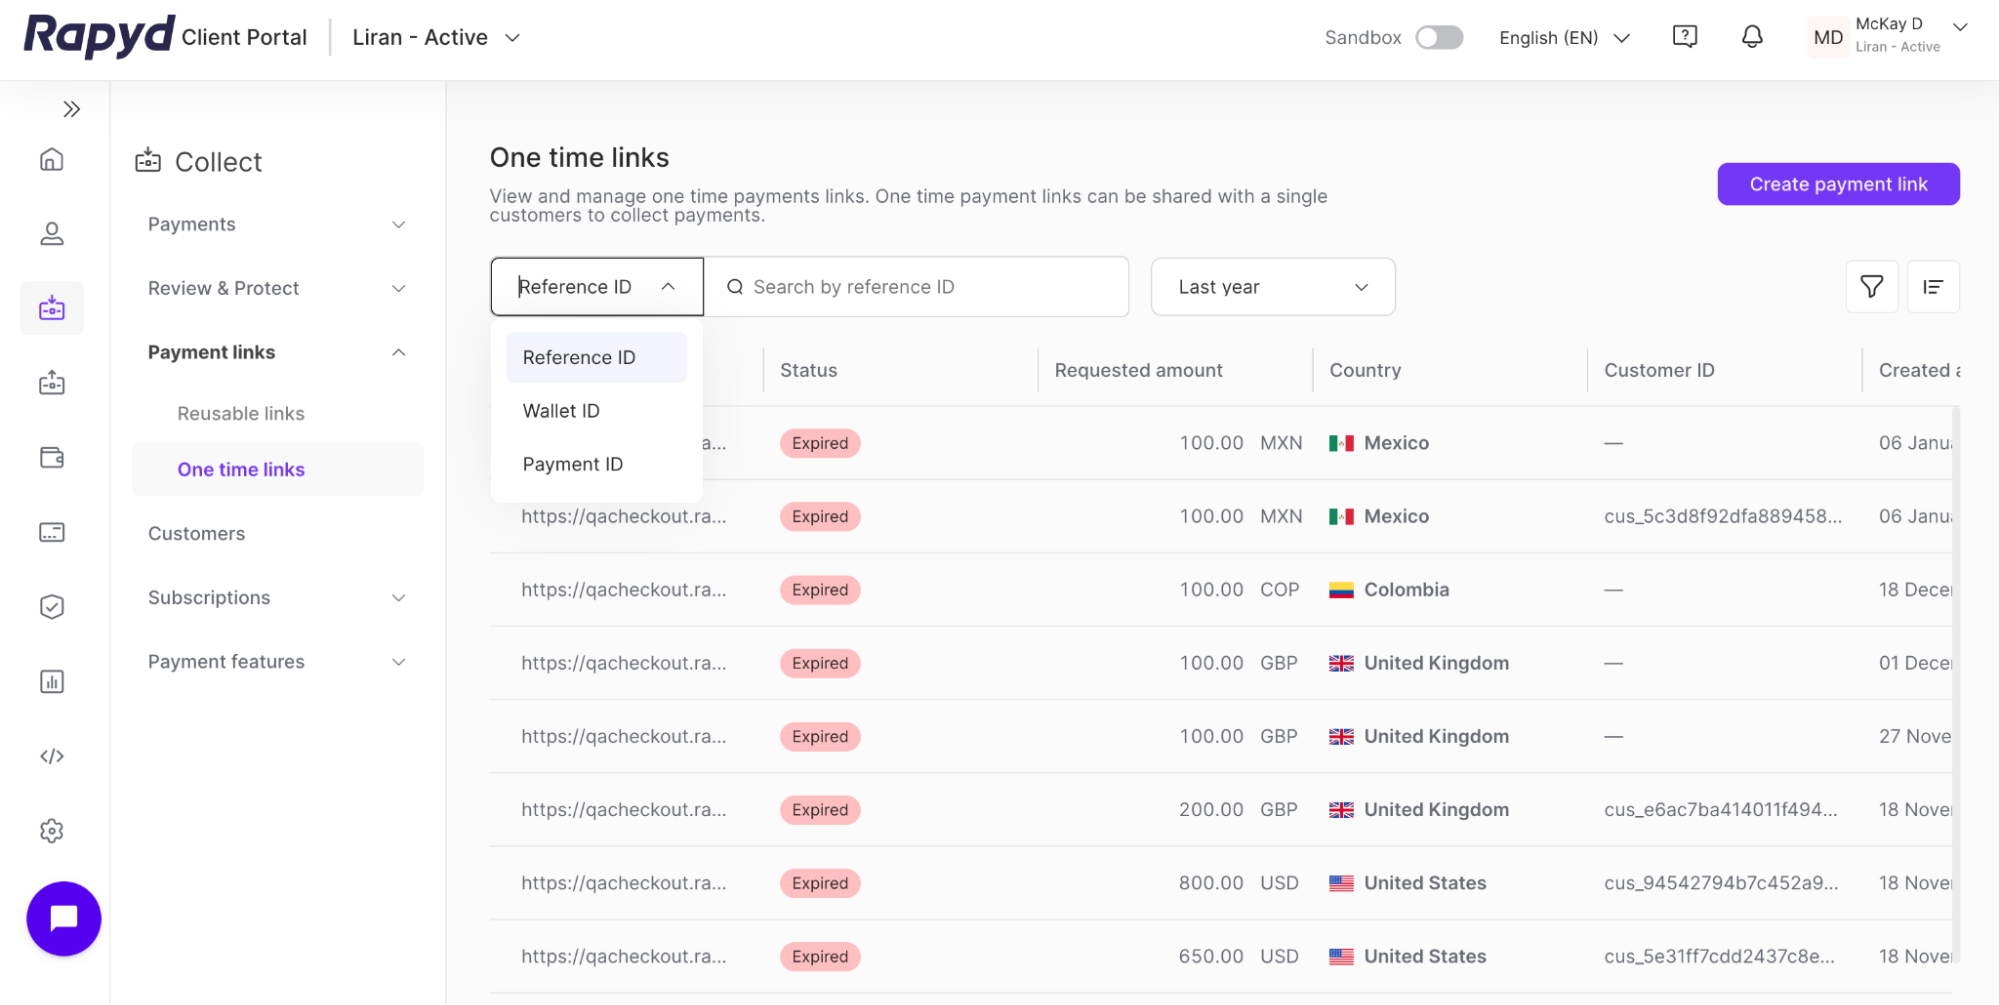
Navigate to Collect > Payment Links. Click between the Resuable links or One time links tabs to view your payment links.
You can use the search bar to find particular payment links. You can search by:
Reference ID
Wallet ID
Payment ID
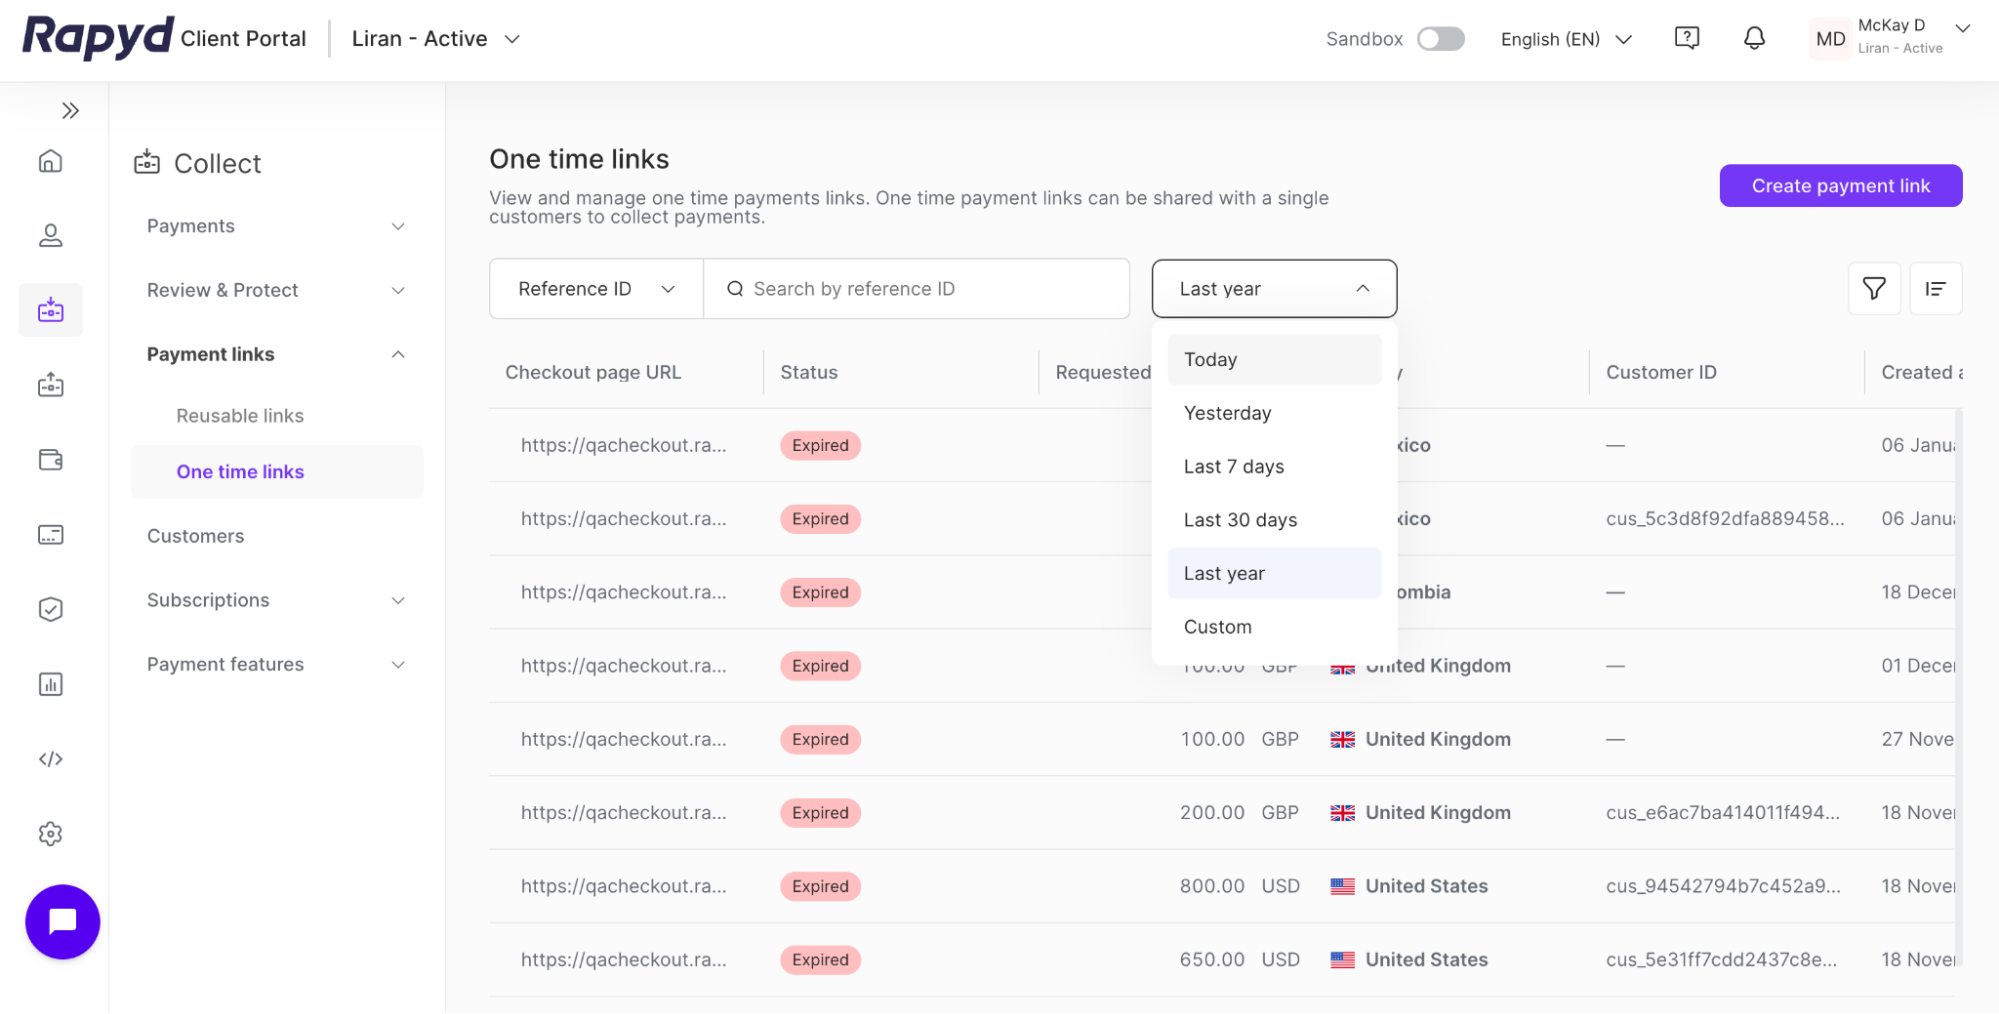
Search for a payment link using a specific date range from the drop-down menu next to the search bar. You can filter the payment links using the following ranges:
Today
Yesterday
Last 7 days
Last 30 days
Last year
Custom
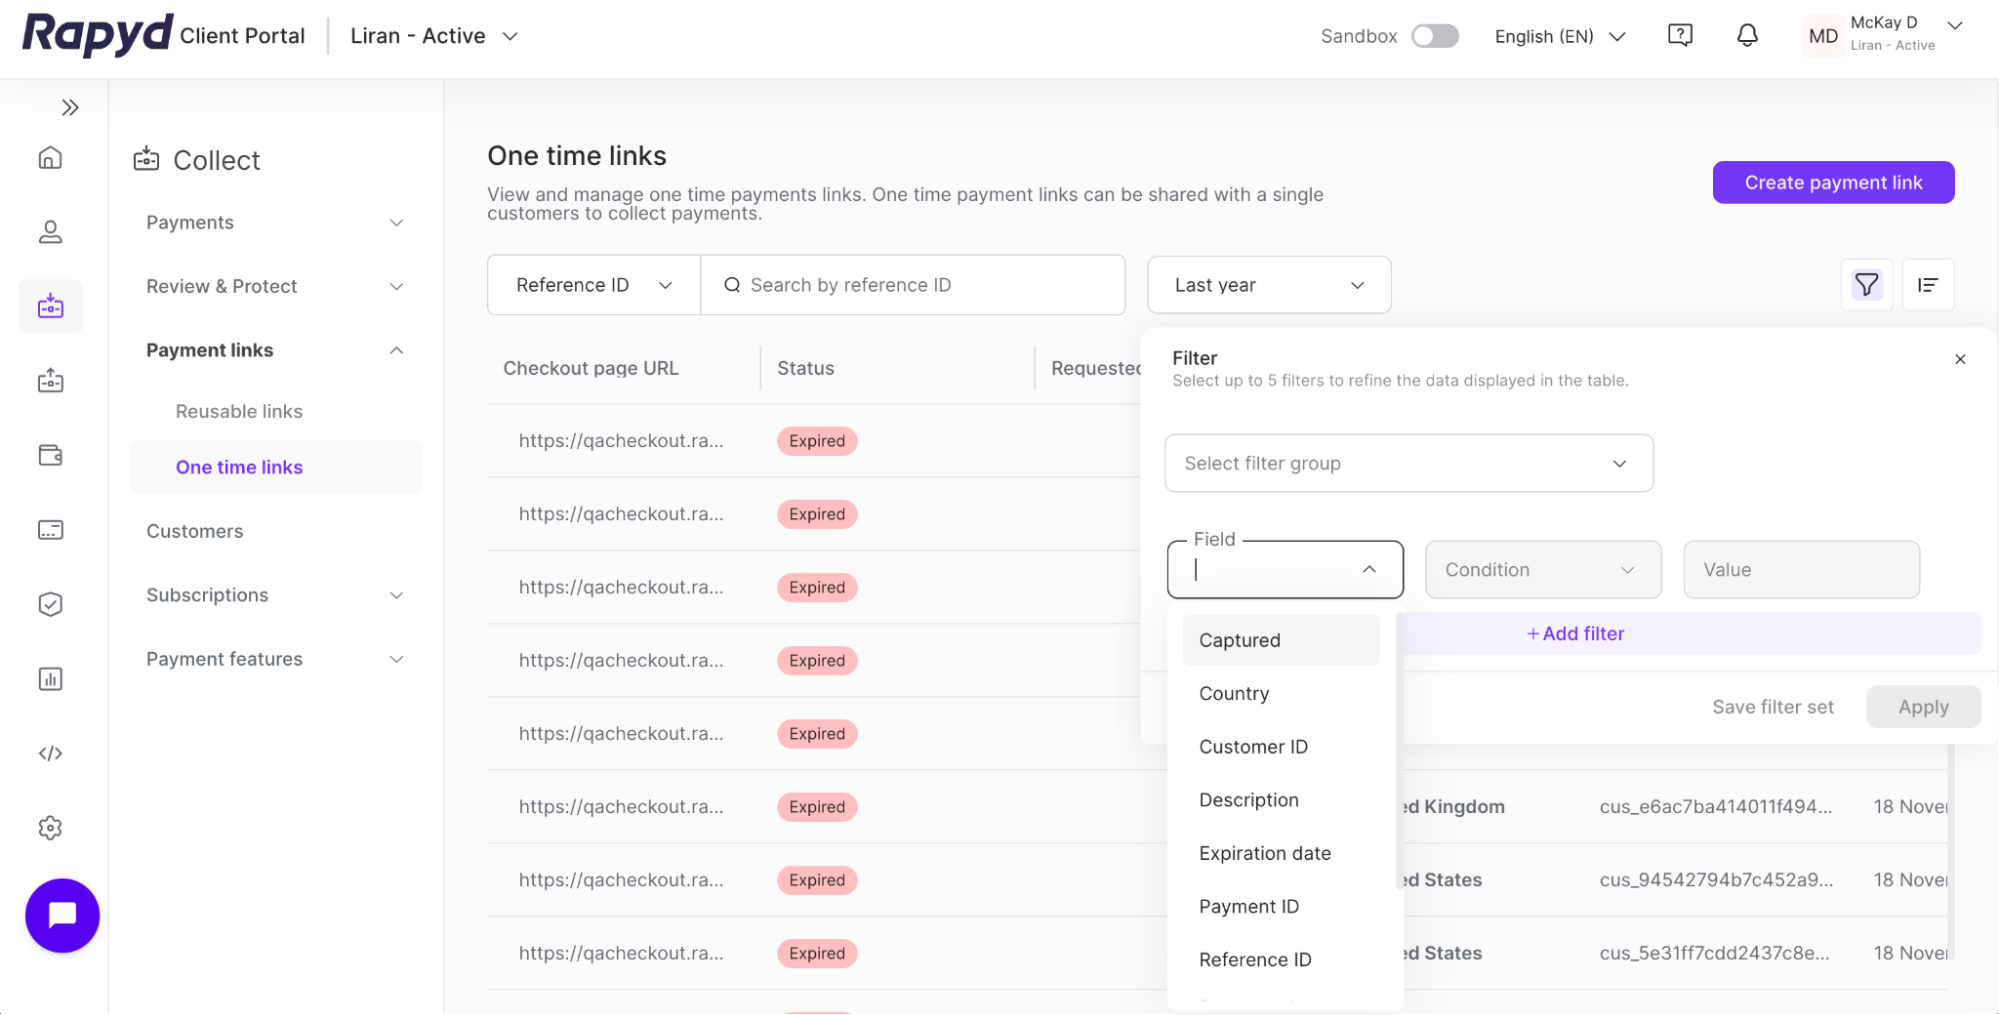
Click the Filter icon in the upper right corner to filter your payment links by more specific criteria. See Creating and Saving Table Filters for more detailed information.
You can deactivate a payment link using the Rapyd Client Portal.
Warning
When a payment link is deactivated, it is permanently deleted. You cannot reactivate the payment link.
Sign in as described in Signing In to the Client Portal and navigate to Collect > Payment Links.
Navigate to the payment link you would like to deactivate.
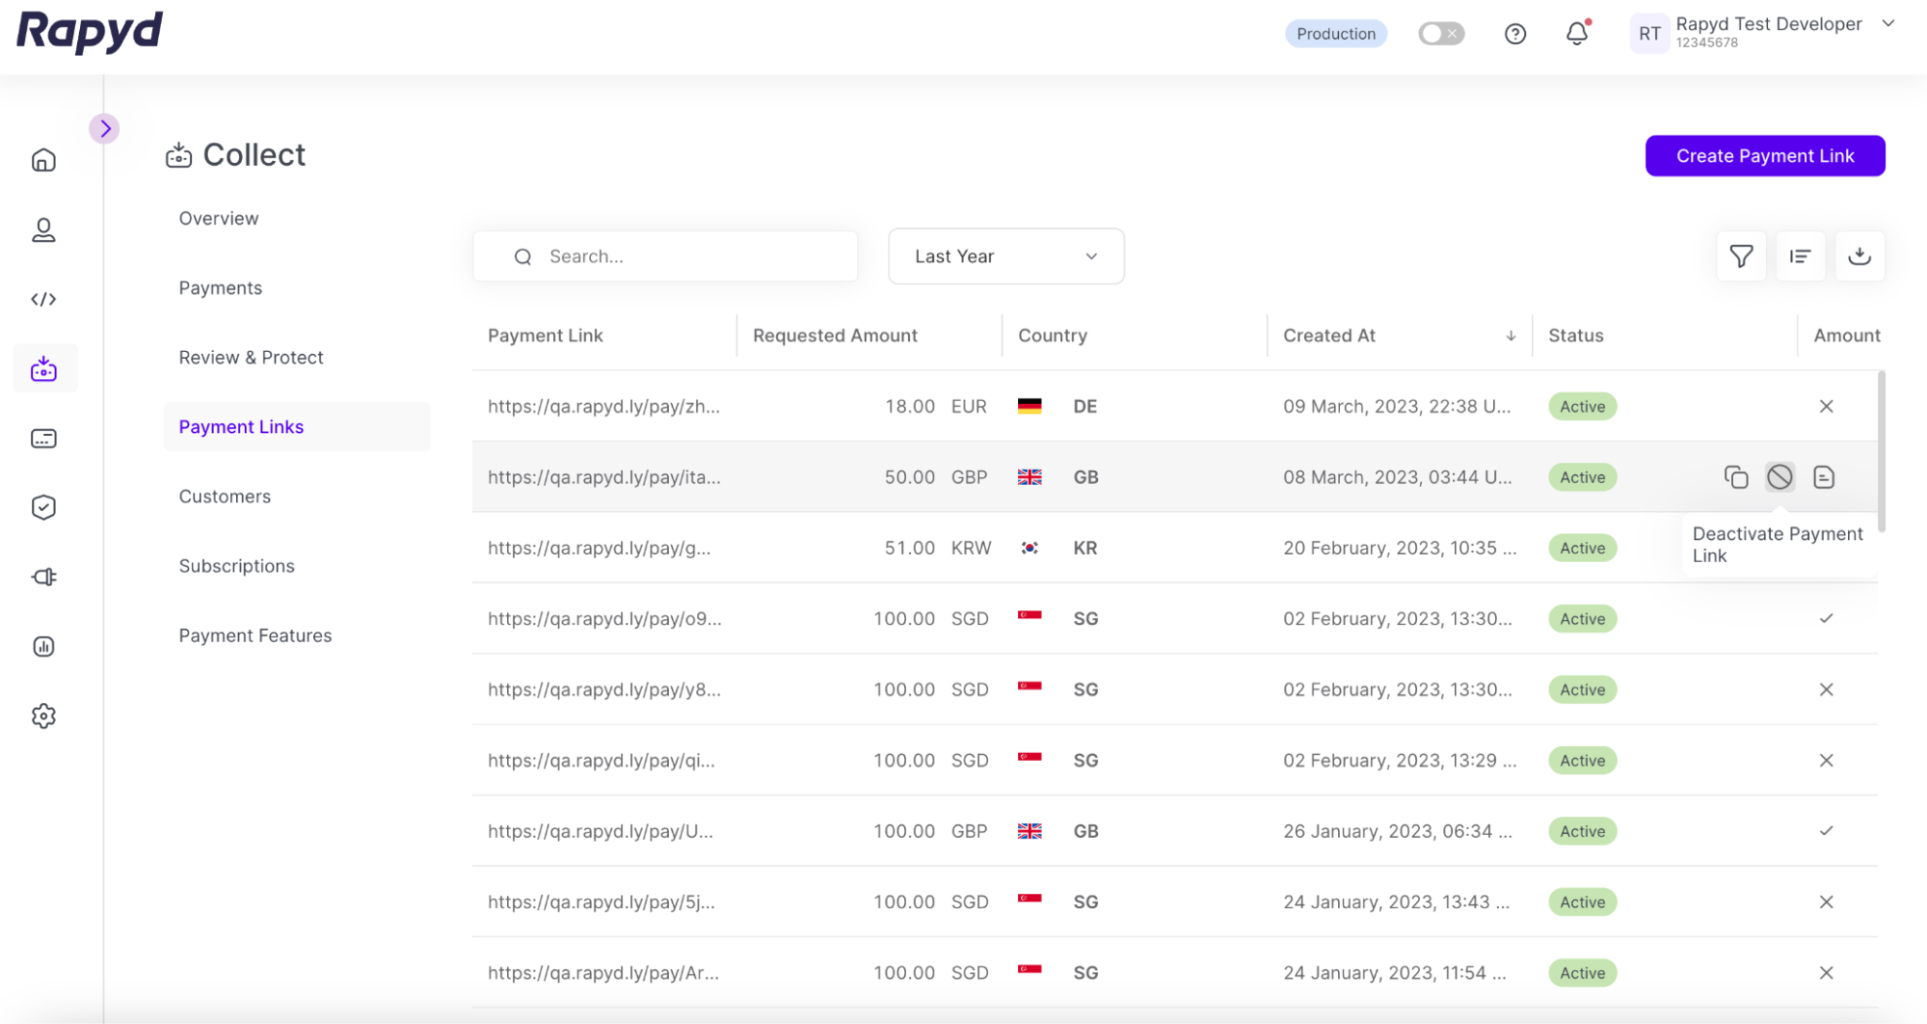
Click on the Deactivate Payment Link icon.
The Deactivate Payment Link window appears.
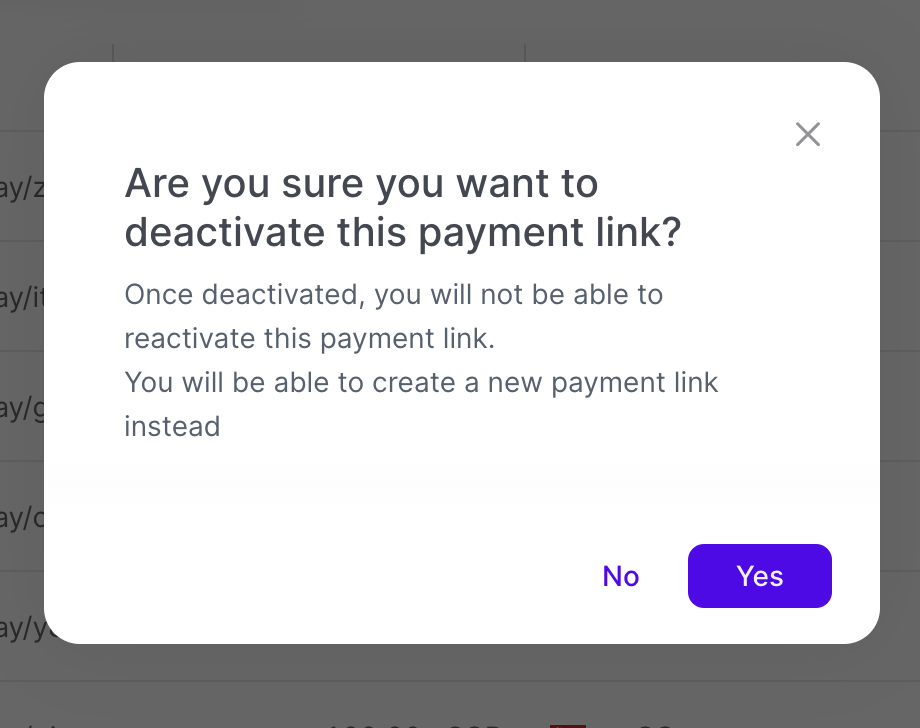
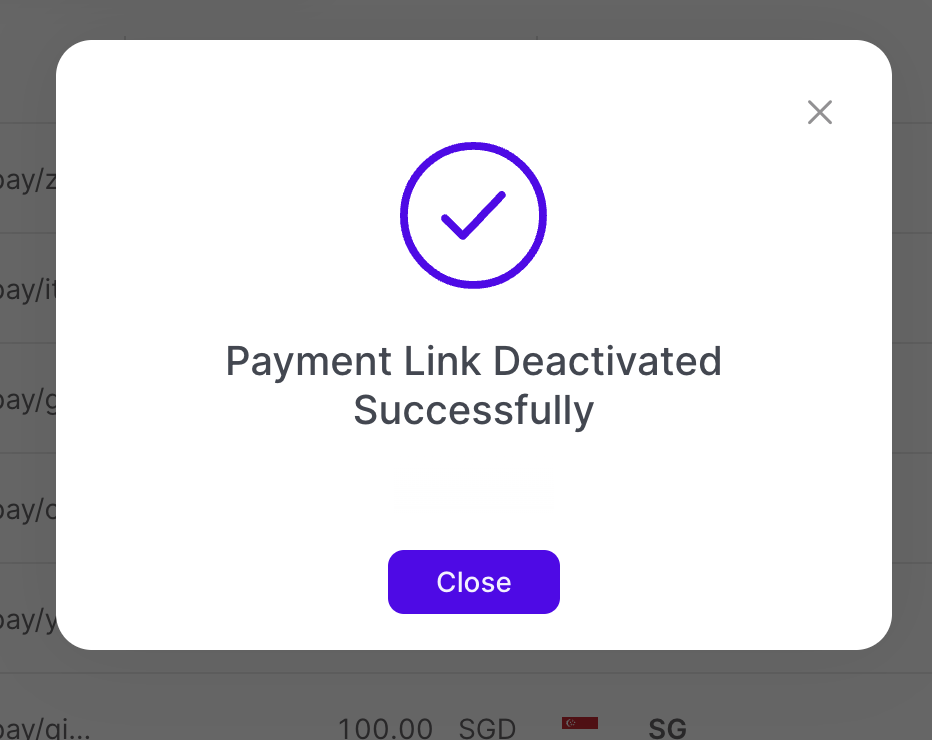
To deactivate the payment link, click Yes.
The success window appears.