Hosted Page for Virtual Cards
Securely display virtual cards with Rapyd Issuing. | Enterprise
Rapyd’s Hosted Page for Virtual Cards enables cardholders to display cards online.
The virtual card numbers are secured and are only exposed upon request. The virtual cards are PCI compliant and can also work for non-PCI clients.
With Rapyd’s Hosted Page for Virtual Cards, your business can issue virtual cards on-demand for employees, contractors and other users to conveniently make purchases for business travel, transportation and buying goods.
The Rapyd Issuing API is used to generate a hosted page that can display the issued card’s full details.
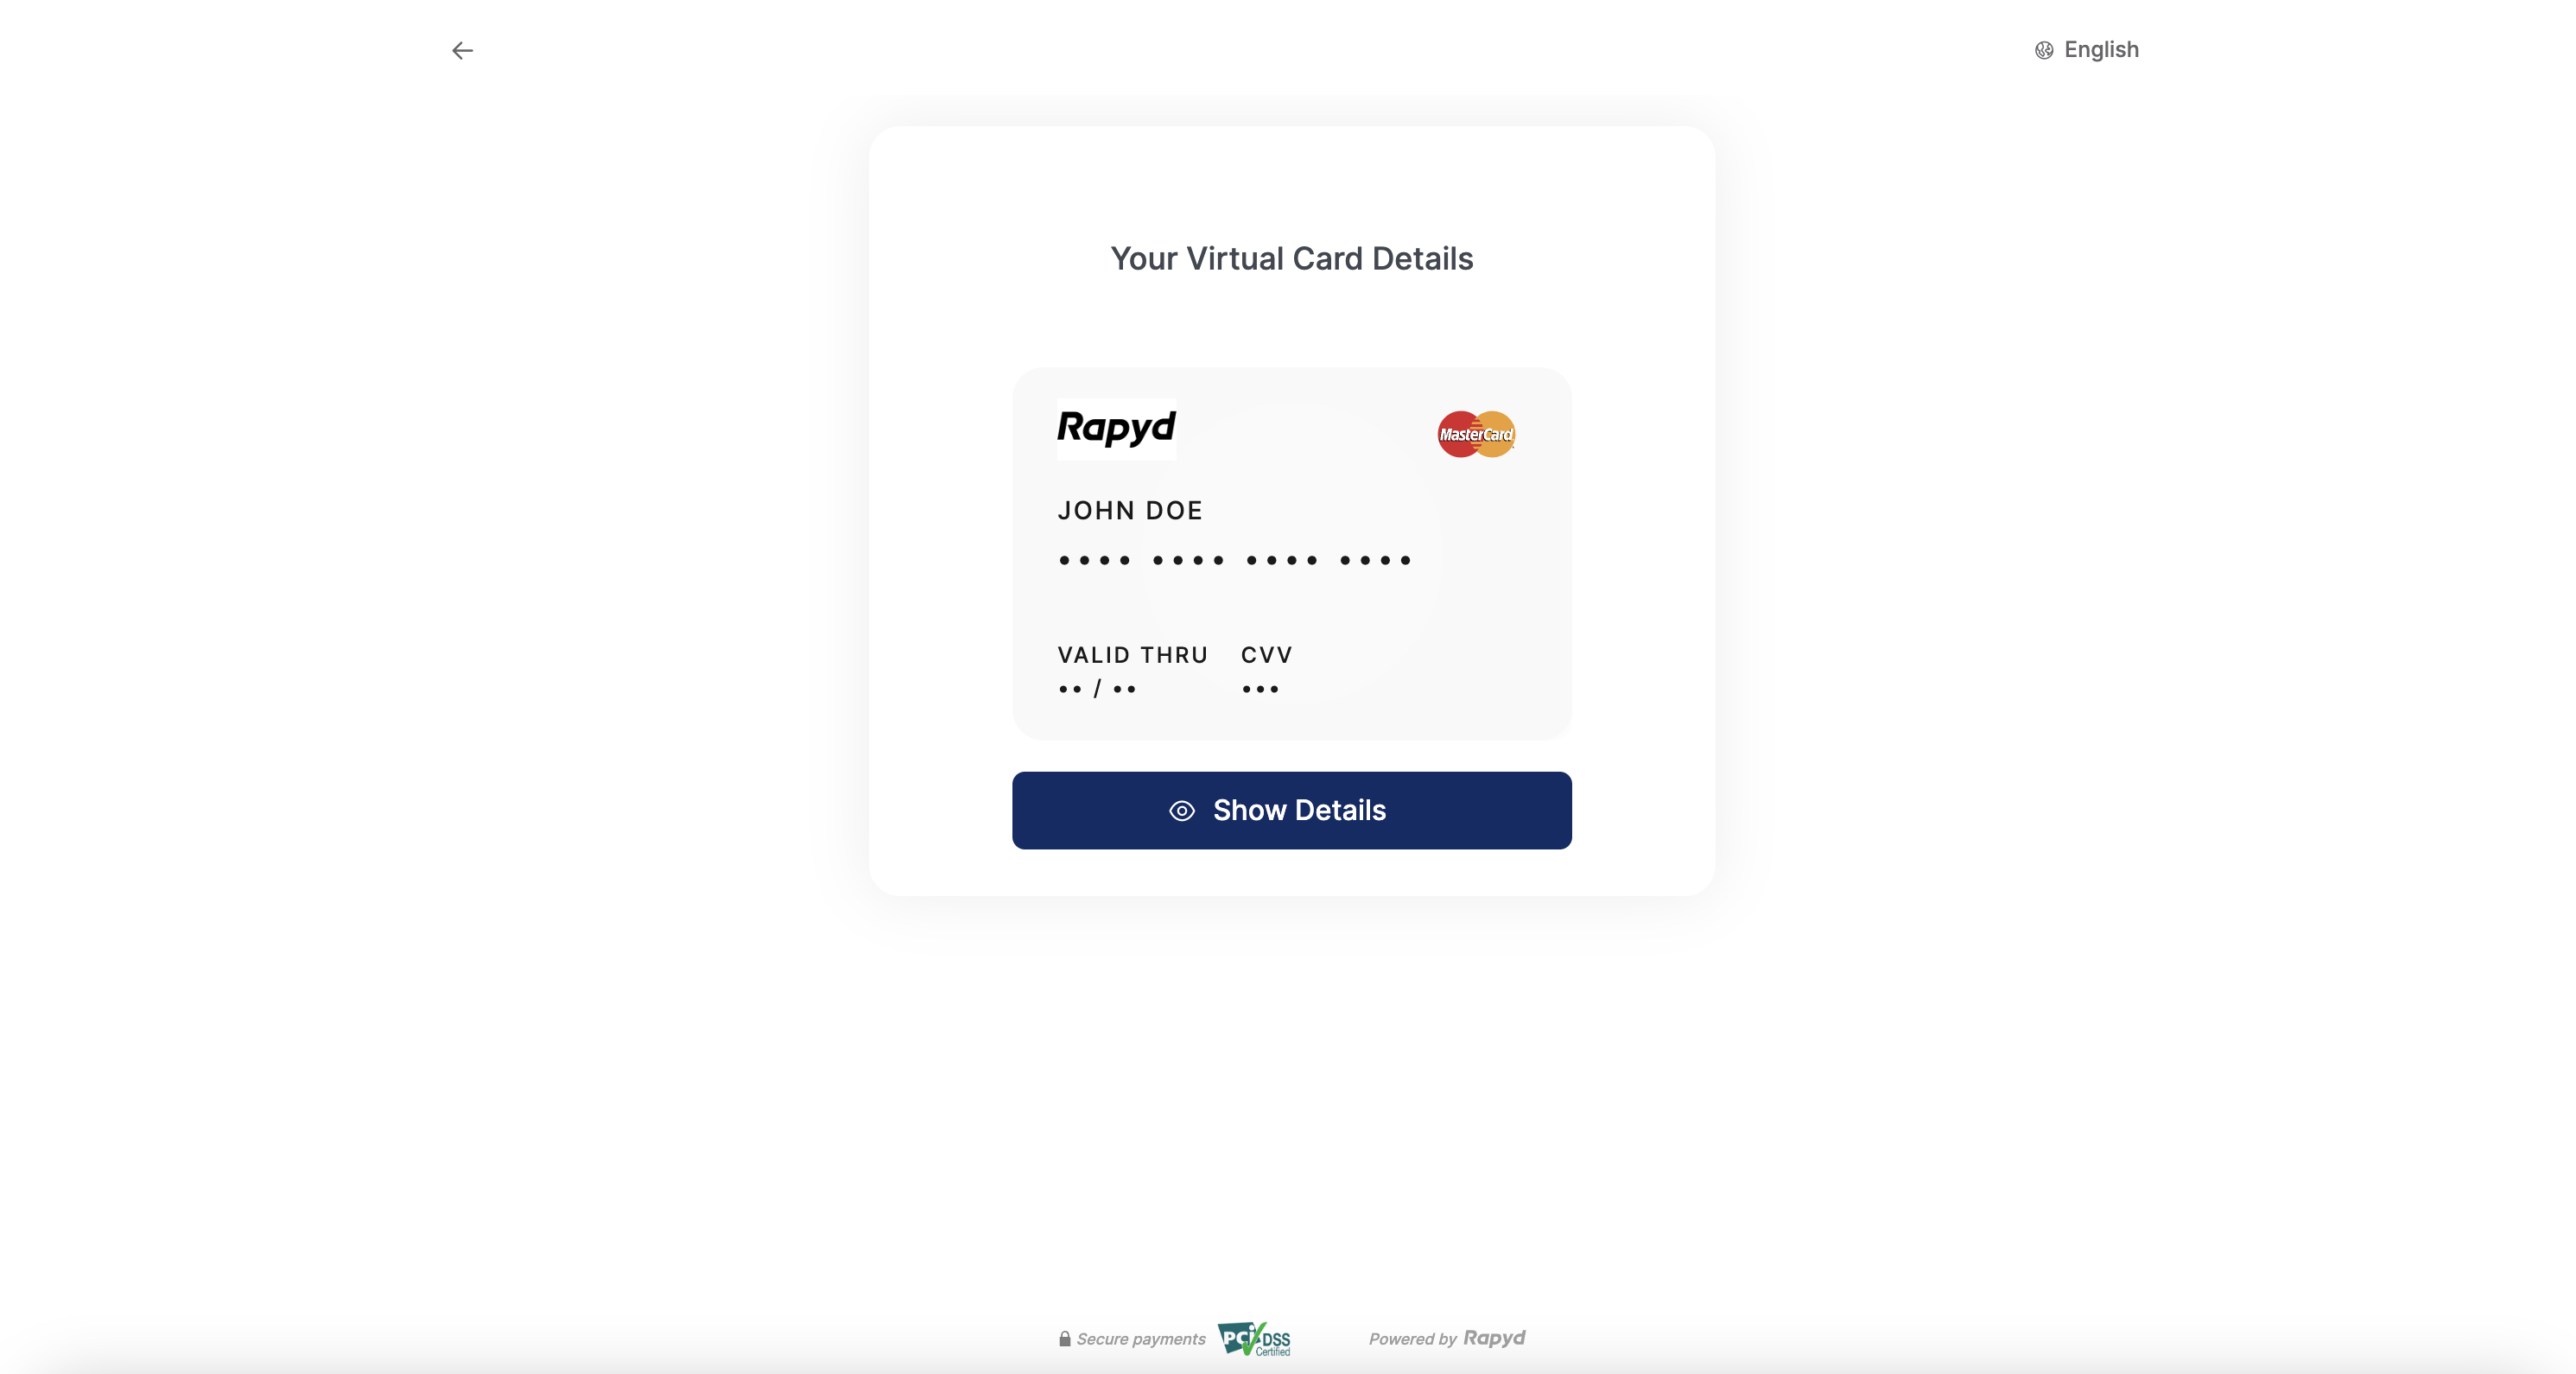
Hosted Page for Virtual Cards Example
Click on Show Details to reveal the card information.
Be sure to Issue a Card before employee requests to use virtual card on a hosted page.

A company employee requests to use a virtual card for a company expense.
You request Rapyd to Display Issued Card Details .
Rapyd processes your request and sends the response with the
redirect_url.You send and display the
redirect_urlto your employee.The employee completes the captcha and uses the URL within the 5 minutes expiration window.
Follow the steps to Create a Rapyd Wallet, Issue a Card, and Activate Issued Card before creating your Hosted Page for a Virtual Card.
List Issued Cards cards by contact.
Query Parameters | Description |
|---|---|
contact | ID of the wallet contact. A string starting with cont_. |
Send API Request Display Issued Card Details to Customer
The ID of the card you want to display will begin with
card_…
Path Parameters | Description |
|---|---|
card | ID of the issued card, a string starting with |
Hosted Page for Virtual Cards Request
Display Issued Card Details to a Customer describes the fields in the request.
Request
// POST https://sandboxapi.rapyd.net/v1/hosted/issuing/card_details/card

{
    "card_color": "#f9f9f9",
    "logo": "https://encrypted-tbn0.gstatic.com/images?q=tbn%3AANd9GcTNgldxyUfmVPmQV1YpTcDWo_kjX-TO_EiccQ&usqp=CAU",
    "language": "en",
    "logo_orientation": "landscape"
}
Hosted Page for Virtual Cards Response
Display Issued Card Details to a Customer describes the fields in the response.
Response
{
    "status": {
        "error_code": "",
        "status": "SUCCESS",
        "message": "",
        "response_code": "",
        "operation_id": "137d6ec5-51bd-4c47-a163-3b86c8457e54"
    },
    "data": {
        "id": "hp_issued_3b4f08ef2da59d20ebc8e82a6266e50c",
        "redirect_url": "https://sandboxhosted.rapyd.net/issuing/card_details?token=hp_issued_3b4f08ef2da59d20ebc8e82a6266e50c",
        "merchant_color": "0036ff",
        "merchant_language": "",
        "merchant_logo": "https://sboxiconslib.rapyd.net/merchant-logos/ohpc_b811c506b5347ce4f107d8ee72a1ce90.jpg",
        "merchant_website": "https://www.rapyd.net",
        "merchant_alias": "N/A",
        "merchant_customer_support": {},
        "status": "NEW",
        "expiration": 1614851280,
        "card_color": "#f9f9f9",
        "logo": "https://encrypted-tbn0.gstatic.com/images?q=tbn%3AANd9GcTNgldxyUfmVPmQV1YpTcDWo_kjX-TO_EiccQ&usqp=CAU",
        "logo_orientation": "landscape",
        "card": {},
        "language": "en"
    }
}
Redirect your customer to the URL you received in the response. The redirect URL appears in the redirect_url field.
Redirect URL Security
This page is protected by Google reCAPTCHA
This page is accessible for 5 minutes only (since the moment it was generated)
Rapyd Toolkit has been specially designed to embed directly into your website to give your business more control over the entire experience.
1. Create Your Hosted Page
Before embedding the iframe into your page, follow steps 1, 2 and 3 under How the Virtual Cards Hosted Page Works to create your Hosted Page for Virtual Cards.
2. Collect Your Page ID
Once you create the page, in the response you’ll receive the ID of the page object, a string starting with hp_issued, (e.g. id: hp_issued_bd334669c8a80bc68c124b144c350b7f).
3. Add the Toolkit Code
Add the following code to your page:
<script src="https://toolkit.rapyd.net"></script>
Note: To run this method in the sandbox, use the following code:
<script src="https://sandboxtoolkit.rapyd.net"></script>
Add a <div> tag with id="rapyd-toolkit":
<div id="rapyd-toolkit"></div>
Initialize the Page object with the following fields:
JavaScript
let toolkit = new RapydToolkit({
    button_color: "blue",
            /* Color of the Show Details button. String.
                Standard CSS color name or hexadecimal code such as #323fff.
                Default is the color that is returned in the 'merchant_color'
                field of the Hosted Page for Virtual Cards response. Optional.*/
    id: "hp_issued_bd334669c8a80bc68c124b144c350b7f",
            /* ID of the Hosted Page for Virtual Cards response. String. Required.*/
    close_on_complete: true,
            /* Causes the embedded Rapyd Toolkit window to close
                when we fail to retrieve the card details. Boolean. Default is 'true'. Optional.*/
    page_type: "card_issuing"
            /* Mandatory for the Hosted Page for Virtual Cards
                Default is "collection". */
});
Call display Toolkit() to display the Hosted Page for Virtual Cards:
checkout.displayToolkit();
Optional Step to Close Window on Completion. If close_on_complete is set to false, call toolkit.closeToolkit() to close the Rapyd Toolkit window.
toolkit.closeToolkit();
Insert your code that runs when the following events occur. Use your code to read the event field in the 'window' object.
JavaScript
window.addEventListener(issuingOnSuccess, (event) => {
                    console.log(event.detail)
                    // Sent after clicking the Show Details button and the details are successfully displayed
                    // Client code.
})
window.addEventListener(issuingOnFail, (event) => {
                    console.error(event.detail.error)
                    // Returns an error object when we fail to retrieve the card details
                    // Client code.
Hosted pages can be customized using the Client Portal as described in Customizing Your Hosted Page to edit the look and feel of the page.