Using Table Filters
You can use table filters in Client Portal.
This documentation is for the Mobile Version of Client Portal.
Note
Table filters can be created for any table that appears in the Client Portal.
Sign in as described in Accessing the Client Portal and navigate to Collect > Payments.
The Payments page appears.
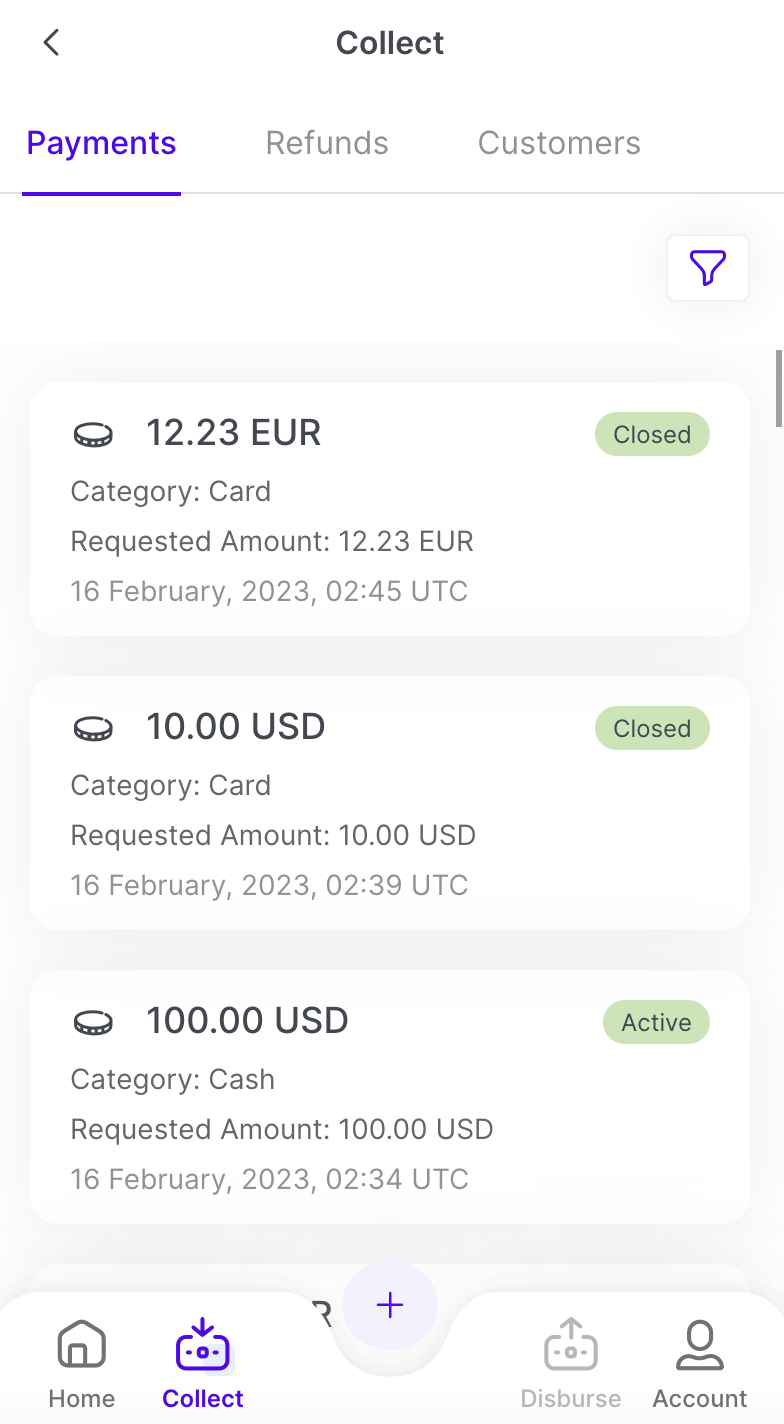
Tap the Filter button in the upper right corner of the Payments page.
The Filter panel appears.
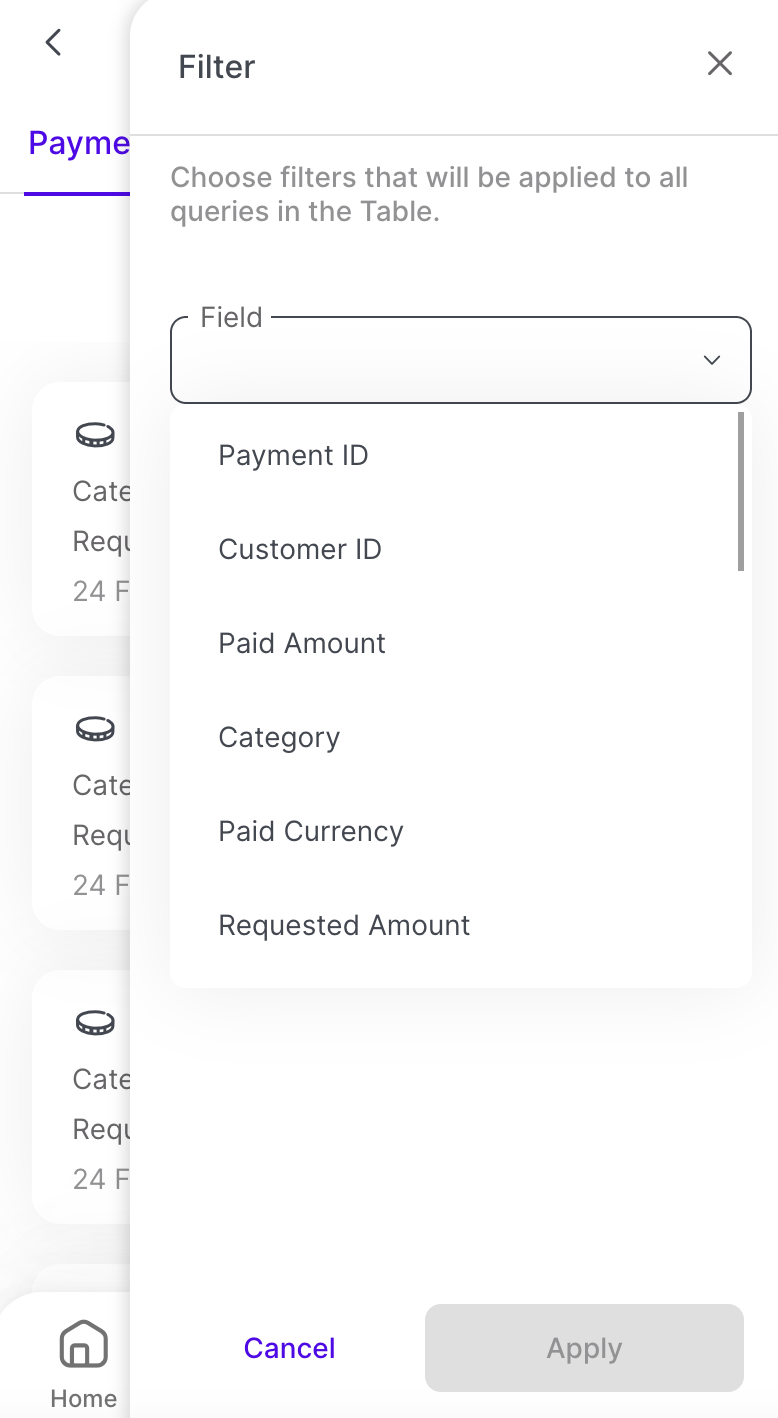
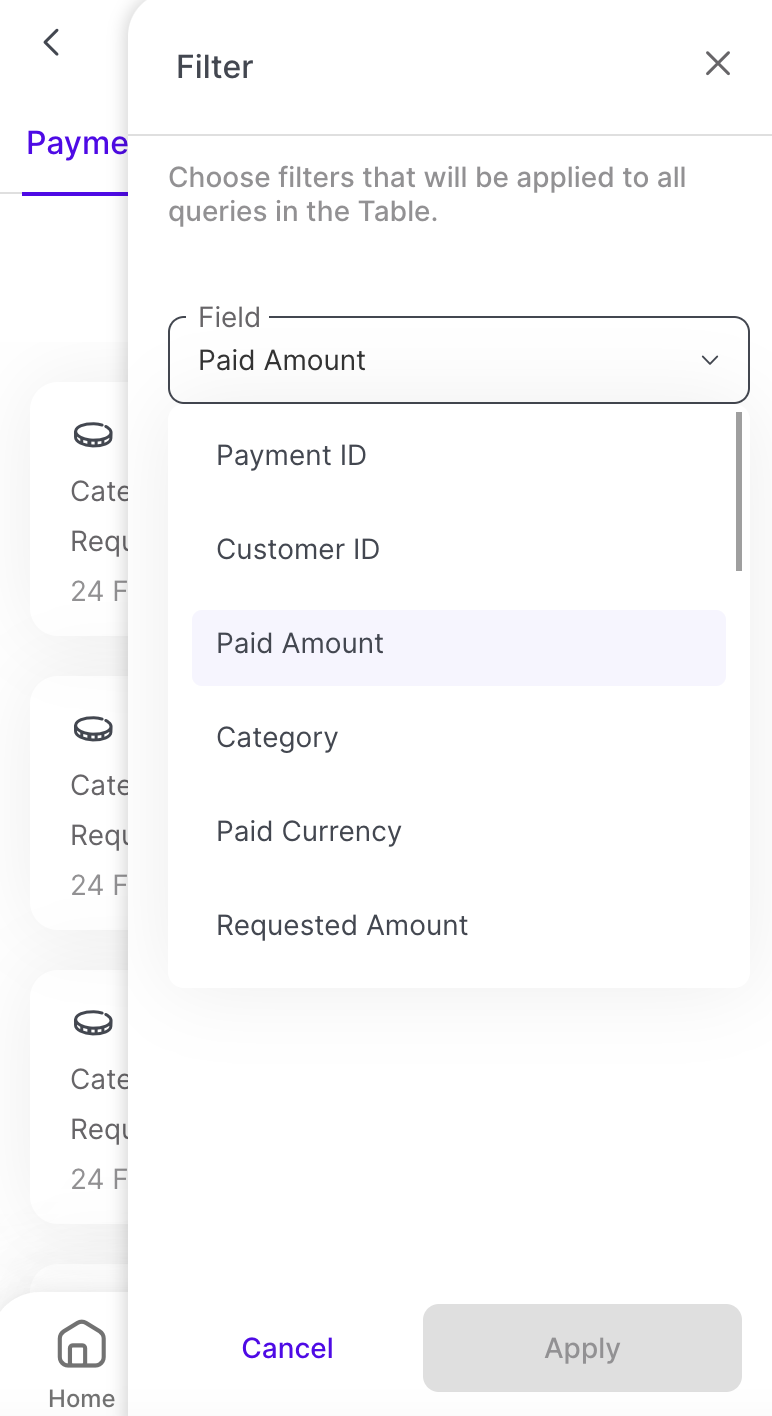
Enter the Field for the filter. This will filter your payments by a particular field. For more information on payment fields, see Listing Payments.
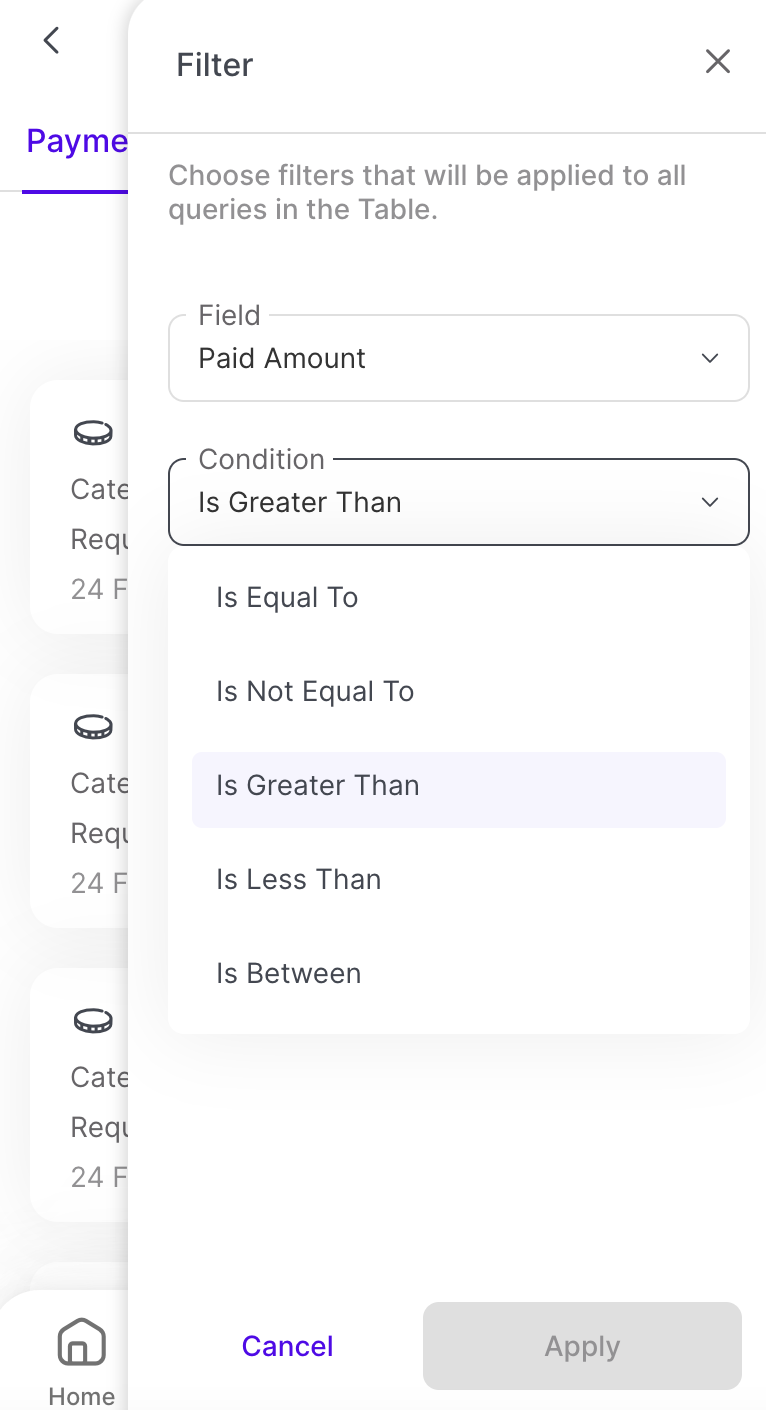
Select the Condition for the filter. This will apply a certain operator to your filter to include or exclude certain fields.
Enter the Value the Condition is evaluating for. For example, you may place a text string in this field if filtering by Customer ID, or an integer if filtering by Paid Amount.
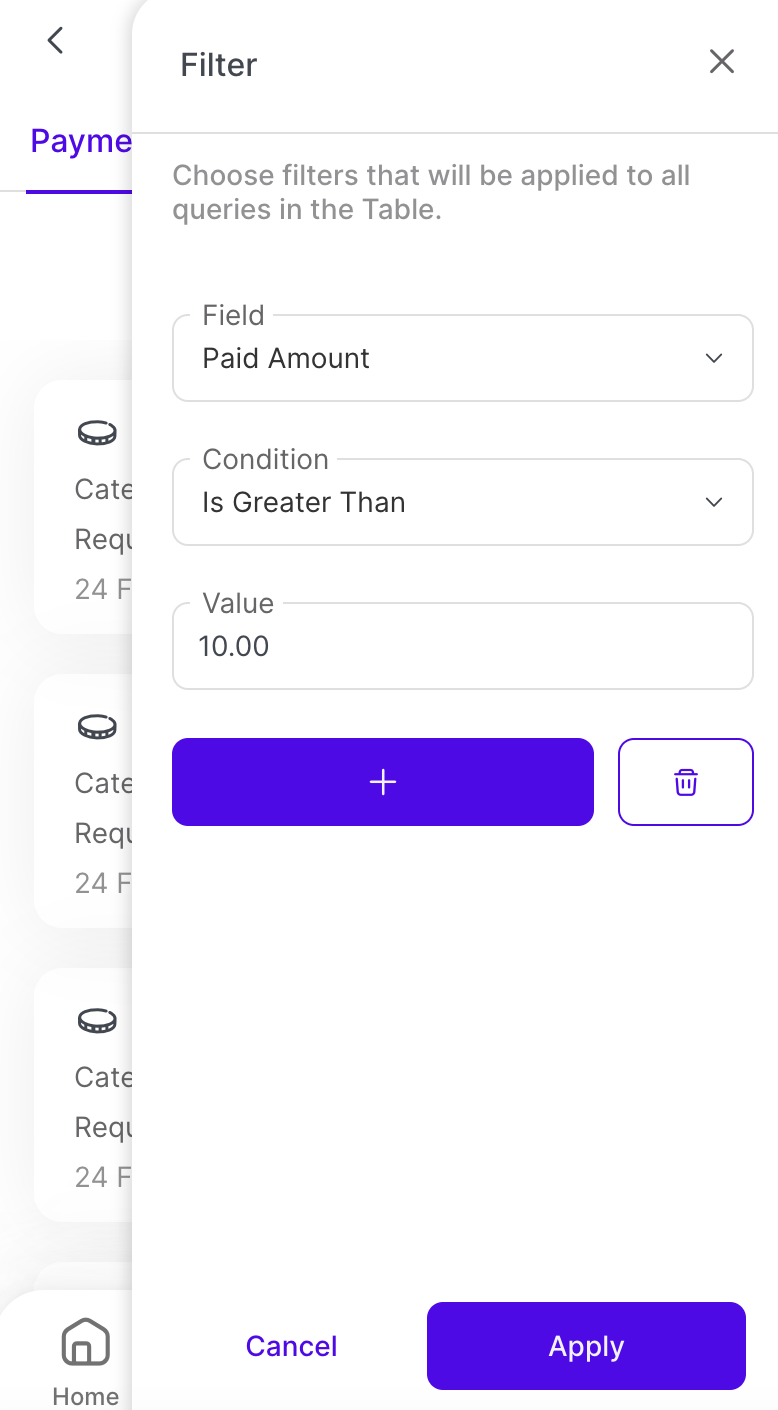
Note: Click the + button to add multiple table filters at once.
Click Apply.
Click on the Filter button in the upper right corner of the payments page.
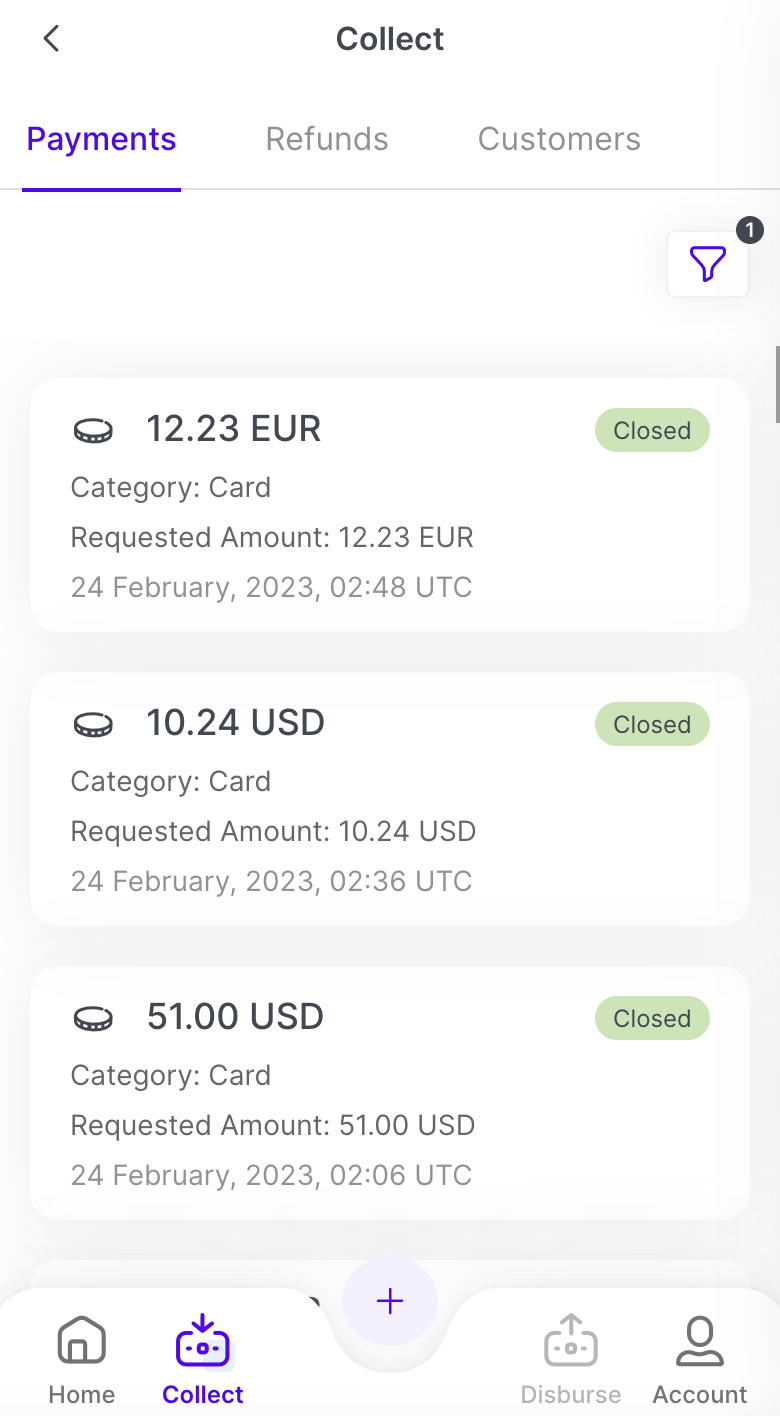
The Filter panel appears.
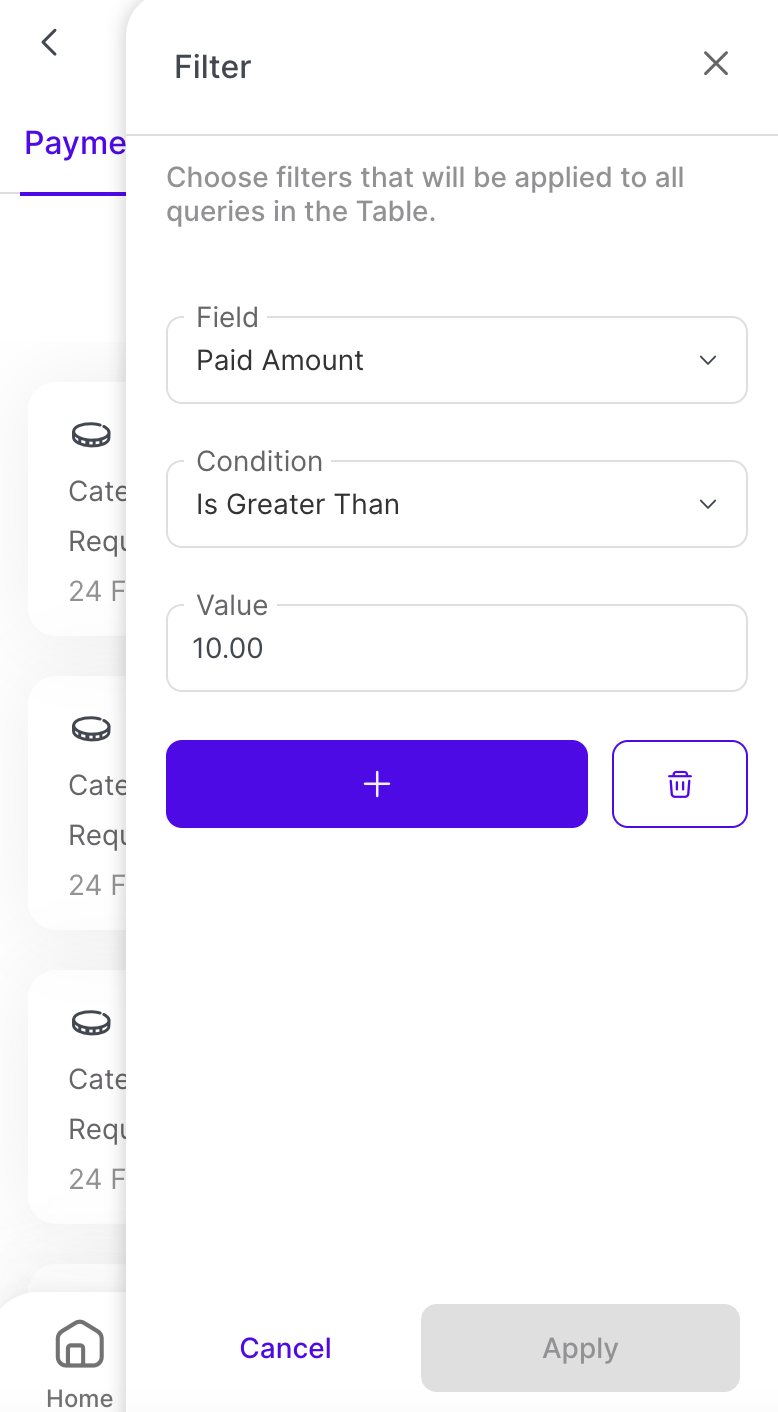
Tap the Delete icon below the table filter.
Tap Apply.
The Table Filter is deleted.