Hosted Checkout Page Integration
Follow these steps and quickly add Rapyd Hosted Checkout to your website.
Log into the Rapyd Client Portal and start building your own checkout experience. Add your own colors, logo, and select all the payment methods that you would like to accept.
Customize Your Checkout Page
Checkout enables you to customize the look and feel to match your brand and website experience.
Once you create a Rapyd account, sign in to the Client Portal as described in Accessing the Client Portal and navigate to Settings > Branding.
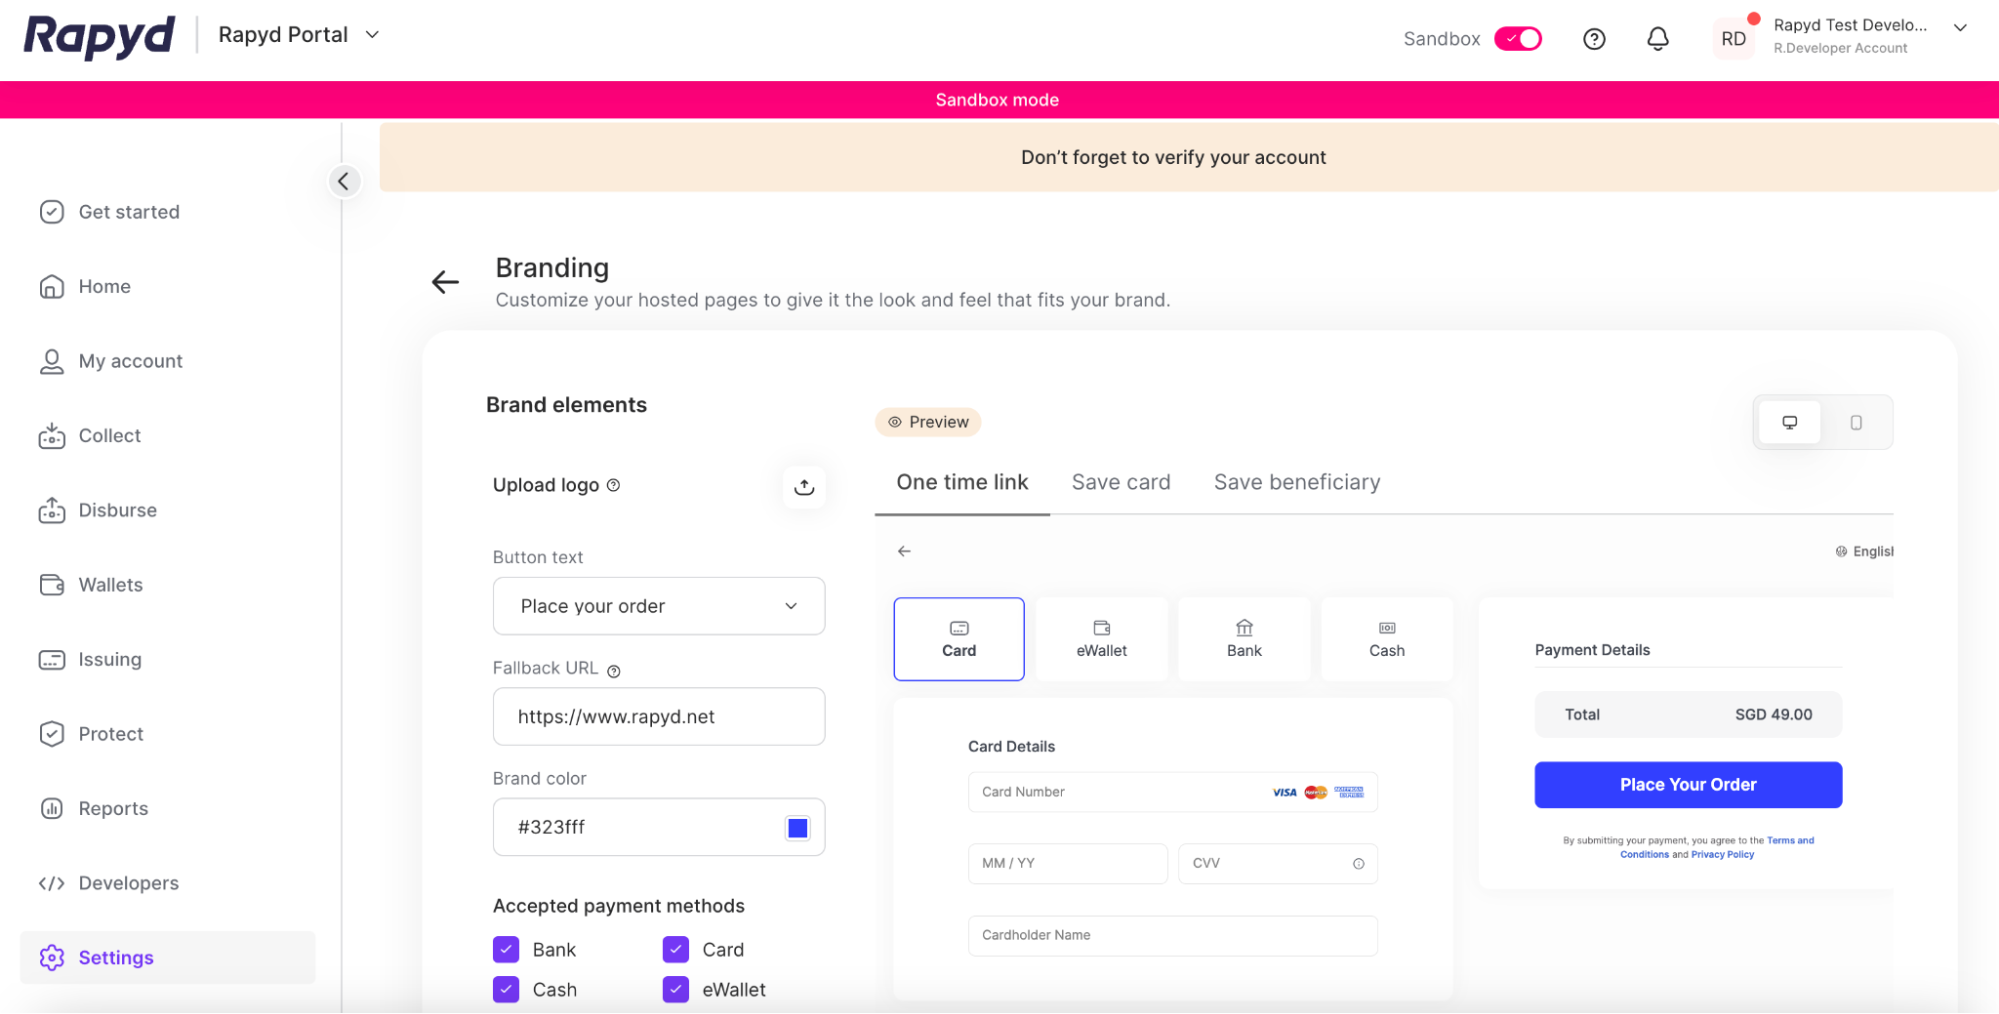
Select Your Hosted Page to View
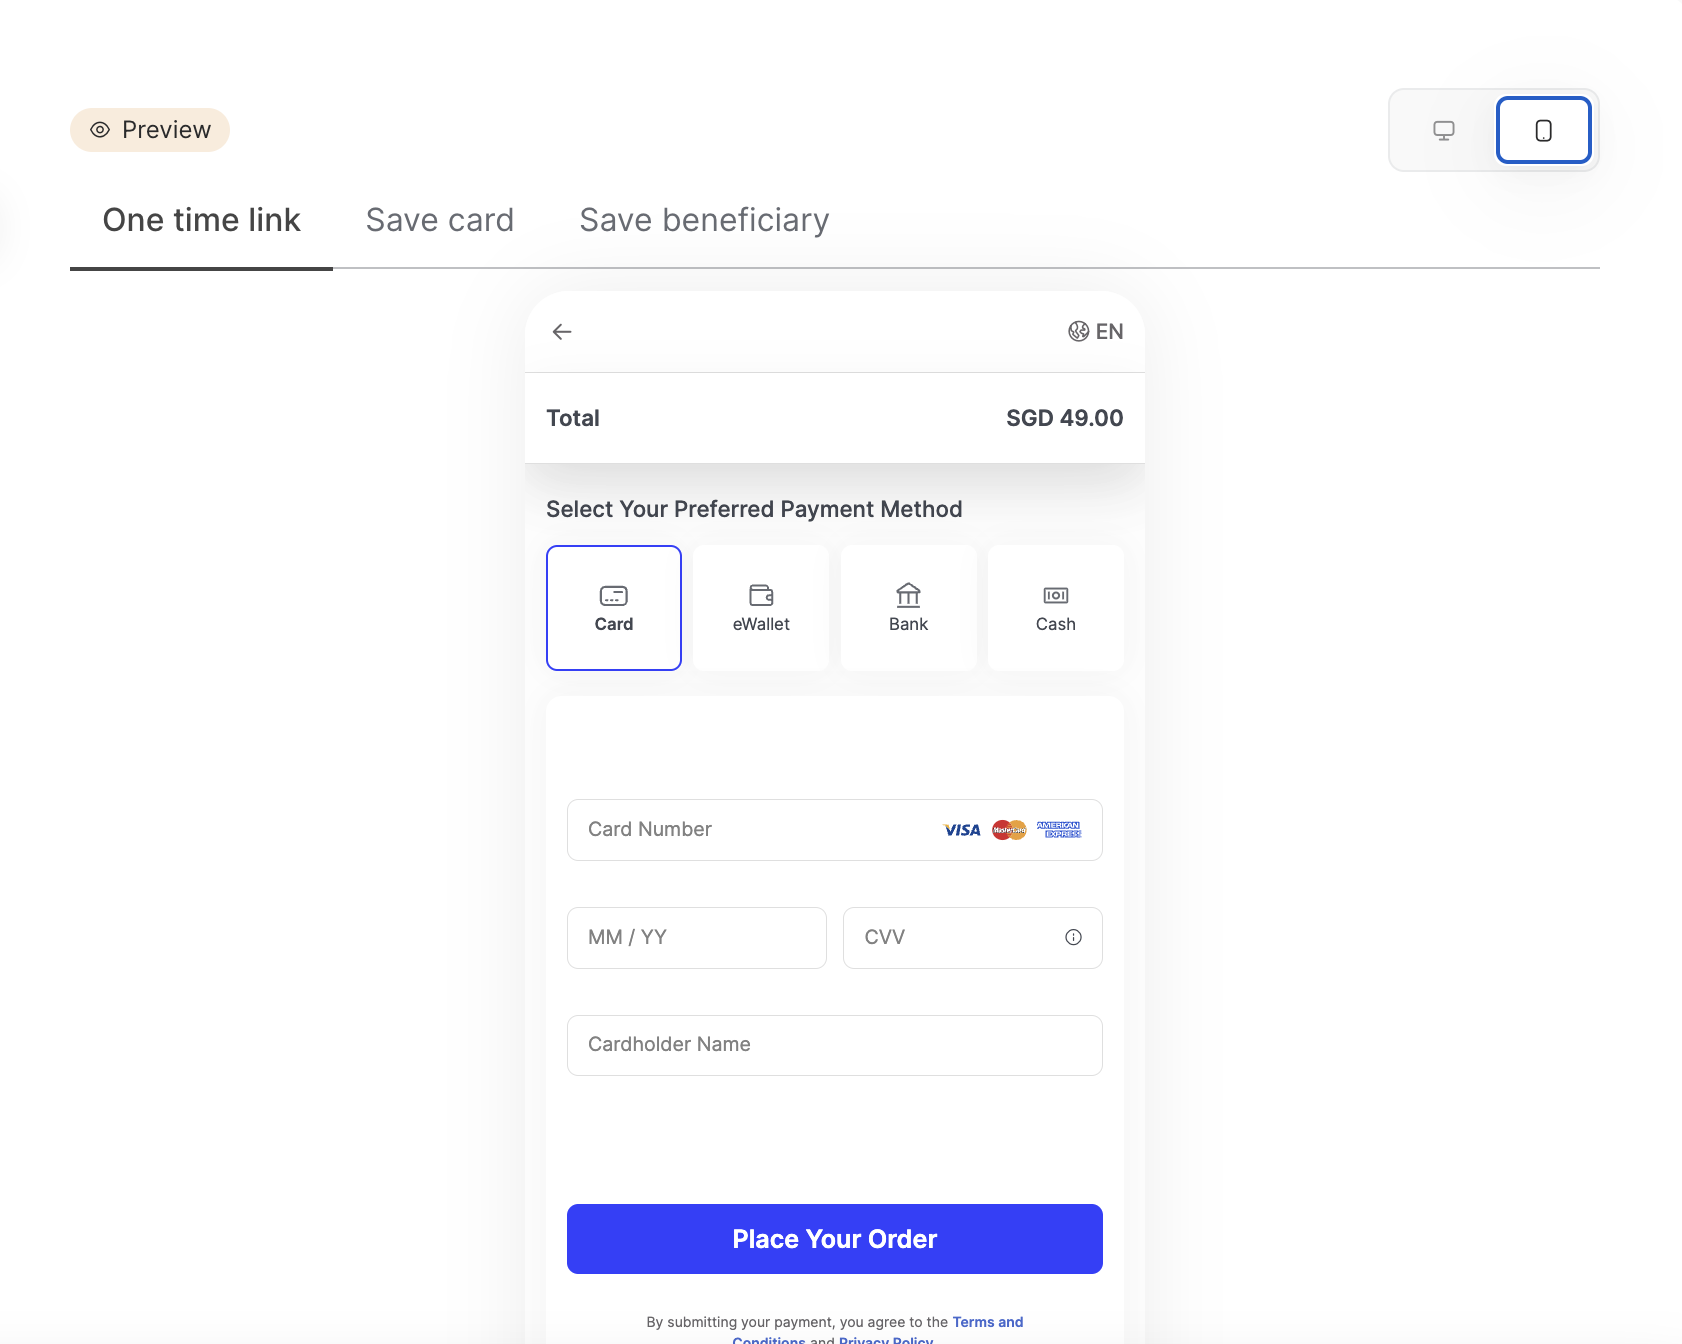
The Preview bar, located above the preview window, will display a preview of your Hosted Checkout page branding. You can toggle between the Hosted Checkout, Save Card Details Page, and Beneficiary Account Details page. Branding settings affect all Hosted pages including Rapyd Collect, Disburse, and Issuing.
On the Brand elements pane on the left side of the page, tap the Upload logo icon and upload an image file (png, jpg, jpeg, gif) containing your company logo.
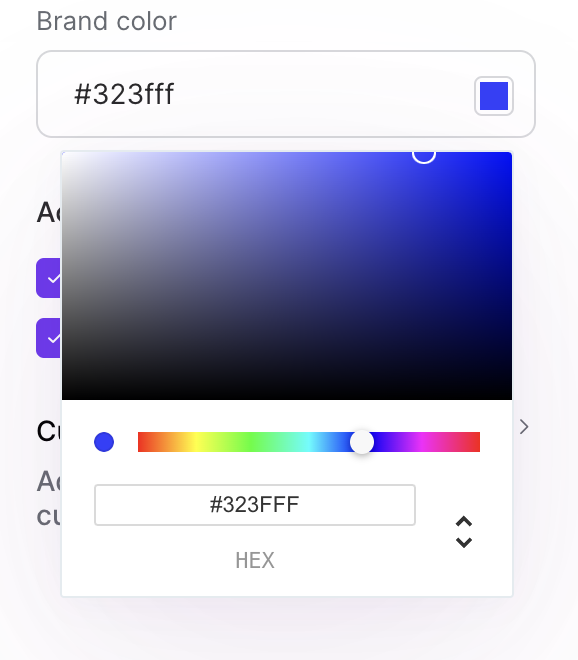
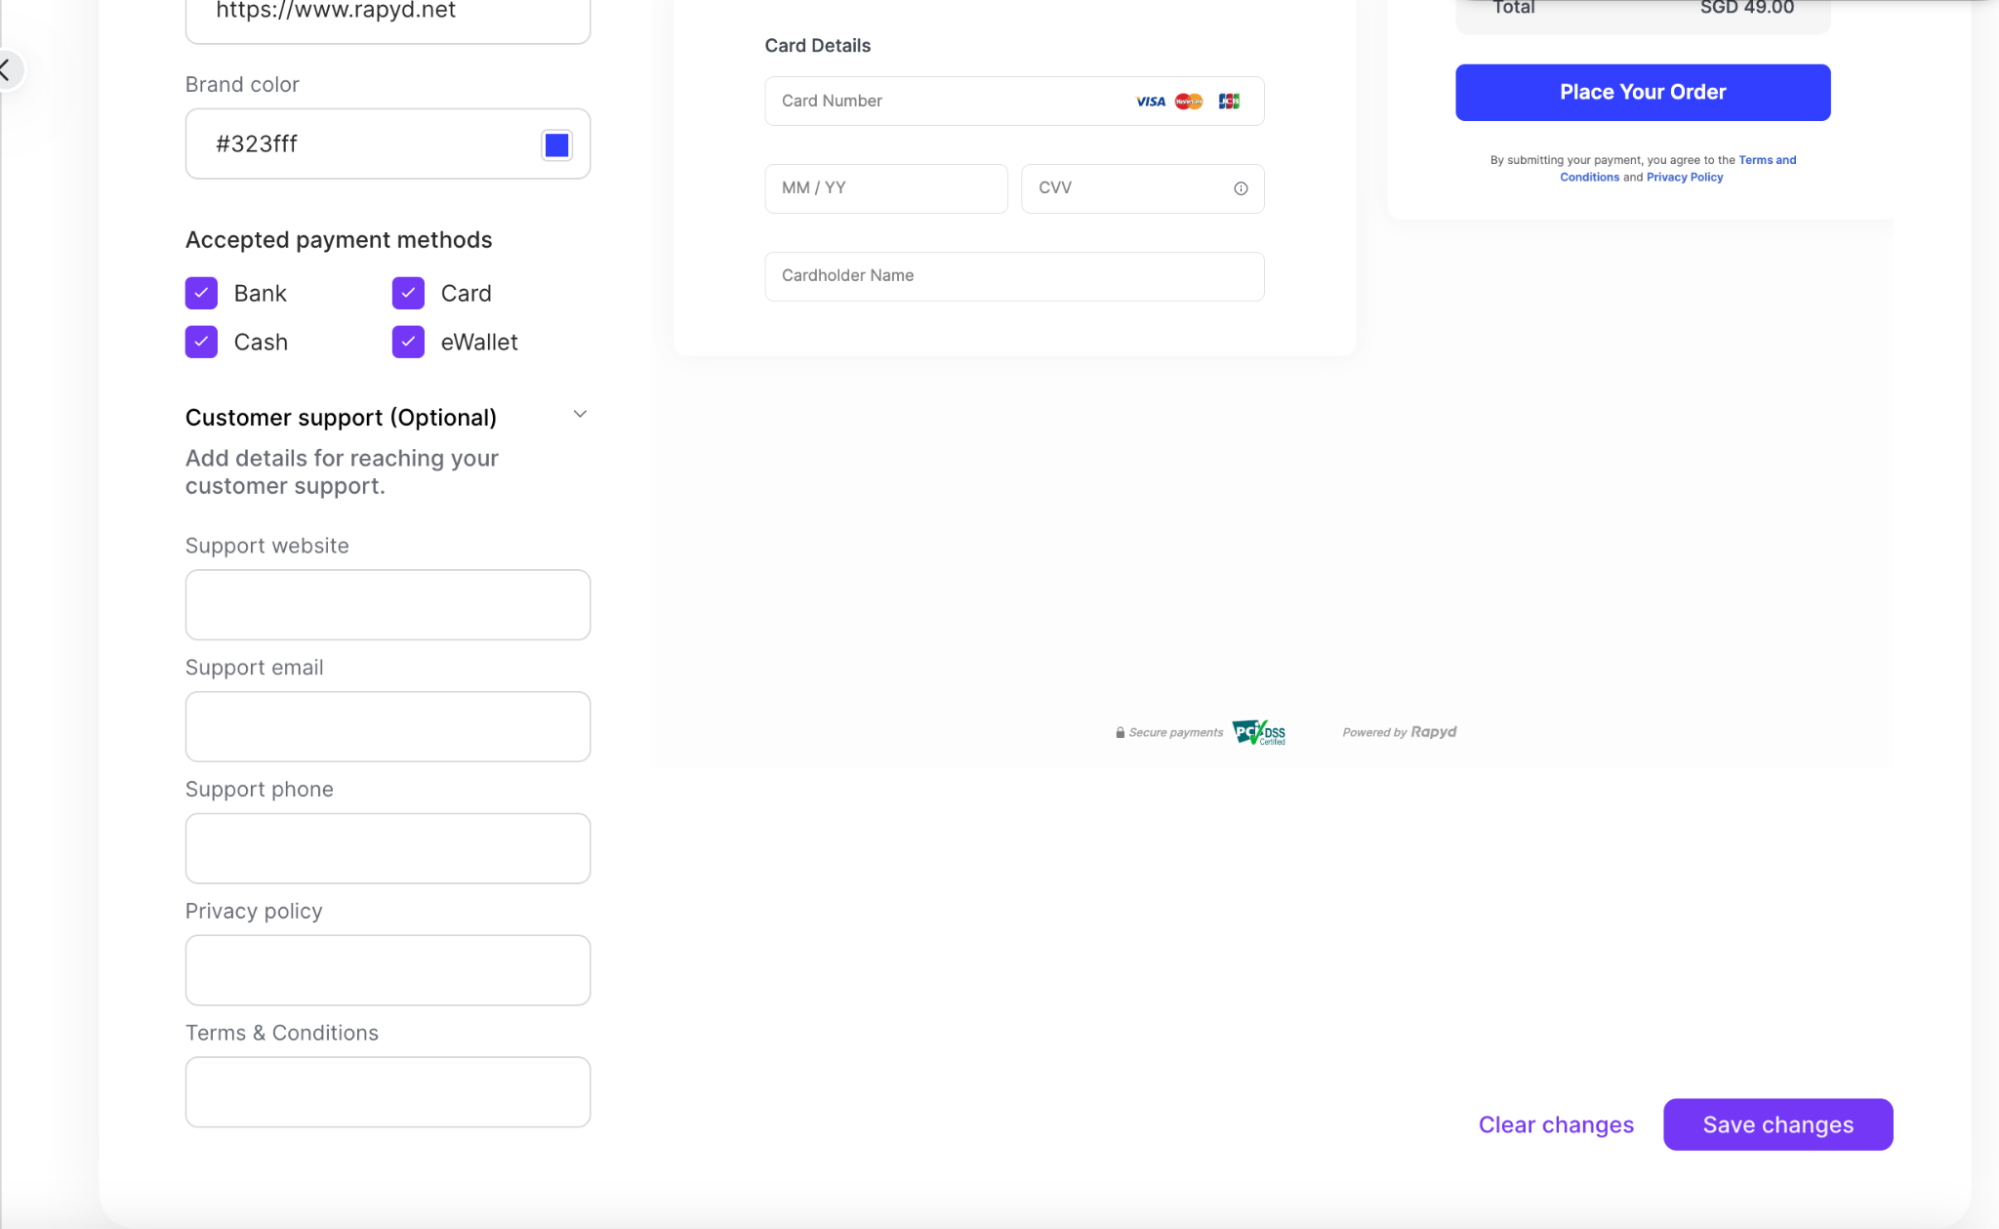
Tap the Brand color field to select the color of the buttons on the display.
In the Fallback URL field, enter the URL of the page that appears when the process is completed or canceled when
complete_checkout_urlorcancel_checkout_urlis not specified.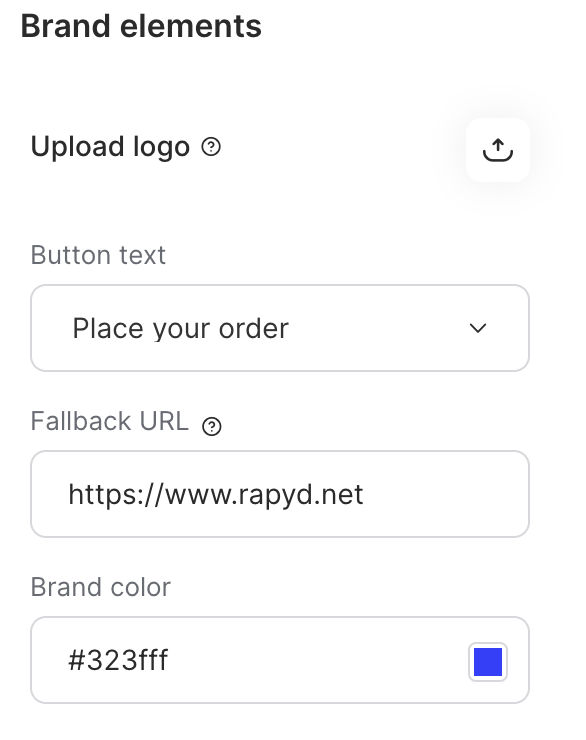
Complete and Cancel URLs
Other Hosted pages may have different fields such as
complete_urlandcancel_urlBeneficiary Tokenization Page
Rapyd Verify Hosted Page
Hosted IDV Page
Hosted Page Card Token Object
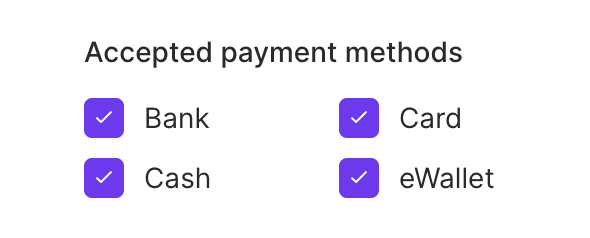
Remove any Payment Methods you will not accept (Hosted Checkout only).
Bank - Includes Bank Redirect and Bank Transfer
Card
Cash
eWallet
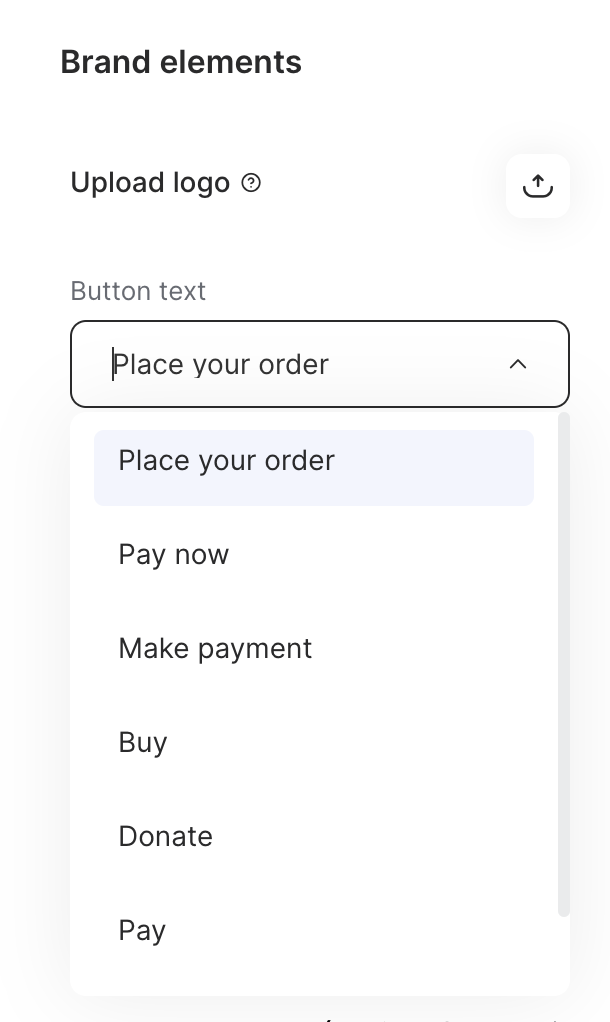
Choose your button text from the drop down (Hosted Checkout only).
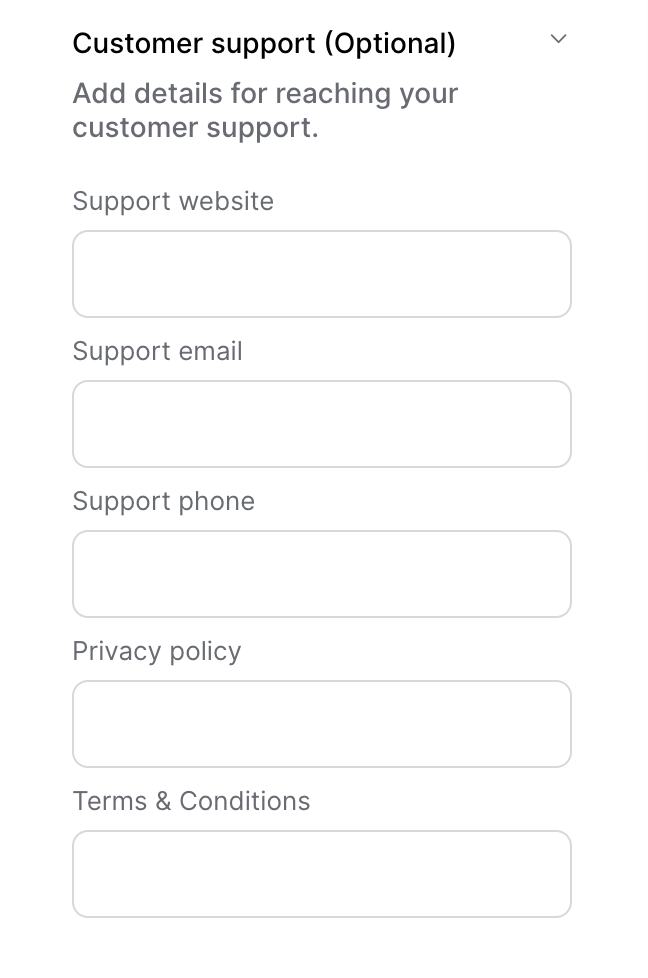
Customer Support Details - You can add your customer support contact information (optional) to be displayed on your hosted pages.
Tap the Save changes button at the bottom right corner of the screen.
Preview Your Hosted Page
On the Branding page, switch between the mobile icon or desktop icon to view the preview of your hosted page.
To generate your Rapyd Checkout page, use the Create Checkout Page method.
Before you send your first API request to the Rapyd platform, you need to set up your Authentication Headers including your Request Signatures, and then send a HTTPS POST Request to Rapyd, which will generate the Rapyd Checkout page.
Note: See Make Your First API Call to set this up if you haven’t yet done so.
Once your Headers and Signature setup is complete, request the Checkout Body. The following three required parameters are required for creating a checkout page:
Amount
Country
Currency
The example below shows a list of required and optional parameters used in the body of a Create Checkout Page request. The request should contain at least the three required parameters mentioned above:
Description of Parameters
Parameter | Description |
|---|---|
amount (required) | The amount of the payment, in units of the currency defined in currency. Decimal. |
country (required) | The two-letter ISO 3166-1 ALPHA-2 code for the country. Uppercase. |
currency (required) | Three-letter ISO 4217 code for the currency used in the |
complete_checkout_url | URL where the customer is redirected when checkout is successful. This page can be set dynamically for each generated checkout page as it overrides the fallback URL that was set in the Client Portal. |
cancel_checkout_url | URL where the customer is redirected after pressing Back to Website to exit the hosted page. This URL overrides the merchant_website URL. Does not support localhost URLs. |
payment_method_types_include | List of payment methods that are displayed on the checkout page. |
merchant_reference_id | Identifier for the transaction. Defined by the merchant. Can be used for reconciliation. |
requested_currency | Determines the currency that the customer will use to pay, when it is different from the currency that the merchant wants to receive. Three-letter ISO 4217 code. When this field is set, the checkout page displays the following information:
|
amount_off | The amount of currency to subtract from the payment. Decimal. A parameter in the |
percent_off | A discount measured in percent. A parameter in the |
required_customer_fields (optional) | An array of fields in the
|
Third Party Payment Flow
When the payment_flow_type of the payment method/s that you provide to your customers is a third party redirect, make sure to provide URLs in the complete_payment_url and error_payment_url parameters.
The customer will be redirected to these URLs after completing a payment.
To determine the payment_flow_type, see List Payment Methods by Country.
Example of a Request Body
JSON
// Request URL: POST https://sandboxapi.rapyd.net/v1/checkout
// Message body:
{
    "amount": 100,
    "country": "SG",
    "currency": "SGD",
    "requested_currency": "USD",
    "complete_checkout_url": "https://example.com/complete",
    "cancel_checkout_url":"https://example.com/cancel"
    "merchant_reference_id": "950ae8c6-76",
    "payment_method_types_include": [
        "sg_credit_mastercard_card",
        "sg_credit_visa_card"
     ]
}
.Net
using System;
 using System.Text.Json;

 namespace RapydApiRequestSample
 {
    class Program
    {
        static void Main(string[] args)
        {
            try
            {
                string[] payment_method_types_include = new string[] { "sg_credit_mastercard_card", "sg_credit_visa_card" };

                var requestObj = new
                {
                    amount = 100,
                    complete_checkout_url = "http://example.com/complete",
                    country = "SG",
                    currency = "SGD",
                 requested_currency = “USD”,
                    merchant_reference_id = "950ae8c6-76",
                    payment_method_types_include
                };

                string request = JsonSerializer.Serialize(requestObj);

                string result = RapydApiRequestSample.Utilities.MakeRequest("POST", "/v1/checkout", request);

                Console.WriteLine(result);
            }
            catch (Exception e)
            {
                Console.WriteLine("Error completing request: " + e.Message);
            }
        }
    }
 }
JavaScript
const makeRequest = require('<path-to-your-utility-file>/utilities').makeRequest;

async function main() {
  try {
    const body = {
      amount: 100,
      complete_checkout_url: 'http://example.com/complete',
      country: ‘SG’,
      currency: 'SGD',
      requested_currency: ‘USD’,
      merchant_reference_id: '950ae8c6-76',
      payment_method_types_include: [‘sg_credit_mastercard_card’, ‘sg_credit_visa_card’]
    };
    const result = await makeRequest('POST', '/v1/checkout', body);

    console.log(result);
  } catch (error) {
    console.error('Error completing request', error);
  }
}
PHP
<?php
$path = $_SERVER['DOCUMENT_ROOT'];
$path .= "/<path-to-your-utility-file>/utilities.php";
include($path);

$body = [
    "amount" => 100,
    "complete_checkout_url" => "http://example.com/complete",
    "country" => "SG",
    "currency" => "SGD",
    “requested_currency” => “USD”,
    "merchant_reference_id" => "950ae8c6-76",
    "payment_method_types_include" => [
       "sg_credit_mastercard_card",
       "sg_credit_visa_card"
    ]
];

try {
    $object = make_request('post', '/v1/checkout', $body);
    var_dump($object);
} catch (Exception $e) {
    echo "Error: $e";
}
?>
Python
from pprint import pprint

from utilities import make_request

checkout_page = {
    "amount": 100,
    "complete_checkout_url": "http://example.com/complete",
    "country": "SG",
    "currency": "SGD",
    "merchant_reference_id": "950ae8c6-76",
    "payment_method_types_include": [
        "sg_credit_mastercard_card",
        "sg_credit_visa_card"
    ]
}

results = make_request(method="post",
                       path="/v1/checkout",
                       body=checkout_page)
pprint(results)
You can include the customer ID starting with cus_ and save_card_default to include a filled "save card" checkbox as described in Create Checkout Page.
Pre-Fill Checkout Fields
You can pre-fill, or exempt select checkout fields by including them in the merchant_fields object in your API request. The fields will not appear on the hosted page.
The sample list below shows the body of the response which contains the following fields as described in Create Checkout Page:
Description of Fields
Fields | Description |
|---|---|
id | ID of the Rapyd Checkout page. |
amount | The amount of the payment, in units of the currency defined in currency. |
country | The two-letter ISO 3166-1 ALPHA-2 code for the country. |
currency | Three-letter ISO 4217 code for the currency used in the amount field. |
customer | ID of the 'customer' object. String starting with cus_. Relevant when the customer is already signed up and stored on the Rapyd platform. |
merchant_website | URL of the merchant’s website, provided by the merchant. Relevant when |
merchant_logo | URL of the merchant’s logo, provided by the merchant. |
redirect_url | URL of the redirect for the Rapyd Checkout page, provided by Rapyd. |
The response also shows the entire payment object, which has been edited out, except for the complete_payment_url and the error_payment_url.
Example of a Response Body
JSON
{
    "status": {
        "error_code": "",
        "status": "SUCCESS",
        "message": "",
        "response_code": "",
        "operation_id": "c343cac1-d682-4983-a386-345aa75d9aaf"
    },
    "data": {
        "id": "checkout_e6a30340c23be7201346eade2bfe3417",
        "country": "SG",
        "currency": "SGD",
        "amount": 100,
        "status": "NEW",
        "payment": {
            "id": "",
            "amount": 100,
            "original_amount": 0,
            "is_partial": false,
            "currency_code": "SGD",
            "country_code": "SG",

//          ...

            "merchant_reference_id": "950ae8c6-76",

//          ...
             "merchant_requested_currency": "USD",

//          ...
        },
       "payment_method_type": "",
       "payment_method_type_categories": null,
       "payment_method_types_include": [
        "sg_credit_mastercard_card",
        "sg_credit_visa_card"
         ],

//          ...
       "payment_method_types_exclude": null,
        "customer": "",
        "customer_default_payment_method": {},
        "country_name": "Singapore",
        "merchant_color": "5387e6",
        "merchant_website": "https://www.rapyd.net/",
        "merchant_logo": "https://sboxiconslib.rapyd.net/merchant-logos/ohpc_04e7f6ae2362818fb6eb723b821824ad.jpg",
        "merchant_customer_support": {},
       //          ...
        "language": "en",
        "complete_checkout_url": "http://example.com/complete",
        "cancel_checkout_url": "",
        "redirect_url": "https://sandboxcheckout.rapyd.net?token=checkout_e6a30340c23be7201346eade2bfe3417",
        "timestamp": 1592143929,
        "expiration": 1593353529
    }
}
Redirect your customer to the URL you received in the response to Create Checkout Page. The redirect URL appears in the redirect_url field and includes all the parameters for the Checkout session.
Note: The checkout page expires 14 days after creation by default.
Alternatively, you may specify a page_expiration parameter in the Create Checkout Page request and choose a different value for the expiration of the Checkout page, in Unix time.
The finite state diagram below summarizes the statuses for the Hosted Checkout page.
Description of Statuses
Status | Description |
|---|---|
NEW | The Hosted Checkout page was generated. |
INP | The customer entered the payment information. The payment is in progress. |
DON | The payment was completed. |
EXP | The checkout page expired. |
DEC | The payment was declined. |