Rapyd Payments Plugin for Magento
Connect your Magento ecommerce site to card acceptance and hundreds of local payment methods across the globe.
Offering more payment methods drives increased conversions and customer loyalty. Rapyd offers this plugin for over 50 countries.
Rapyd Account Connection Limit
You can only connect one store per Rapyd Account.
You must be domiciled in one of the following countries in order to accept payments.
Andorra, Armenia, Austria, Australia, Belgium, Bosnia and Herzegovina, Brazil, Bulgaria, Chile, Colombia, Croatia, Cyprus, Czech Republic, Denmark, Dominican Republic, El Salvador, Estonia, Finland, France, Georgia, Germany, Gibraltar, Greece, Greenland, Hong Kong, Hungary, Iceland, India, Indonesia, Ireland, Israel, Italy, Japan, Latvia, Liechtenstein, Lithuania, Luxembourg, Macedonia, Malaysia, Malta, Mexico, Moldova, Monaco, Montenegro, Netherlands, New Zealand, Norway, Peru, Philippines, Poland, Portugal, Romania, San Marino, Singapore, Slovakia, Slovenia, South Africa, South Korea, Spain, Sweden, Switzerland, Taiwan, Thailand, Turkey, UK, USA, Vatican, Vietnam, Virgin Islands (USA)
Rapyd Client Portal account
With a Rapyd Client Portal account, you can:
Activate and set up your plugin.
Access sandbox mode and test payments.
View supported payment methods.
View payment reports.
Invite team members.
Complete KYB steps to fully activate your account.
How to Activate Magento
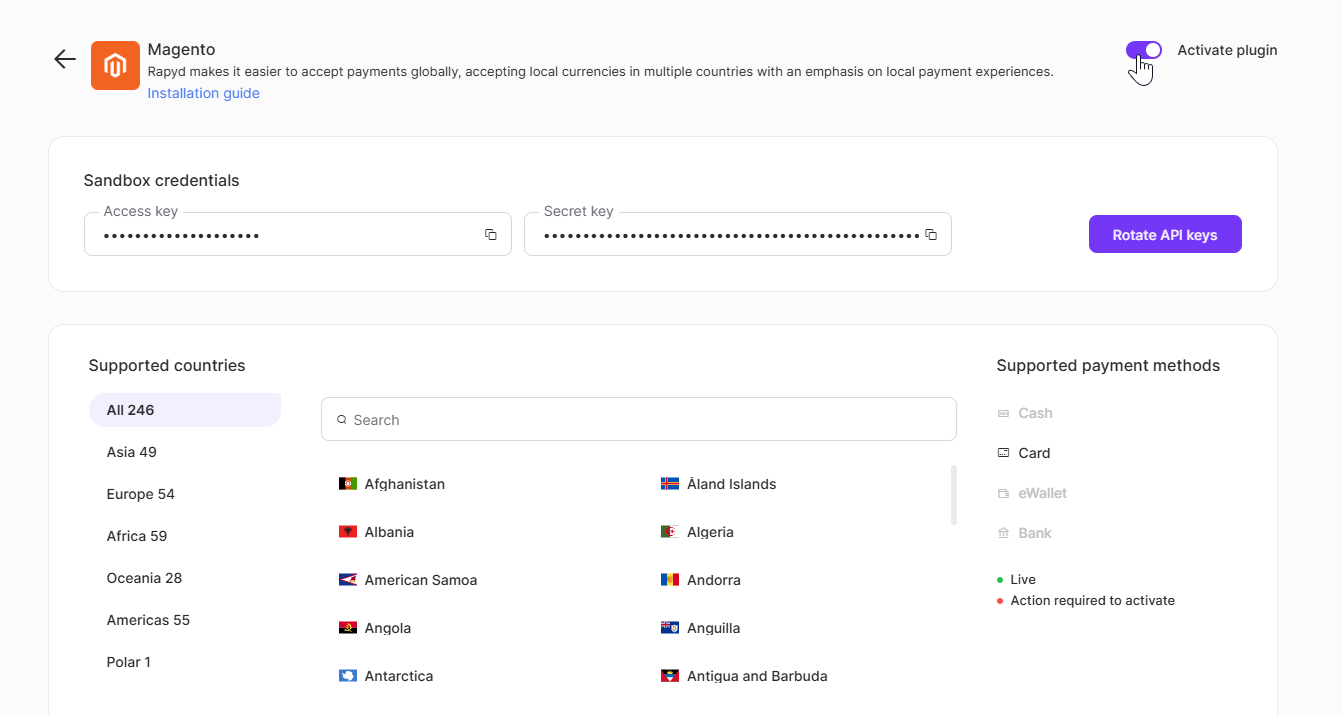
Sign in to Client Portal and navigate to Plugins. Select Magento.
In the Magento window, click the Active toggle button.
Note
You can search supported countries in the search bar.
Enable the
croncommand on your system. See also Magento's documentation.Verify that the web server has full write permissions to the Magento directory. This can be achieved by running the following terminal command:
$ chown –R <www-username> /magento_directory
Place an order for the Rapyd plugin via the Magento Marketplace.
Note
Magento calls its Plugins 'Extensions'.
Sign in to your Magento Admin Panel.
Navigate to System > Tools > Web Setup Wizard.
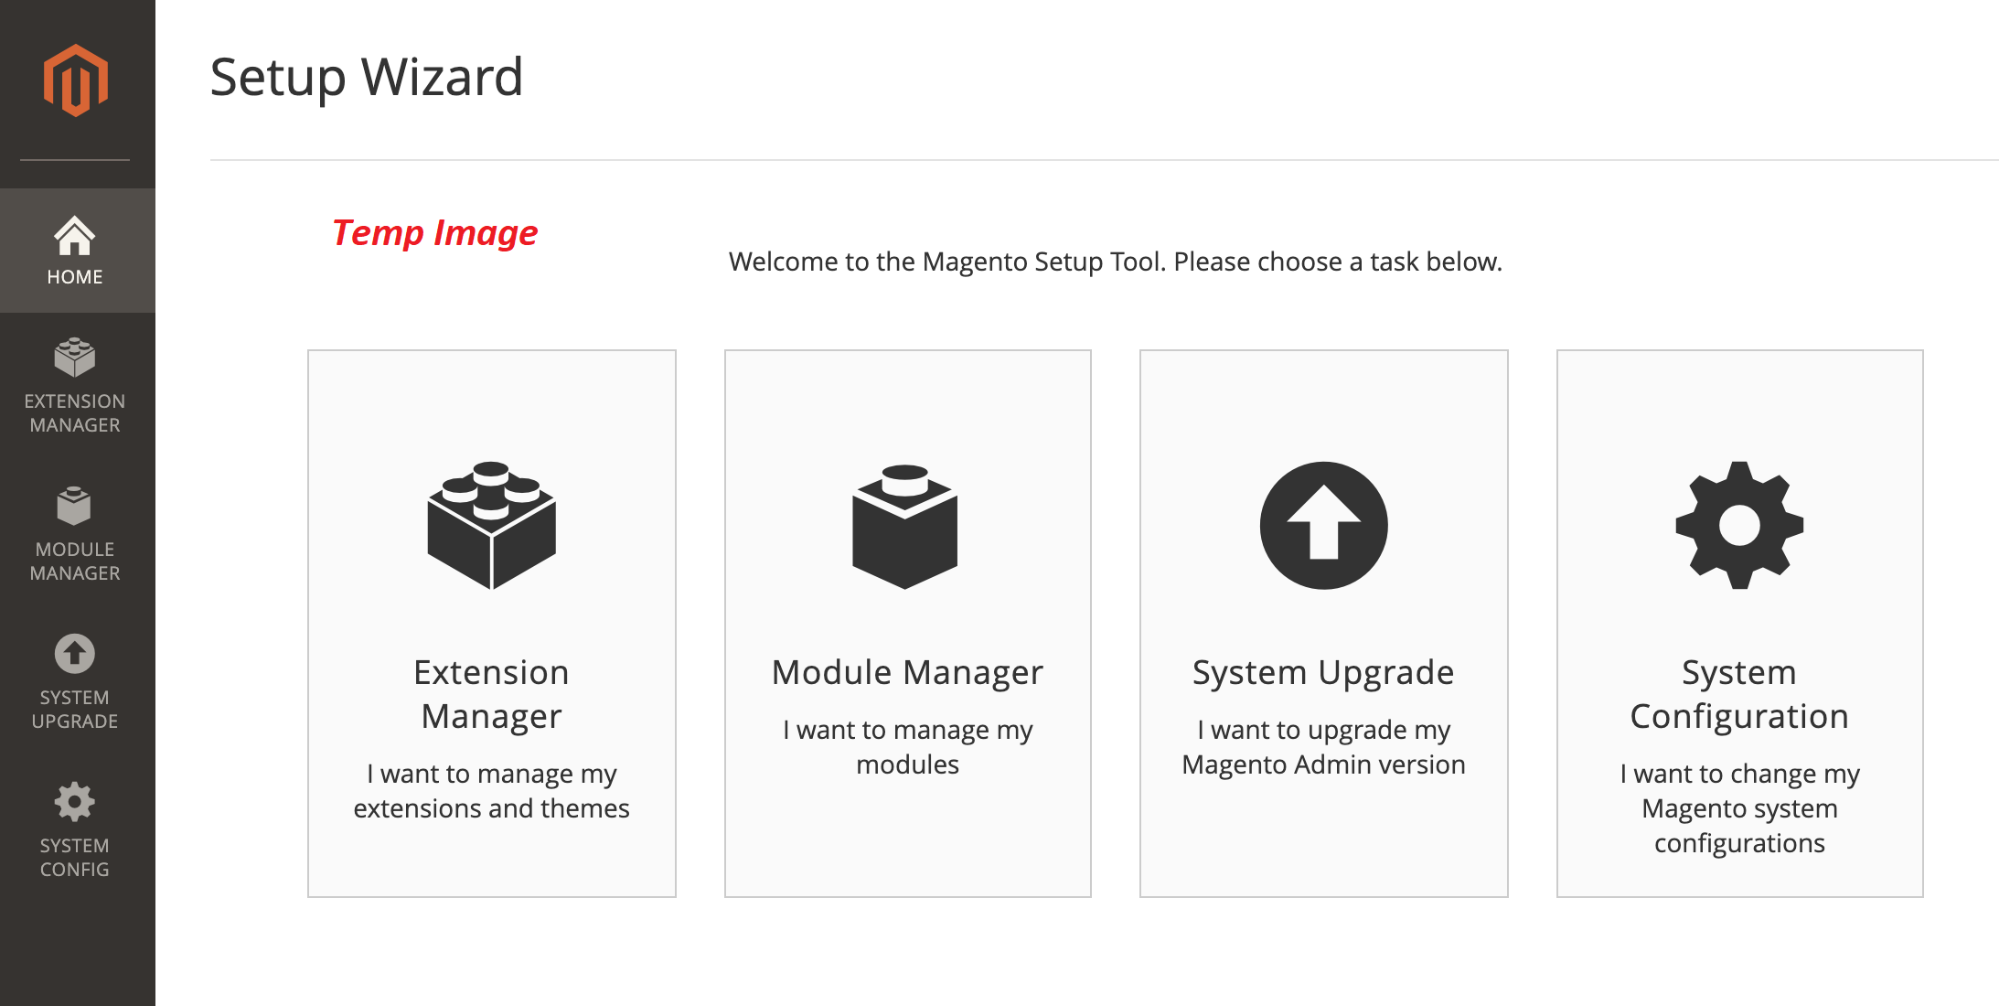
Click on Extension Manager
Enter your Magento Marketplace authentication keys that can be found on the Magento Marketplace.
Go to your Magento Marketplace Account section, and click Install in New Purchases. Follow the other instructions on that page to fully install the plugin.
Note
The installation may take 5 minutes or more. Leave the window open to allow the installation to finish. A successful installation can be verified by checking that the contents in the the directory var/.update_* have been updated.
Run the following terminal command in your Magento directory:
$ composer require rapyd/rapydmagento2
Note
Verify that you saved the authentication keys.
Set up the plugin by running the following terminal commands:
$ php bin/magento setup:upgrade
> php bin/magento cache:flush
> php bin/magento cache:clean
Compile and deploy the static files via the following terminal commands:
$ php bin/magento setup:di:compile
> php bin/magento setup:static-content:deploy
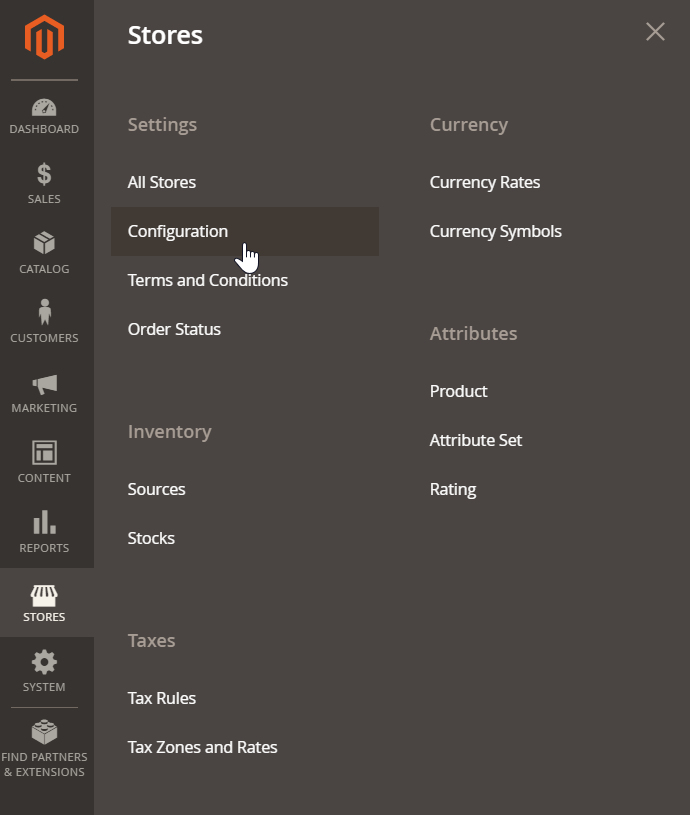
In the Admin Panel, go to Stores > Configuration.
In the Configuration window, click on Sales > Payment Methods.
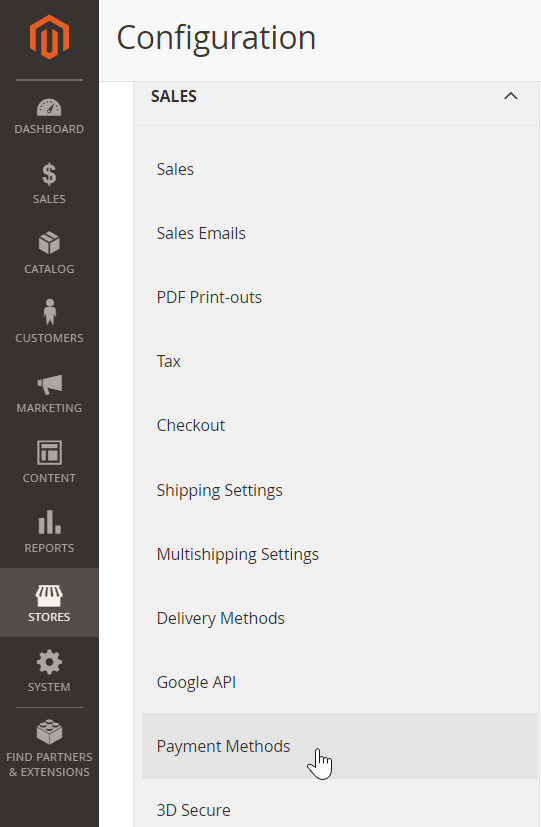
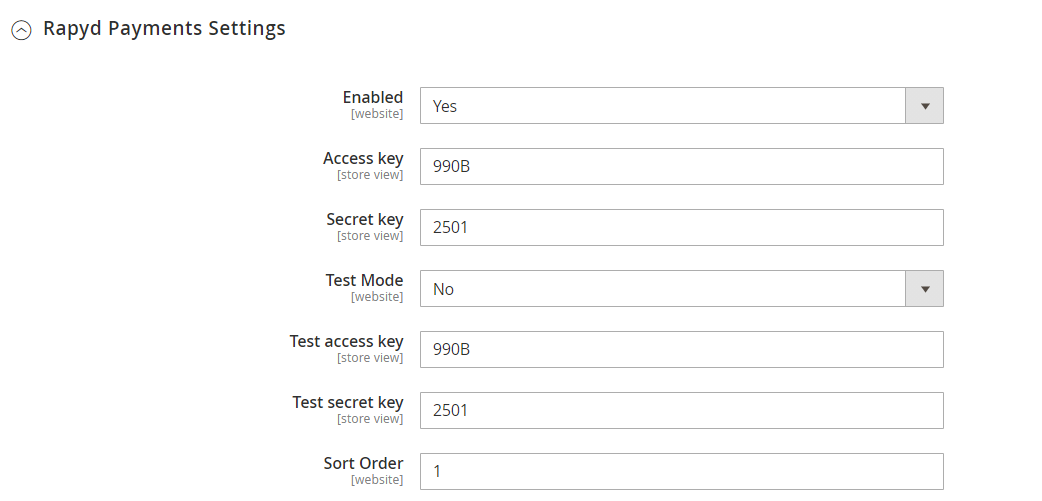
Scroll down to the Rapyd Payment Settings that is located in the Other Payment Methods section.
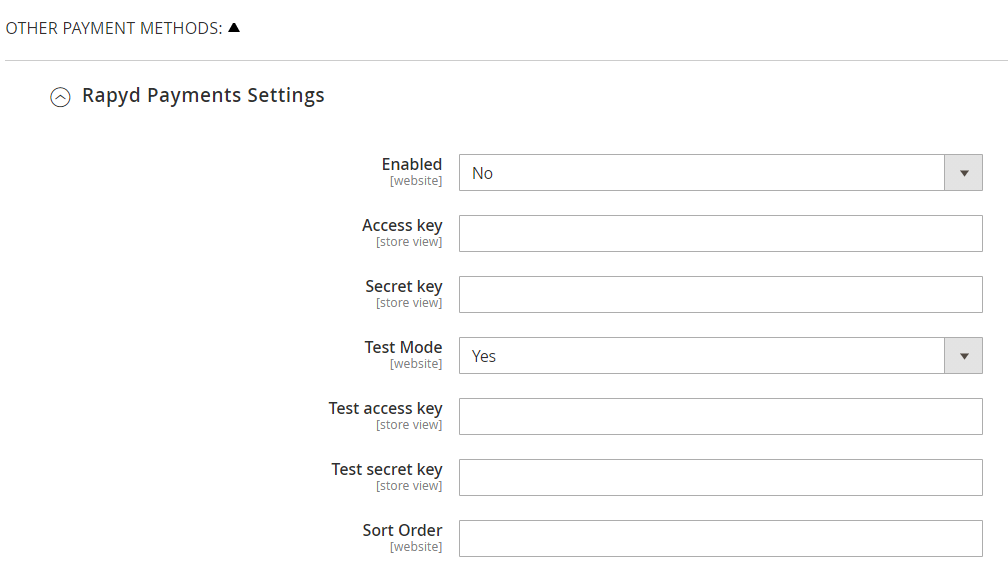
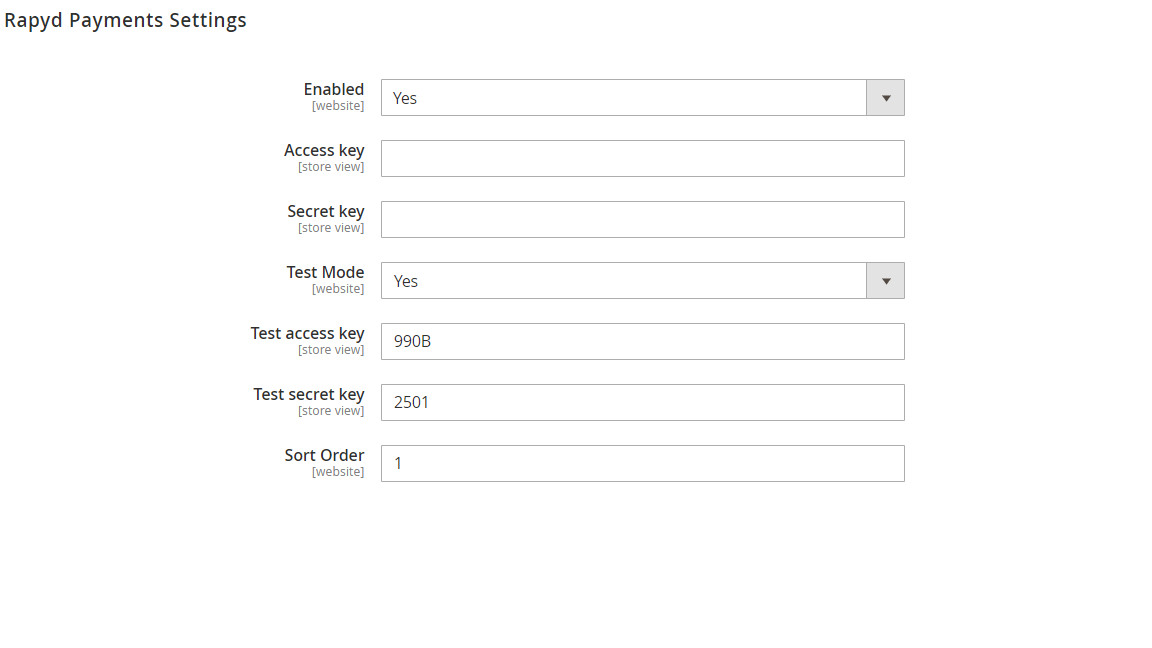
Set the Enabled and Test Mode fields to 'Yes'
Enter your Rapyd Access Key and Secret Key for the sandbox environment in the Test access key and Test secret key fields. See also Plugins and Add-Ons
Enter '1' in the Sort Order field.
Note
The Rapyd Client Portal must be in sandbox mode during the testing phase. Refer to Developers on how to switch to sandbox.
Click on the Save Config button.
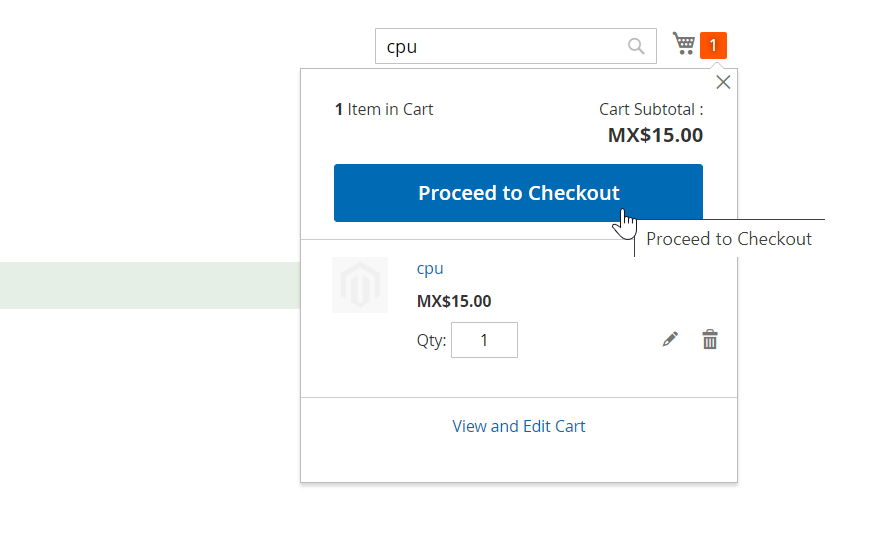
Go to your Magento test site as a customer and add an item to the cart.
Click on the number next to the shopping cart icon, and then click on the Proceed to Checkout banner.
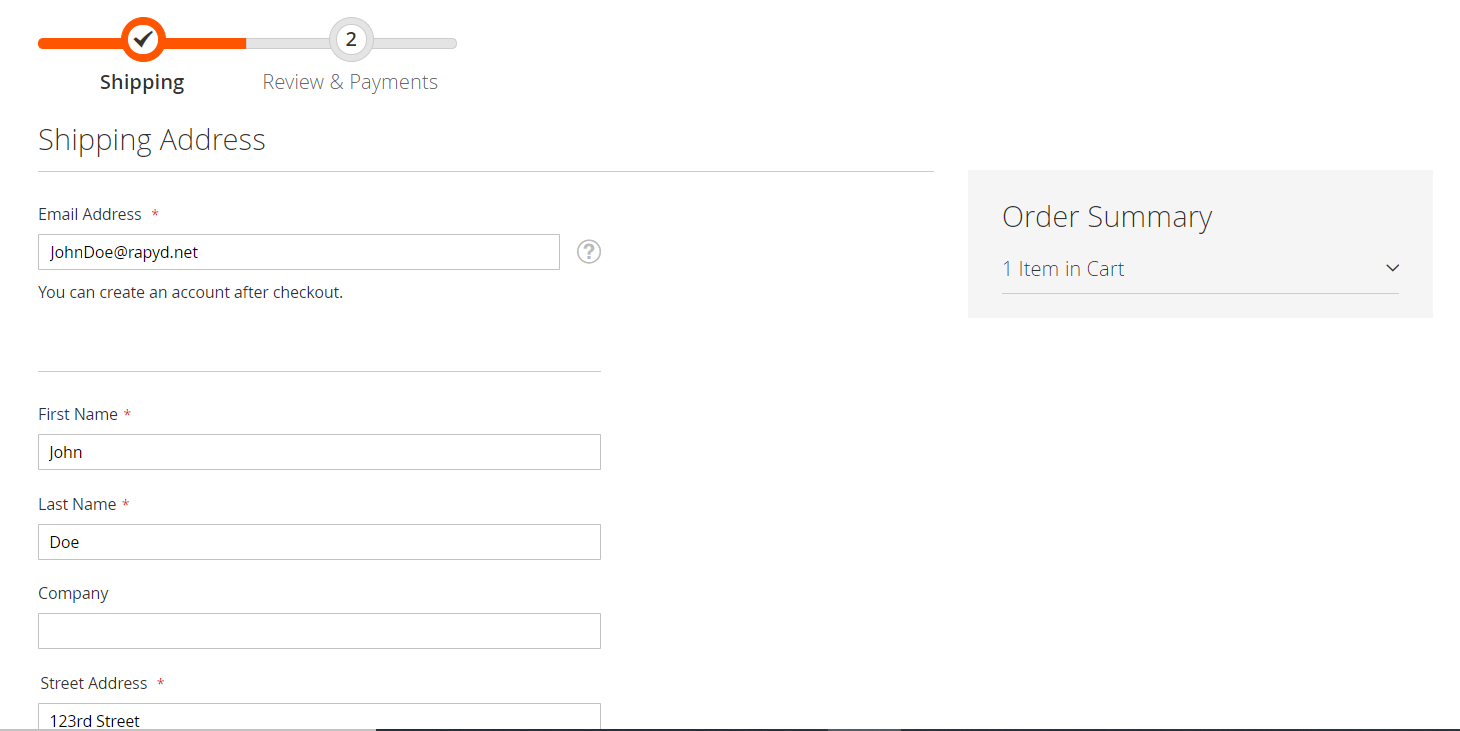
Fill in all the required Shipping fields and click Next.
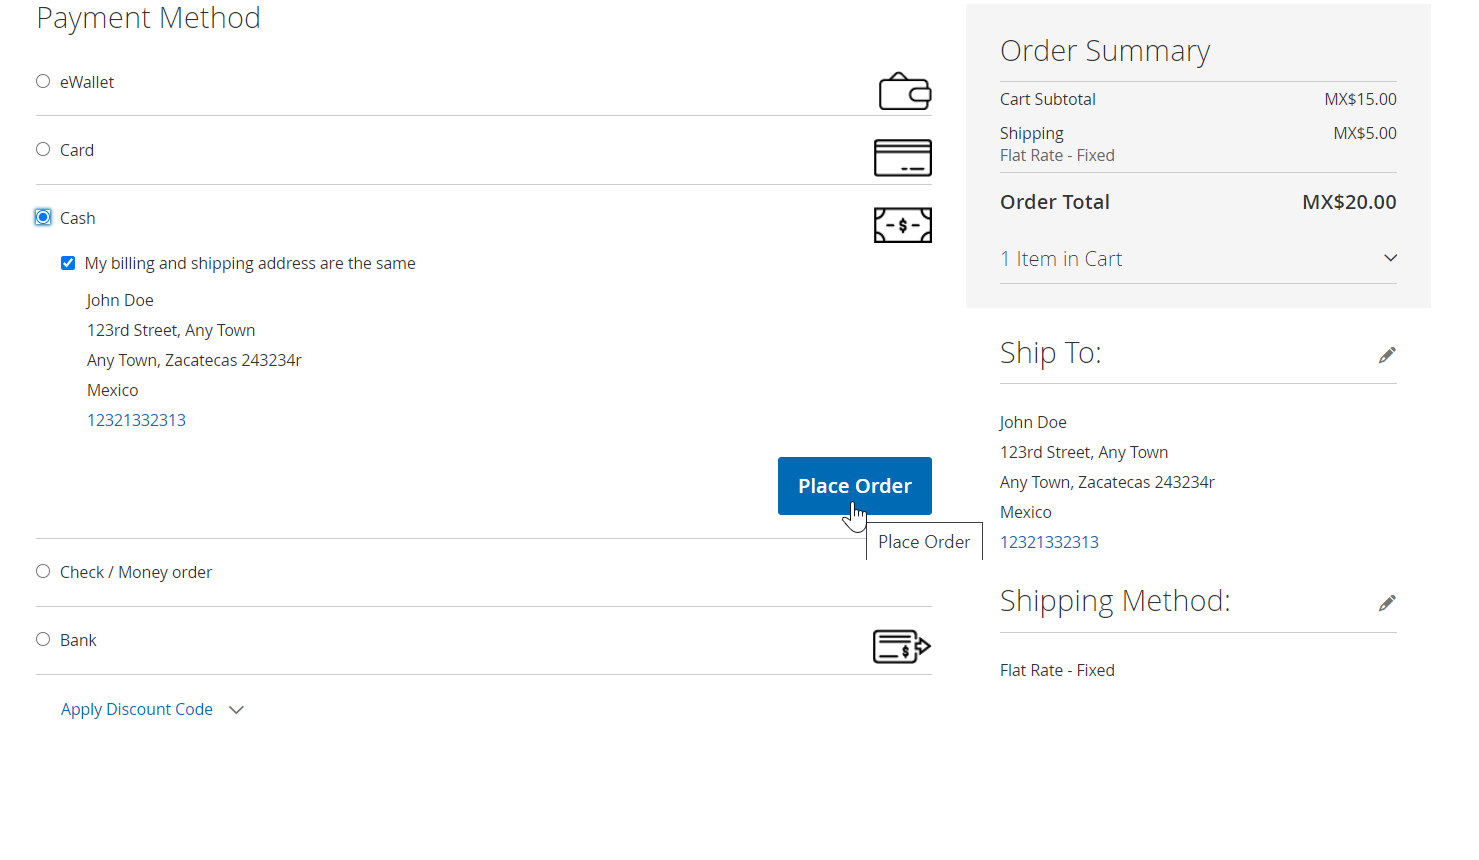
Select a Rapyd payment method.
Click on the Place Order button.
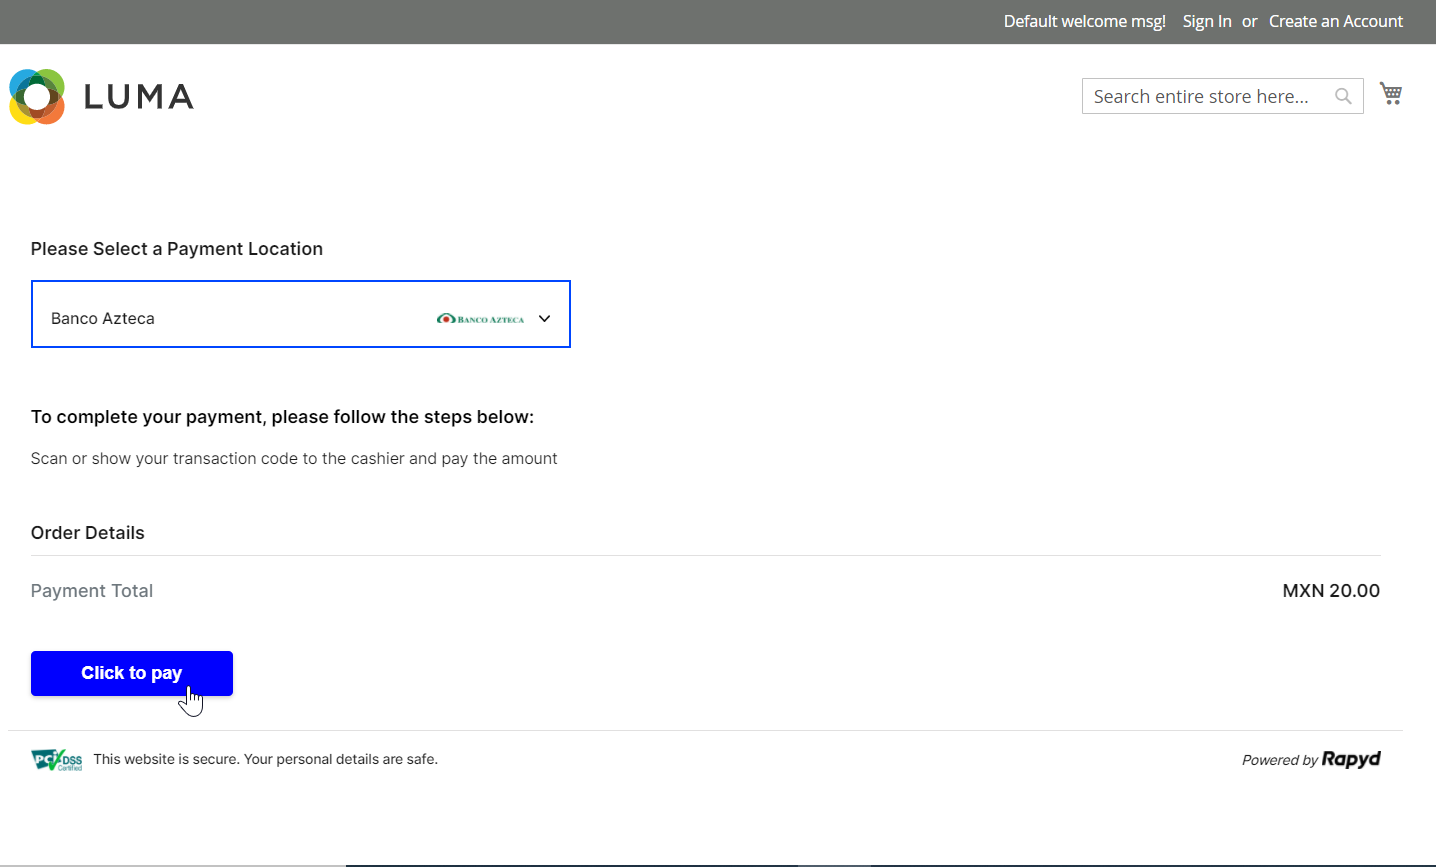
If required, enter additional payment details, and click the Click to Pay button.
Click the Finish button on the screen that appears.
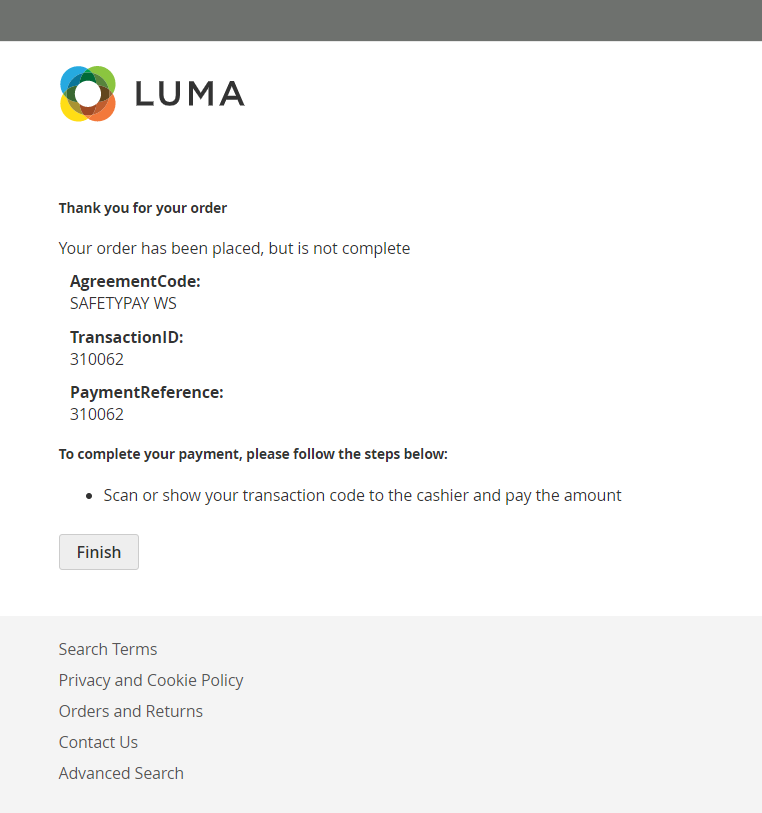
The last payment screen displays the status of the payment.

Go to the Sales > Orders section of the Magento Admin panel and verify that the payment you have made is displayed.

After you have finished testing the plugin, you can switch to production mode.
Access the Rapyd Client Portal and set the Client Portal to production mode.
Sign in to your Magento Admin Panel, and scroll down to the Rapyd Payment Settings that is located in the Other Payment Methods section.
Set the Enabled field to 'Yes', and enter your Rapyd Secret Key and Access Key for the production environment. Note that these keys are different from the sandbox keys. See also Plugins and Add-Ons.
Set the Test Mode field to 'No'.
Click on the Save Config button.
After the checkout process completes, the customer can be forwarded to a landing page. This may be the main URL of the ecommerce site or any other landing page that you may want to define. To set the landing page URL:
Sign in to the Client Portal and navigate to Settings > Branding.
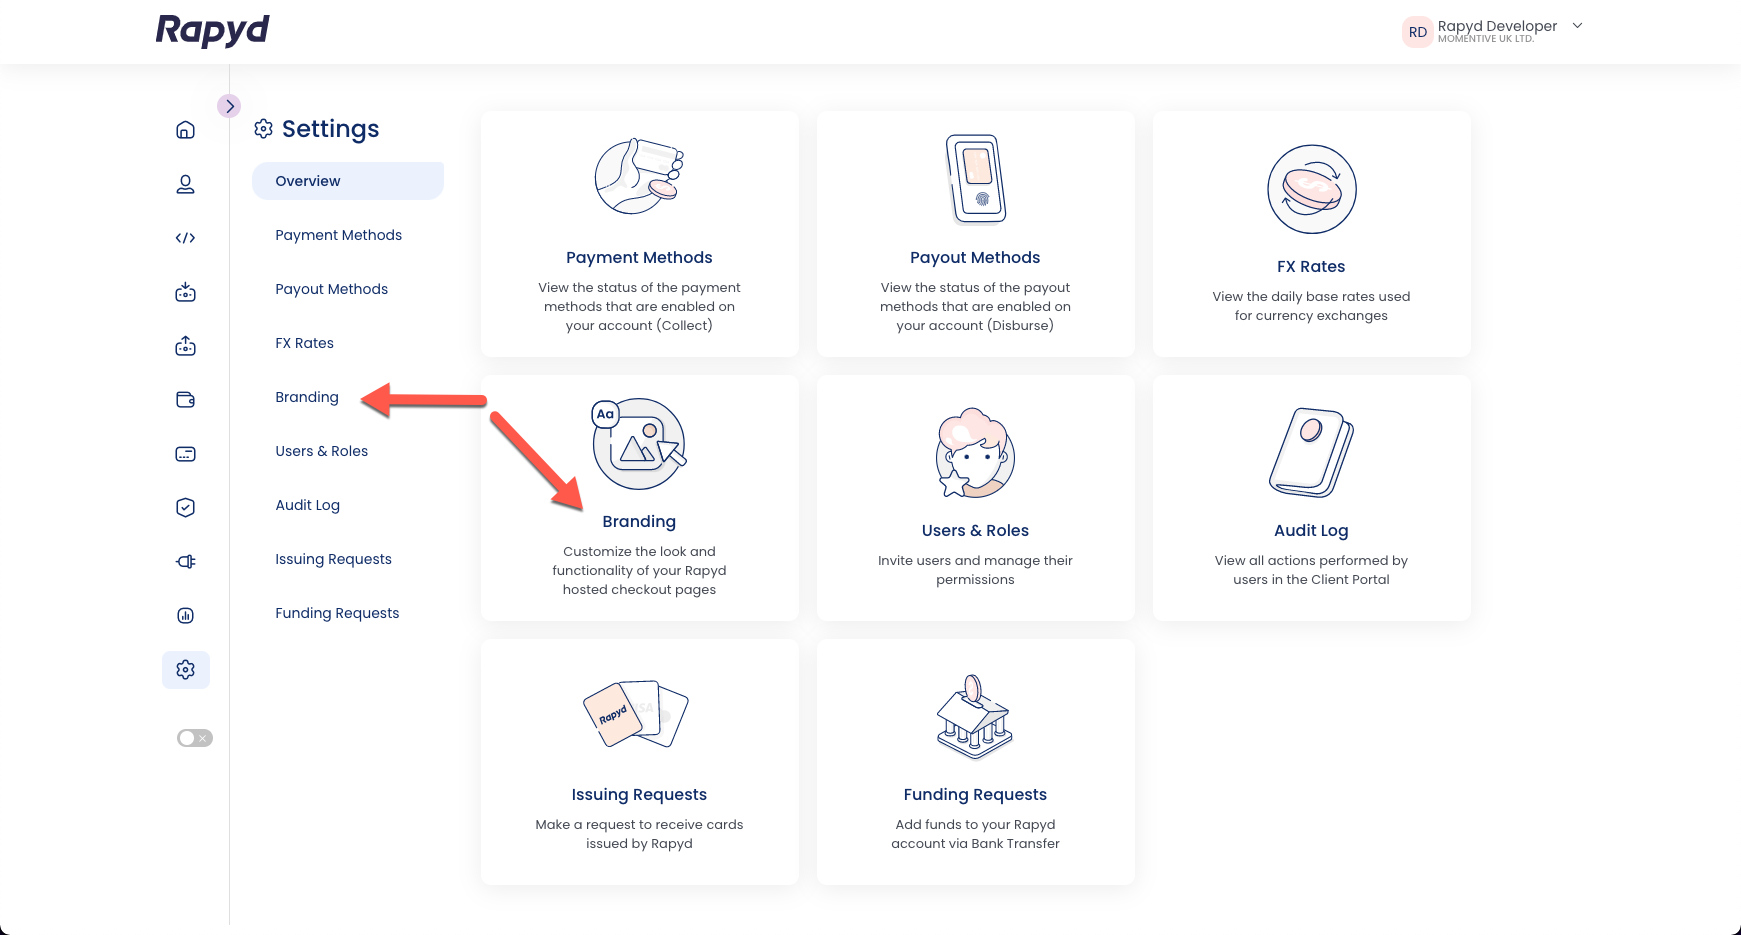
Click on the link icon and enter the URL of the landing page in the Fallback URL field.
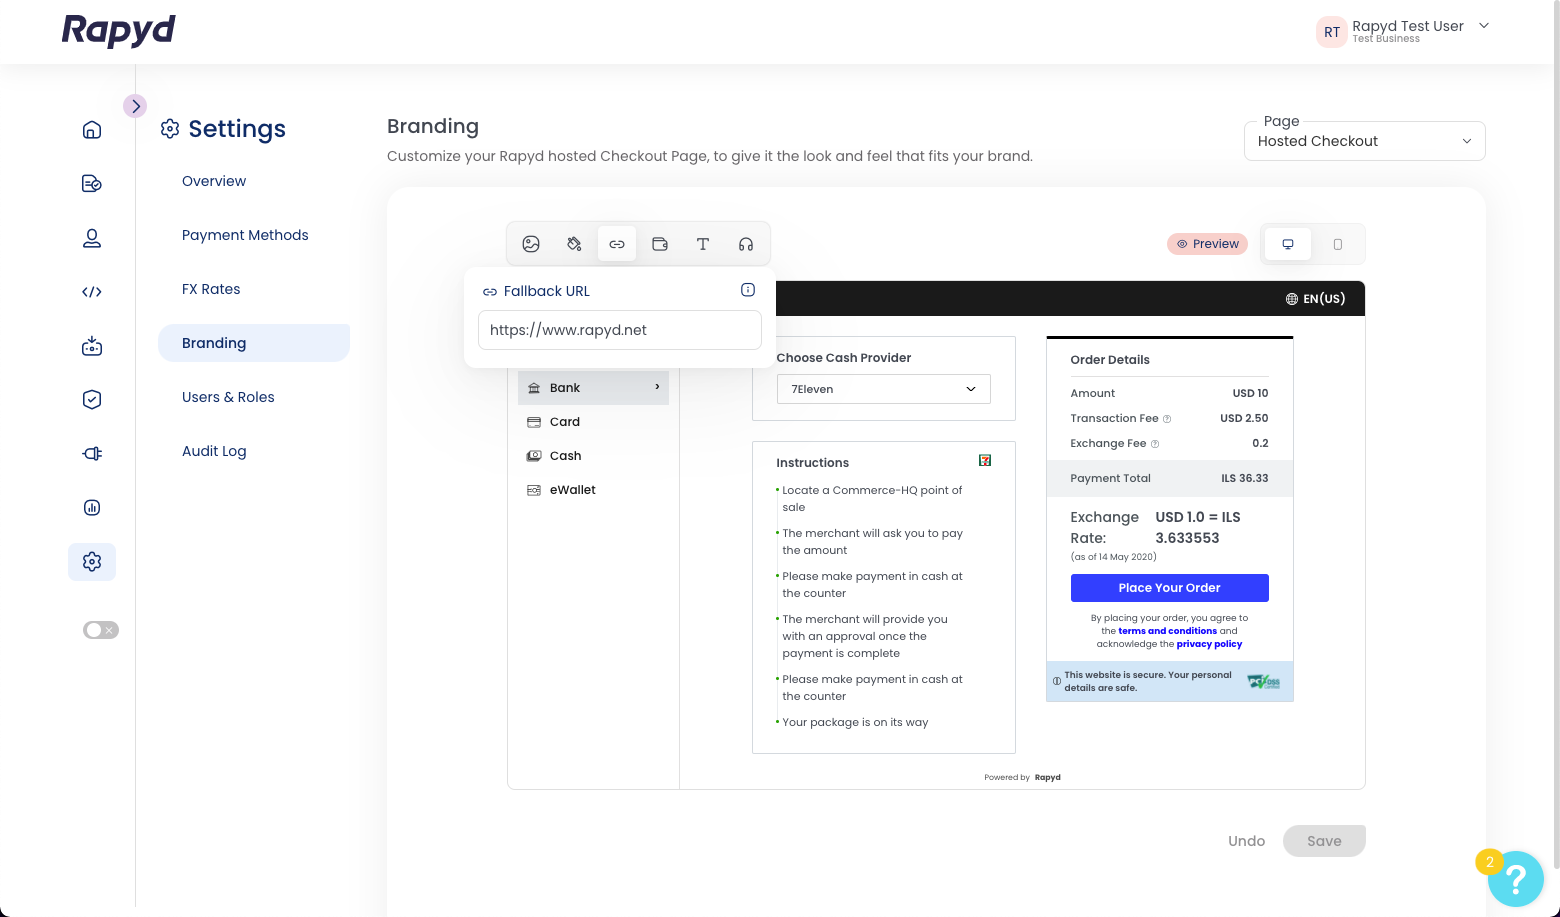
Click Save.